Friday, November 26, 2010

Roll Bar Attachment and Rear Bulkheads

 
Today I took Tim, Cameron and Kaleb to the shop and we worked on the airplane.  The boys pulled the rivets on the roll bar assembly.  While they worked on the roll bar I removed the vertical stabilizer from the tailcone.  The vertical stab needs to be removed before I attach the tailcone to the fuselage so this is a good time to get that out of the way.
 
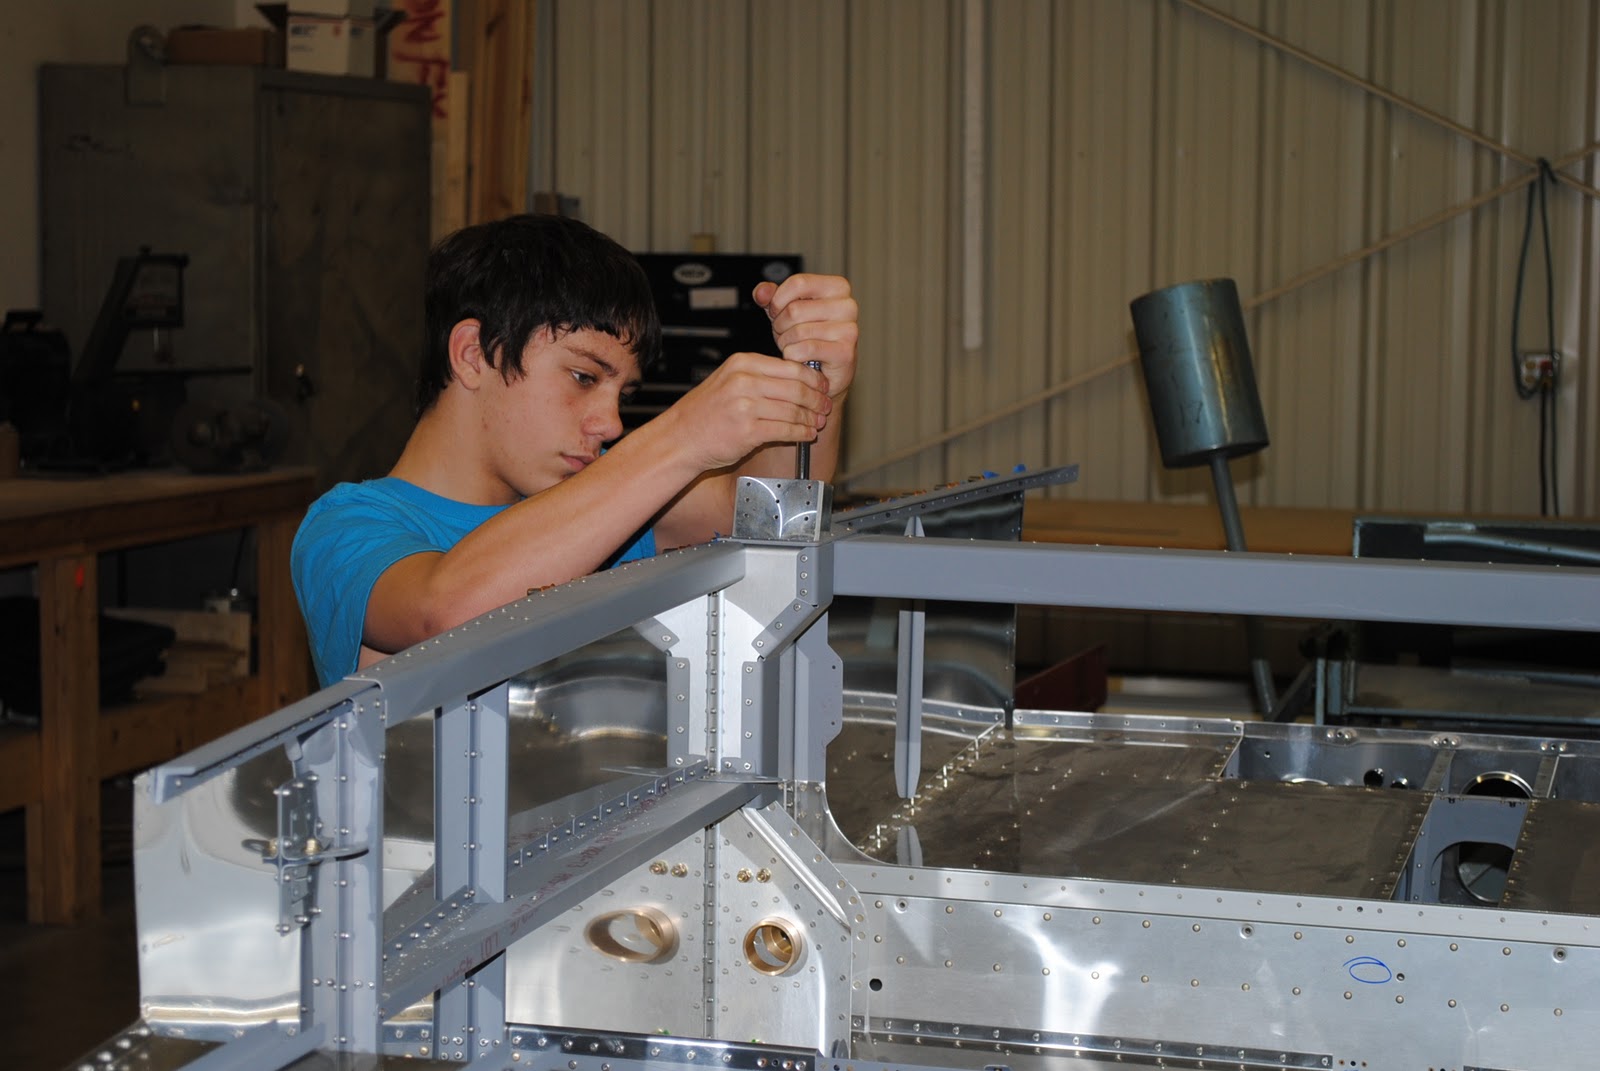
After the roll bar was riveted we temporarily bolted the roll bar bases to the fuselage at the attachment plates.
We then slipped the roll bar over the attachment bases and clecoed it in place along with the roll bar brace supports.
 
We matched drilled the bases to the holes in the sides of the roll bar.  We then tipped the fuselage on its side and drilled the holes on the inside of the roll bar to the bases.
 
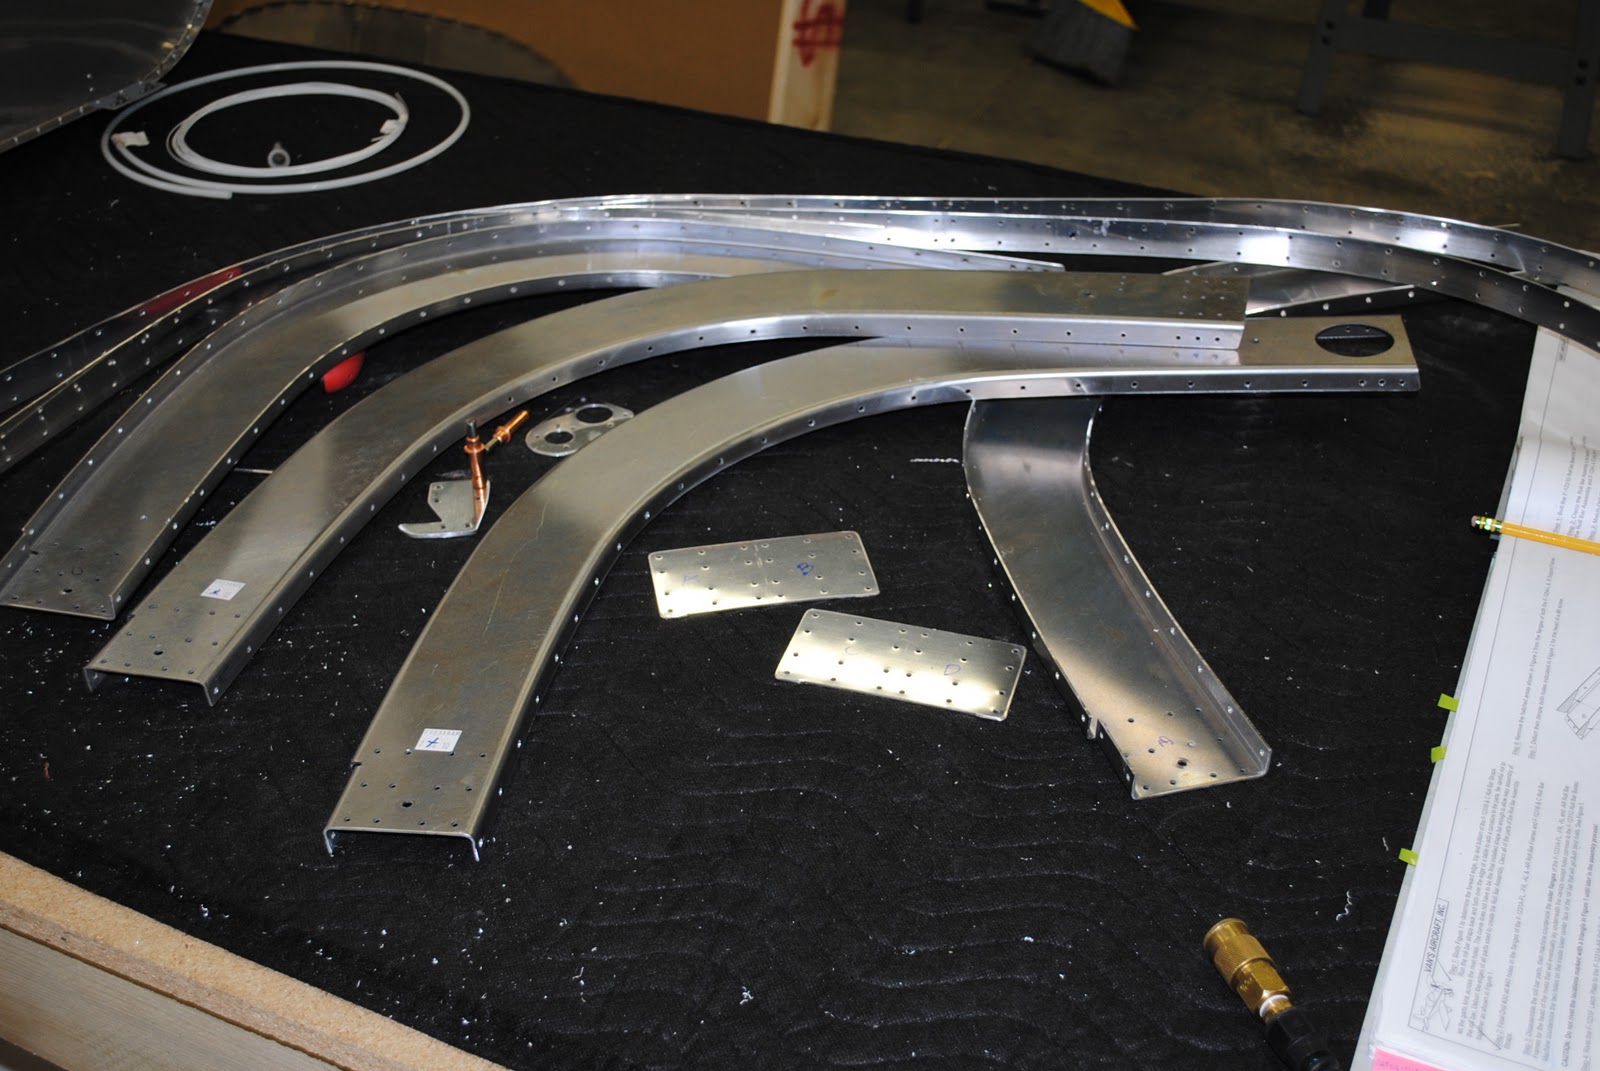
After match drilling the bases we removed all of the clecoes and removed the roll bar, braces and attachment plates and deburred the parts.  They are now ready to be primed and painted the final interior color, which I am planning to be a light tan.  We then prepared the rear bulkheads to be clecoed into the tailcone so the small attachment brackets can be match drilled to the rear bulkheads.  
 
We match drilled the holes in the brackets and now the tailcone is ready to be installed on the rear of the fuselage when I arrive at that step.

Wednesday, November 24, 2010

Roll Bar and Cockpit Light Wiring


This morning I clecoed the roll bar and interior strap sections together.  The ¼" tube I installed with RTV has set and I pulled the tube and wires through the large hole in the rear of the right side of the roll bar.  I also trimmed the edges of the small snap bushing which goes in the #12 hole drilled in the bottom of the upper roll bar interior strap.  I had to trim the edges of the bushing flange so it would snap in place between the forward and aft halves of the roll bar sections.  I slid the bushing over the wires and snapped it in place.
I trimmed the roll bar support brackets in preparation for clecoing the roll bar in place.

Tuesday, November 23, 2010

Roll Bar Assembly Continues

 
This morning I clecoed (chrome clecoes) the interior connection straps to the forward half of the roll bar.  I then drilled the #40 holes to #30 in preparation for riveting the sections together.  After drilling out the #40 holes I inserted  #30 (copper) clecoes, removed the chrome clecoes and continued to final drill all of the holes in the forward half of the roll bar.
 
I removed the clecoes and deburred the forward roll bar halves and the interior connection straps.  Next I clecoed the straps to the forward and rear roll bar halves.  I then final drilled the #40 holes to #30 holes in the rear half of the roll bar and the interior connection straps.
 
I drilled a #12 hole in the bottom of the roll bar connection strap near the slice area for the cockpit eyeball light wires.  I then removed all of the clecoes and disassembled the roll bar so I can deburr all of the final drilled and newly drilled holes
 
This afternoon I used the #30 countersink to prep the holes on the exterior edge of the roll bar assembly halves for the flush rivets that connect the exterior surfaces together.  This is necessary because the rear canopy will be attached to the surface of the roll bar.  I riveted the aft splice plate and canopy latch to the right rear roll bar section.  I also riveted the cockpit light bracket and the spice plate to the right forward roll bar section.
 
I also riveted the inner strap to the inside of the right forward roll bar section.  I then used some black RTV to attach the ¼" plastic tube used for a wiring conduit to the inside of the inside connection strap.  I used popsicle sticks and tape to hold the tube in place.  I pulled the wires for the cockpit light through the tube.

Monday, November 22, 2010

Started the Roll Bar Assebly

 
This morning I pulled together the parts for the next section of the build.  It is the roll bar assembly including the eyeball light for the instrument panel.
 
This afternoon deburred the various parts and components of the roll bar assembly.  I began to cleco together the components.  I first clecoed the inner straps to the top and bottom of the forward roll bar section.  I also clecoed the splice plates to the interior faces of the forward and rear roll bar sections.
 
I also clecoed the Canopy Light support and the canopy lock components to the roll-bar sections.