I also clecoed the hinges to the rear spar doublers.
I riveted the inboard flange of the hinges to the doublers and clecoed these assemblies to the rear spars. I also separated the tip attachment angles, prepped and primed them and attached them to the ends of the rear spars.
The rear spar assembly is now ready to pull the LP4-3 rivets.
I started by locating the hinge brackets and associated hinge parts and started removing the blue film off of all of the parts.
I prepped the parts for priming by polishing the edges with the Scotch Brite wheel and deburring the holes. I then used a Scotch Brite pad to clean and prep all of the surfaces. I then pushed the priming station outside and primed the parts.
After the parts were primed I used the 120o #30 counter sink to prep the hinge brackets for the required flat rivets.
Next I clecoed the hinge brackets together into the appropriate pairs. I am ready to start setting the bearings and the rivets.
The hinges and hinges brackets are now riveted and set aside until they are needed.
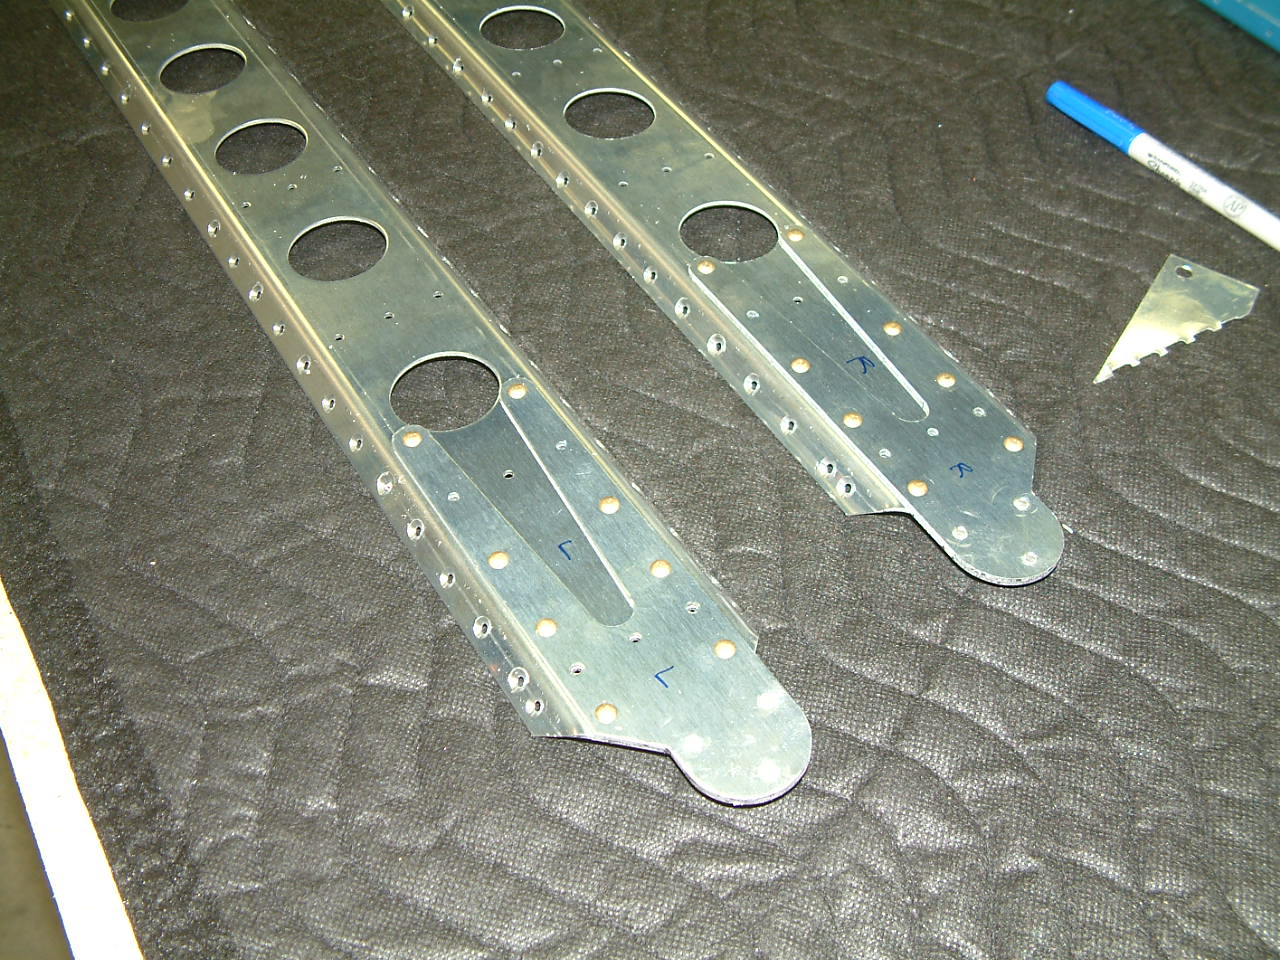
I clecoed the stub spar doublers to the stub spar channels. I used a 100 degree machine countersink to countersink the three holes on each side of the left and right stub spar assemblies. I used blue tape to make the holes I am supposed to leave open. The stub spar doublers can now be riveted to the stub spar channels. Upon setting the rivets, the heads should be flush on both sides of the assemblies.
Next I riveted the spar doublers to the spar channels. I then used the 120o countersink to countersink all of the holes on the edge of both spar channels.
Next I used a Scotch Brite pad and prepped the spar assemblies for primer. I then primed both spar assemblies with the primer station. They will now be set aside until needed in the wing build.
This morning I fabricated a close proximity rivet tool. I have the rivet wedges which I made out of the aluminum stock from Van's, but the tool will allow me to bend rivets before inserting them into the hole.
I obtained a piece of aluminum from Kingdon Sheet Metal. I called Rob Lee at HESCO and asked him where I could find a piece of aluminum bar. He suggested I call Dave at Kingdon. Dave very graciously gave me a piece of 3/8"x1"x3" long aluminum.
I ripped it to 9/16" wide on the band saw. I then cut an angled notch on the end using a rivet wedge as a guide for the angle.
I cleaned up and rounded all of the edges and corners on the Scotch Brite wheel. I drilled a #30 hole perpendicular to the angled face of the notch and also drilled another #30 hole in the body of the tool. Now I can bend a rivet by inserting the rivet into the hole in the body of the tool and then pull it by placing the tool over the inserted rivet.
There are still some areas where I will need to use a small rivet wedge to pull rivets but this tool will help in a lot of other areas.
Today I went a little in reverse. I determined I would like to prime the attach angles, so I removed the angles I had clecoed to the left spar. I used a scotch brite pad to prep all of the attach angles for primer. I pushed the priming station outside and applied a coat of primer toto all of the attach angles.
While the primer was drying I drilled and tapped the AEX aluminum block on the right spar. I then clecoed the attach angles to the left and right spar. I am now ready to begin installing the required rivets.
I pulled the rivets in the left spar as called out on the drawings.
Today I started working on the left main wing spar. Actually, some of the work is for both spars. I separated the attach angles, deburred and cleaned up the edges.
I attached the left rib doubler to the left spar as indicated on the drawings. I matched drilled the doubler to the attach angle on the spar. I removed the clecoes and deburred the holes. I set the double aside until it is needed in the future.
I drilled the 5/16" holes in the AEX aluminum blocks attached to the spar. I tapped the holes with a 3/8"-16 tap to 1" deep. Both the top and bottom holes of the AEX block were drilled and tapped.
I attached the rib attach angles to the spar. The tip angle is clecoed in place. The vertical attach angles are clecoed in place back to back as required. I will start work on the right spar tomorrow.
The wings arrived on FEDEX Freight this afternoon at about 4:00 pm. I unloaded the crates with the fork lift. I rolled the work table out and put the crates on top of the table and then rolled them into the shop.
I began to open the crates and remove the packing material. Van's does an excellent job of packing these parts into the smallest space without causing damage to the parts themselves.
The long box contained the main wing spars, caps, etc. The main spars are numbered. I have spar no's 12-630-R and 12-585-L. They are standing in the corner of the shop until I start assembly.
I ordered the light kit with the wing. All of the parts for the light kit have been inventoried.
I ordered the light kit with the wing. All of the parts for the light kit have been inventoried.
I have now inventoried all of the sub kits and I will inventory the hardware bags tomorrow.
Today I sent in my order for the fuselage kit. I called Van's and asked about the AP-74 servo brackets. I am planning to install the optional auto pilot. Even though the kit is designed to be a retro-fit, I would like to install the brackets while I am building the fuselage. I was told by Joe that the brackets are now shipped with the fuselage kit. I will just need to inform Van's when I order the AP-74 that I already have the brackets installed so they will not need to ship them with the auto pilot kit.
Now I start the 15 week count down for the fuselage kit to ship. The wing kit is supposed to ship next week so I can start building again.
A month or so after the wing kit arrives I will hold an RV-Group meeting in the shop so the local RV people can see an RV-12 build up close.


