Tuesday, August 27, 2013

Engine, Cowling and Oil Door

Today I worked on the engine mount.  I removed the PC washers I ordered from Van’s and replaced them with some 2” fender washers I purchased at Fastenal.  These fender washers are 1/16th inch thick.  After inserting the washers and torqueing the bolts I reinstalled the cowling.  As I checked the clearance of the prop spinner back plate I found the clearance to be just right.  It appears the replacement of the washers was a success.  
Next I turned my attention to the oil door on the upper cowling.  I cut out the space in the cowling door recess.  I drilled the holes for the camlocks and riveted them to the door recess.  I also riveted the hinge to the oil door.
Following the instructions I attached the lugs to the oil door and attached the door to the cowling with the camlocks.  I drilled the holes for the lugs and inserted clecos.  I then attempted to open the oil door.  The hinge hung up on the edge of the opening.  Using my Dremel tool I expanded the opening and the hinge works just right.  I riveted the lugs to the cowling and installed the top on the fuselage.

Monday, August 26, 2013

Shim Engine Mount

Last Friday after attaching the cowling I checked to see how the base plate for the propeller spinner fits.  As I held it up to the propeller hub I found it just barely rubbed on the right side of the front of the cowling.  This is not good.  I decided I would have to drill out the fuselage attachment hinges on the upper cowling and the fuselage side attachment hinges on the left side of the lower cowling.  After removing the hinges I will need to sand down the edges of the upper and lower cowlings to move the left side of the entire cowling (upper and lower) back about 1/8”.  After thinking about it for a while I decided to try something else to increase the space between the spinner back plate and the front of the cowling on the right side.  I ordered some WD-1221C washers from Van’s.  They are about 1/8” thick.  I removed the cowling and removed the engine mounting bolts on the left side of the engine.  I slipped a washer between the female isolator and the engine mount.  Arlene helped by holding a ratchet on the inside of the firewall.  I reinstalled the engine mounting bolts.  I attached the cowling.  I checked the space between the cowling and the spinner base plate.  It is now too much.  I told Arlene I want to find some 1/16th thick fender washers and replace the washers from Van’s with the thinner washers and see if that solves the problem.  
Mom and Aunt Joyce were with us at the hangar.  They were impressed with the whole airplane and hangar thing.

Friday, August 23, 2013

Oil Door

I primed the oil door and associated parts.  I also drilled holes in the upper cowling so I can remove the section where the opening for the door is located.  I hope to cut out the section and install the door next week.

Thursday, August 22, 2013

Cowling Oil Door

Today I started  to work on the oil door on the upper cowling.  I removed the top cowling to my work table.  I found the camlocks and put them in a bag.  I also cutout and deburred the oil door.  I separated the hinge parts and deburred the edges of each piece.  Using the microstop I countersunk the oil door in preparation for riveting the hinge to the door.   I will buff them with a Scotch Brite pad and they will be ready to prime.

Tuesday, August 20, 2013

Short Day at The Hangar

This afternoon I only had a short time to be at the hangar.  I brought out a leaf blower and blew the dust and cottonwood fiber and weed stuff out of the hangar.  It was suggested I use a leaf blower by my neighbor next door.  It seemed to work pretty well.  After that I organized a few things and installed the screws on the front of the cowling.  I also realized I didn’t bend the ‘knuckles’ (the left and right hinge pins) quite right.  If I had shortened the pins and bent them right at the hold down tab the cut outs in the upper cowling would be much smaller (shorter).  Oh well, live and learn.  Maybe I could buy a new top cowling and do it over.  No way!  I also held the spinner up to the propeller mounting plate.  The cowling seems to be off center by about 1/8”.  I’ll see if I can find a solution to that problem next.

Monday, August 19, 2013

Lower Cowling Hinges

Today I riveted the lower cowl hinges.  I did some additional sanding to make sure the fit was proper.  I continued to use the squeezer to install the flush rivets to the lower cowl.  After all of the hinges were riveted in place I installed the lower cowl to the fuselage with the hinge pins.
I drilled the 8-#19 holes in the front of the cowling.  There are 3-holes drilled at the front on each side of the propeller opening.  There is 1-hole on each side for the attachment of the side hinge pin knuckle.  I used the microstop to countersink the holes and then riveted nutplates in place.

Friday, August 16, 2013

Install Hinges on Upper and Lower Cowlings

Today I worked on the installation of the cowling hinges. I clamped and drilled the lower cowing hinges. 
I set the upper cowling in place and did some additional sanding to get to fit a little better.   I then drilled the upper cowling and hinges.
After some additional sanding I finished the installation of the upper cowling hinges.
I started the installation of the lower cowl hinges.   will complete the installation of the lower cowl hinges on Monday.

Thursday, August 15, 2013

Cowling Hinges

Today I continued to work on the cowling hinges.  I filed a taper on the barrels of the attachment hinges on the upper fuselage.  I also continued to cut and install the side and upper hinges to the existing hinges attached to the fuselage. I cut hinge pins to length and curved them to follow the profile of the upper and lower hinges.  I ground the leading ends of the pins to better slide through the curved hinge barrels.    I installed all of the hinge halves to the existing hinges to make sure the pins would insert without hanging up during the process.  Everything seems to fit together nicely.
After installing all of the hinges I attached the lower cowling to the hinges with clamps.  I then drilled and clecoed holes into the upper side hinges and into the bottom of the lower side hinges.  Things are coming together with the installation of the cowl.  There are still a few spots I will need to work on with the sanding block but for the most part, the lower cowl seems to fit pretty well.

Wednesday, August 14, 2013

Engine Cowling Continues

Today I continued to work on the engine cowling.  I used Gorilla tape to hold the lower cowling in place.  I then laid the upper cowling in place to see if it fit better.  It does not look like I will have to sand off any additional material under the lower cowling tabs.  I did need to make some adjustment to the front of the upper cowling to get it to fit the lip of the lower cowling.  I also sanded a 12” section of the forward portion of the lower cowling, on both sides, to improve the way the top cowling fit.  I then drilled the top hole in the lower cowling hinges at the firewall and installed clecoes.  I then set the upper cowling back in place.  I used some Gorilla tape to hold it in place.  I am happy with the fit.  With this final sanding and fitting effort the lower cowling now clears the nose gear leg.   Tomorrow I will finish cutting and installing the various hinges.  I will then mark the hole patterns on the hinges and begin drilling for the rivets.

Tuesday, August 13, 2013

Fire Wall Stiffener and Engine Cowling

Today I worked on several different projects. I worked on the firewall stiffener.  I clecoed the stiffener angle and the spacer piece to each other.  I then match drilled the #40 holes into the stiffener angle.  I removed the clecos and cut the spacer into sections by removing the unneeded material.  I then used the microstop to prep the spacers to be riveted to the stiffener. I riveted the pieces together. 
I then started to remove the gascolator bowl.  I had to loosen a machine screw the firewall.  After removing 3-of the 4-screws holding the gascolator bowl in place I determined it was not necessary.  I replaced the screws and installed safety wire.  I then drilled out the rivet in the firewall below the gascolator.  I clecoed the end of the stiffener angle to the firewall below the gascolator.  I moved it into place diagonally on the firewall.  I drilled the upper most hole into the firewall.
I then drilled and clecoed the stiffener to the firewall, starting at the center of the stiffener.  I installed a cleco in  every other hole to hold the stiffener in place.  After drilling all of the holes I removed the stiffener and deburred the firewall.  I then clecoed the stiffener back in place on the firewall and installed the rivets.  I then began to consider the installation of the side skin stiffeners on the left and right side of the fuselage.  After removing the sidewall upholstery and considering the potential benefits I decided not to install these stiffeners at this point in the build.  I can always install them at a later date if I determine they would be of benefit
I then started to work on the cowling hinges and hinge pins.  I cut both sets of side hinges .  I then cut the left and right side hinge pins.  I prepared all of the required hinge pins by bending the ends and cutting them to length.  I also ground the ends of the pins and curved them to follow the profile of the respective hinges.
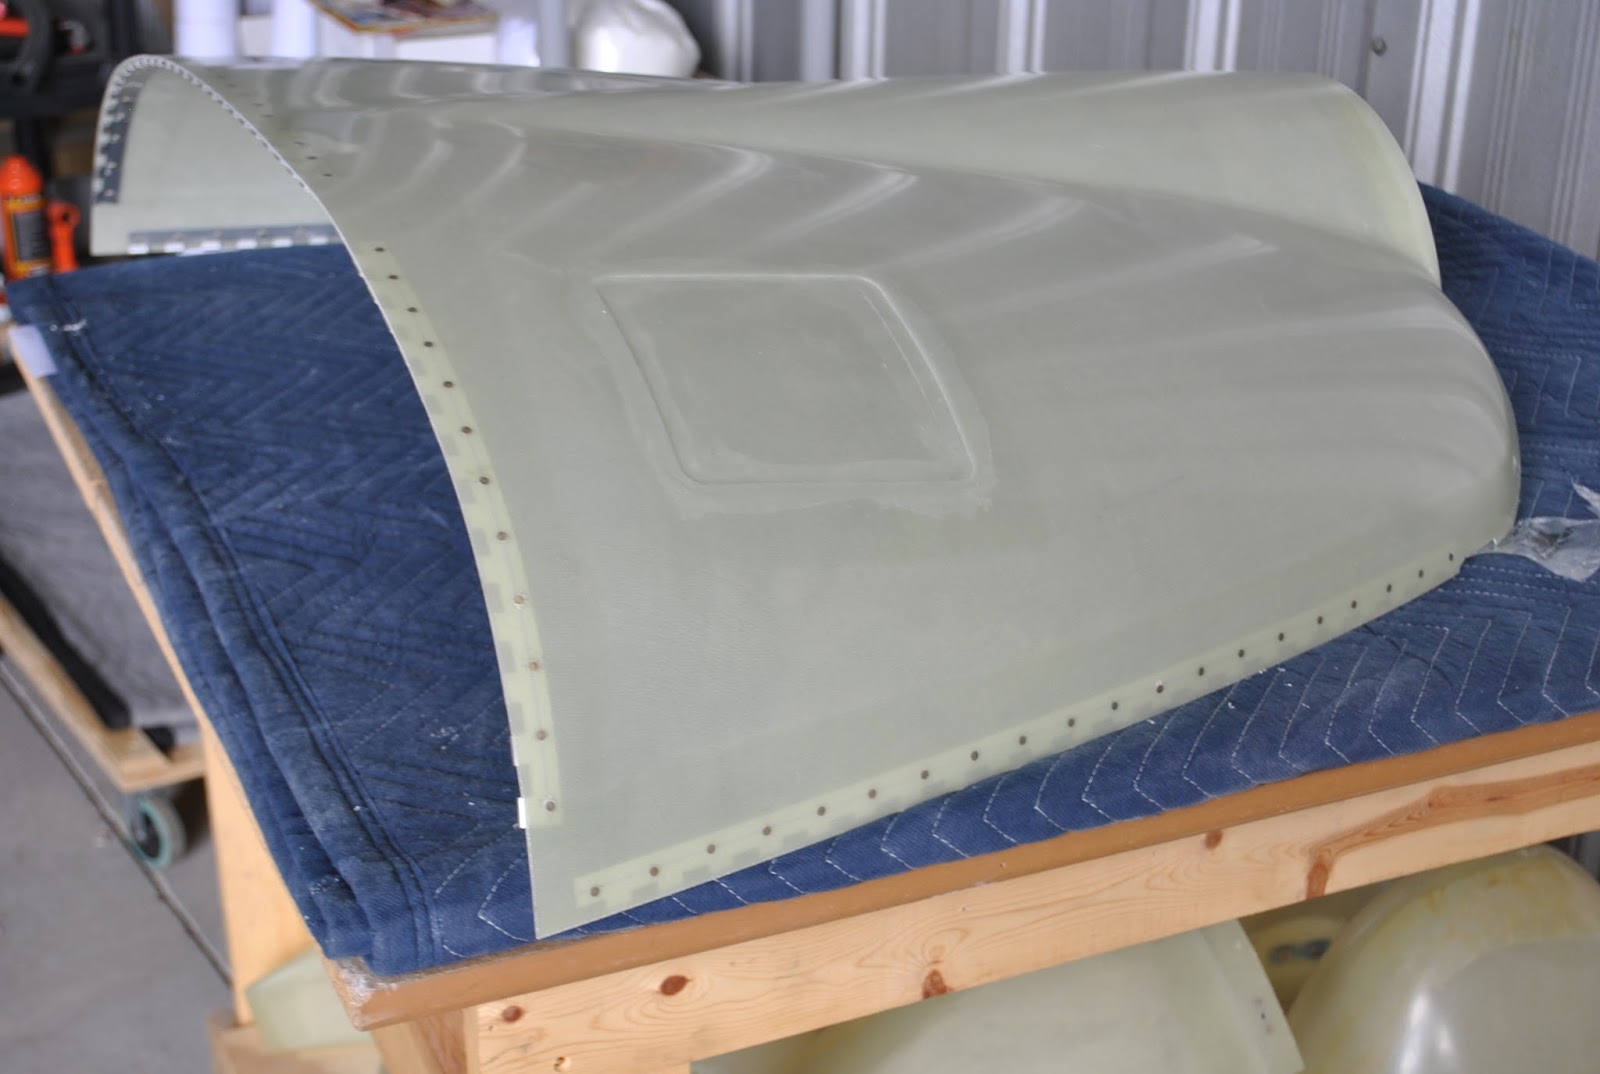
Next I turned my attention to the engine cowling.  I marked the upper cowling for the holes to be drilled on each side of the propeller opening.  I clamped the sections together and drilled the inner most holes on each side of the opening.  I  clecoed the sections together.  I also clamped the rear edges together and checked the fit.
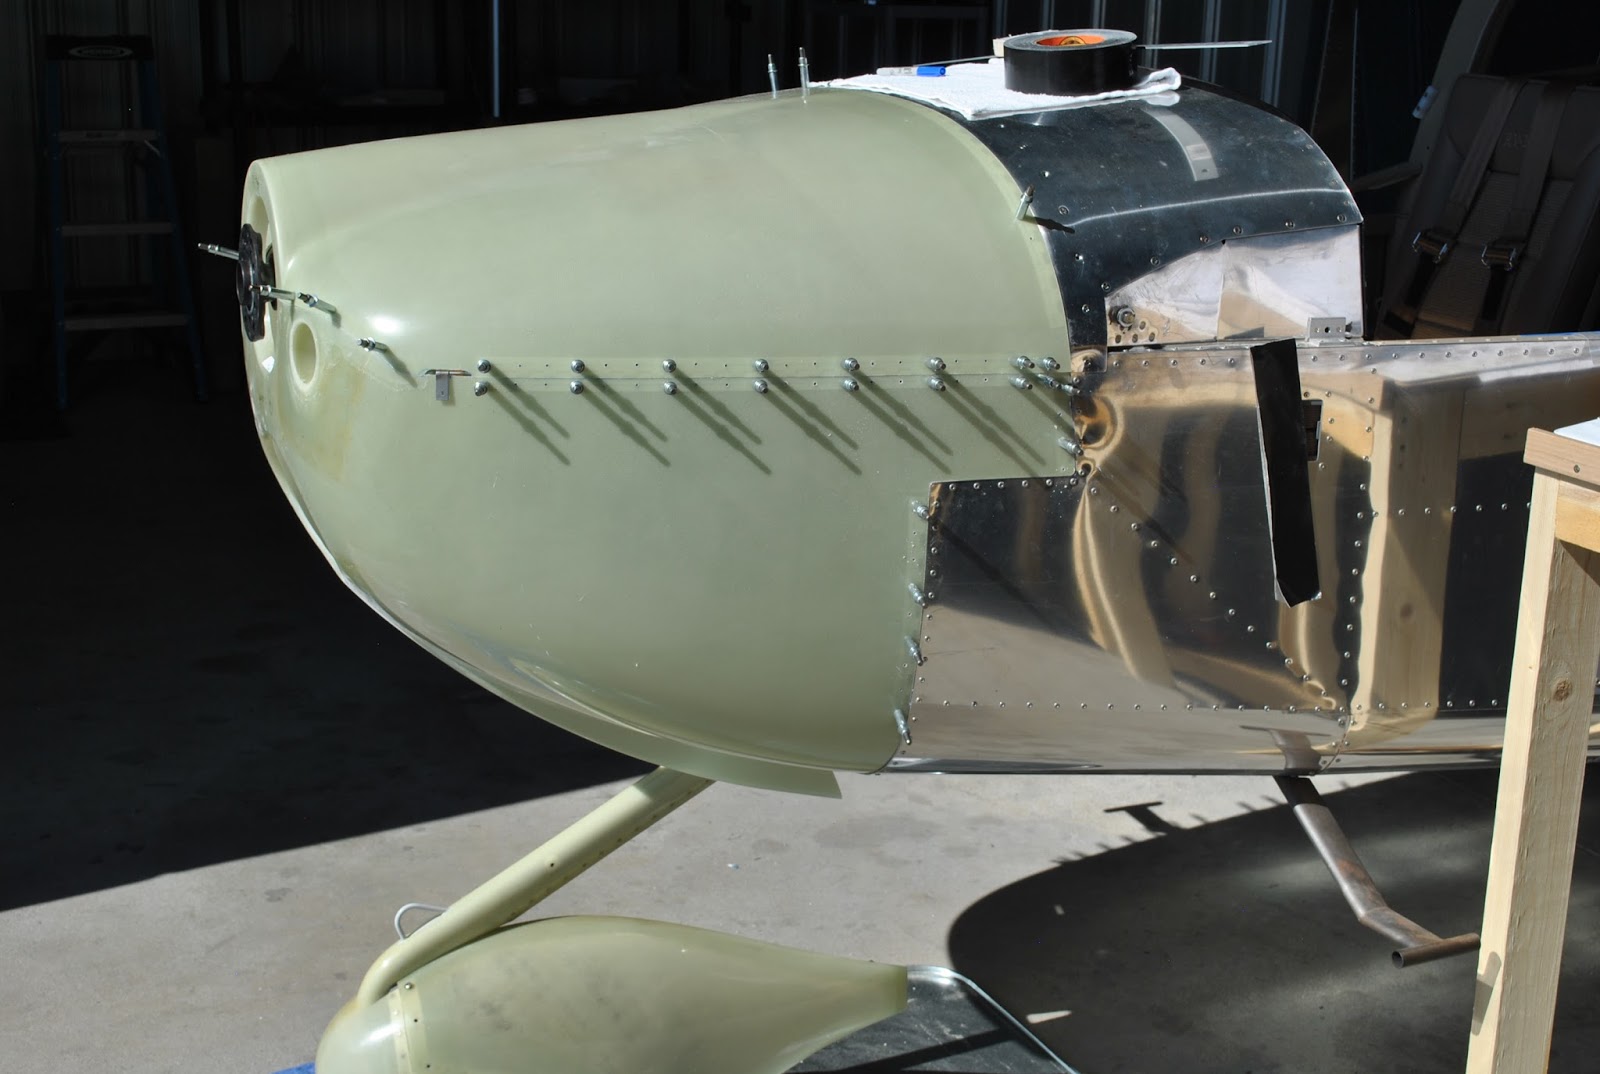
After installing the 4” hinges on each side of the fuselage engine shelf I clamped the lower cowling in place.
The lower cowl seems to fit pretty well.  I am a little concerned about the way it fits at the lower curve of the fuselage.  I am going to experiment with lowering it 1/16th of an inch on each side to see if it follows the curve a little better.  If it does I will sand the 1/16th of an inch from the bottom of the tab on the lower cowling.  I am planning to use some Gorilla tape to hole it in place.  I can then lay the upper cowling in place and see if it fits.  If all goes well I will begin fitting and drilling the hinges.
I clamped one of the side hinges to the lower cowling.  I then laid the upper cowling in place to see how it looks.  It looks pretty good to me.