Friday, July 27, 2012

Tying and Tightening Up loose Ends

This afternoon  I basically went through the build manual to see what has not been completed in the various sections of the build.  Those things in the sections I have worked on that are blatantly uncompleted include:
  • Reinstall the top fuselage cover over the instrument shelf
  • Reinstall the rear window
  • Reinstall the turtle deck
  • Reinstall the canopy
  • Add some tie wires to some of the wiring in the fuselage
  • Reinstall the empennage
  • Finish the AOA tubing and connections
I next need to start the dreaded fiberglass sections of installing the wheel pants and installing the engine cowling.  I have read much about the engine cowling, both pros & cons about installing it before the engine.  I seems to me that opinions are pretty evenly divided.  Because I have not been able to get into a hanger yet, I think I will work on the cowling here are home and see what happens.  
I am quickly running out of room in my 2-car garage.  I told my sweet wife I would not make her park her car outside so I need to make some modifications.  I am  planning to cut the wing rack in half (basically remove the wing support on one side) and make a rack to hang one wing below the garage ceiling.  That way I can push the modified rack all the way to the exterior wall of the garage and gain an additional 30" of floor space.  There are some things hanging from the ceiling now, but after I install them on the airplane there will be plenty of room for the wing to hang there.
Things I worked on are:
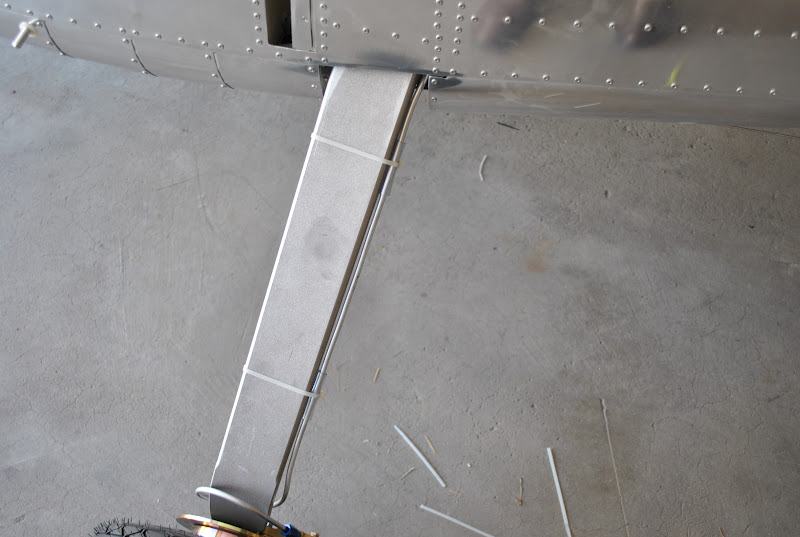
  • Completed the wheel chocks and tail cone support.  I painted the chocks yellow.  I am planning to put a short rope on each one to make them easier to remove.
  • I tightened the fluid fittings on the inboard landing gear support brackets.  I purchased a stubby 7/16" combination wrench  for this purpose.  It worked out great
I had some concerns about the appearance of the instrument panel.  After installing the instrumentation on the panel the vinyl carbon wrap became a bit distorted at the openings for the ignition switch module and the fuse/switch module.  I decided to remove the left and center panel sections and work on them.  I used my heat gun to fix some distortions at some of the screw attachment holes.  I had wrapped the vinyl through the switch module openings but after a while the corners came loose.  I used an Xacto knife to cut the vinyl out of the openings and then painted the exposed aluminum edges with matt black Testor's model paint.  I reassemble the panel and I am satisfied with its appearance.  There are a few smudges I need to remove on the control installation area, but then it will be finished.

Thursday, July 26, 2012

Completed Miscellaneous Items

This afternoon I completed some things that have been left undone.  I started by installing the brake lines.  It was pretty interesting to bend the ¼" aluminum tubing to route it from the connection on the outboard gear connection bracket to the disk brake caliper on each of the main gear wheels.  I was able to tighten the fluid fitting on the aluminum tubing.  I still need to tighten the fluid fitting connecting the poly brake line to the bracket.  I need to purchase a stubby 7/16 wrench so I can tighten that fitting.
I split the plastic tubes and installed them on the brake lines with wire ties.
I installed the steps on each side of the fuselage.
I attached the fuel sender wire (orange/brown) to the sending unit on the fuel tank.  I also installed a ring connector to the ground wire on the fuel tank and attached it to the airframe.  I used the Adel clamp bolt which holds the electrical conduit in the cross channel.  
I also attached the VHF and transponder antennas to the bottom of the fuselage.  

Wednesday, July 25, 2012

Fab Left & Right Brake Lines

I unrolled 2-pieces of ¼" aluminum tubing to fabricate the left and right brake lines.  I straightened the tubing by cutting it to length and using a piece of 1x4 plank I rolled the tubing on the work bench.  Both pieces came out pretty straight.  I then used the flaring tool to flare one end of each tube.  I then installed the fittings and flared the other end.  The brake lines a now ready to be bent and installed on the airplane.

Tuesday, July 24, 2012

Install Nose Gear and Wheels

Today I installed the wheels on the main gear and installed the nose gear and nose wheel.  It was a great day.  I moved Arlene's car onto the driveway and pulled the airplane into the open area of the garage.  Because the "creeper" I purchased to help me work under the fuselage, I spread a moving pad on the floor slab under the airplane and spent the morning getting up and down and under the airplane.  I set up a couple of work tables and brought out the tools, wheels, plans and other supplies and got to work.  I dismantled the disk brake assembly to the point that I could install the appropriate components on the gear leg.  I started by installing the axel on the right gear leg.  I also installed the disk brake assembly using the same bolts.  I was sure to install the correct caliper on the correct gear leg.  I made sure the brake fluid bleed valve was on the bottom of the caliper assembly.
After installing the axels on both gear legs I taped on the spacer blocks and stretched a string across the gear legs.  It turns out the axels and parallel and there is no need for shims.
Using the tool I purchased a couple of years ago I greased the roller bearings for each wheel.  I used Areoshell 5 as called out in the drawings.  I then installed the main gear wheels on the axels.  I tightened the nuts as instructed in the Matco documents and inserted the cotter pins. 
I then turned my attention to the nose gear.  I worked on the nose gear fork.  I tapped the holes and inserted the cap screws and washers as instructed.  I used the microstop to countersink the nose gear fork for the proper rivets.  I then separated the anti-rotation plates and riveted them to the nose gear fork.
I installed the axel through the nose wheel and bolted the assembly in the fork.  I used the luggage scale to calibrate the tension of the front wheel fork on the nose gear.  I had to tighten the nut quite a bit to get the 26 lbs force to turn the wheel.  
After the installation of the gear was complete I removed the saw horses and set the airplane on its wheels.  I feel really good about that.
I rolled the airplane out onto the driveway, moved Arlene's car back into the garage and turned the airplane around before putting it away.  

Monday, July 23, 2012

Install Left Main Gear Leg

Today I installed the left main gear leg.  I moved the fuselage into the garage area after moving Arlene's car onto the driveway.  I was able to install the outboard bracket using the 5/16x3 bolts I purchased the other day.  I inserted the gear leg and dropped in the bolts for the inboard bracket.  I was able to get the nuts started on all of the bolts.  Arlene assisted me with the outside bracket.  AS I pulled one of the temporary bolts and inserted the correct shorter bolts Arlene was able to put the nuts on.  I then had her hold a wrench on the nuts and bolts while I used the torque wrench to torque all 10 bolts and nuts.  I am now ready to install the wheels on the main gear and install the nose gear and wheel.

Thursday, July 19, 2012

Install Right Main Gear Leg

This afternoon we (Wade is here for a few more days) installed the right gear leg.  We installed the brake line fittings to both of the outboard main gear attach brackets.  I used some of the Loctite 567 high temp thread seal.  We coated the wear plates as indicated in the drawings.  We then installed the outboard main gear attach bracket on the right side of the airframe.  I was unable to slide the gear leg in place.  
Because of the things I have read concerning the installation of the landing gear I decided to go to Home Depot and purchased some 5/16x3 bolts and nuts.  I used the 3" bolts to install the outboard main gear attach bracket.  I used the longer bolts so the bracket would be down far enough to allow the gear leg to slide into place.  It worked really well.  We installed the bolts and inboard bracket.

Wednesday, July 4, 2012

Main Gear Tubes and Tires

This afternoon I disassembled the main gear wheels and installed the tubes and tires.  After taking the wheel sections apart and removing the axels and bearings I dusted the inside of the tire and dusted the tubes with talc powder.  I inserted the tubes in the tires and then assembled the wheel halves, bearing careful not to pinch the tubes between them.
I inflated and deflated each tire several times after removing the valve cores.  I reinstalled the valve cores and inflated each tire to 28 lbs.  I will pack the bearings and install them in the wheels in the next day or so.
I reattached the disk brake assemble to each wheel.  My next effort will be to fix some minor blemishes I have discovered on the instrument panel and then install the gear legs.