Yesterday I decided I need to do something
about the cold temperatures and working on the engine. The next step is to install the cooling
shroud on top of the engine case. It is
attached with RTV silicone. It needs to
be warm for this to work. I decided to
install a 150 Watt light bulb under the box covering the engine. This way, the heat from the bulb will warm
the engine and the space under the box.
I drilled a hole in the top of the box at one end and threaded the wires
from a light socket through the hole. I
attached a plug end so I can attach a drop cord to make it work. I put a bulb in the socket and attached the
cord.
By putting moving pads over the box it
retains the heat and gets nice and warm inside.
I plugged in the light this morning when I left for work. Upon my return home about 1:00 pm the engine
had warmed. Since the temperature has
been in the single digits for the last few days, that was a nice surprise.
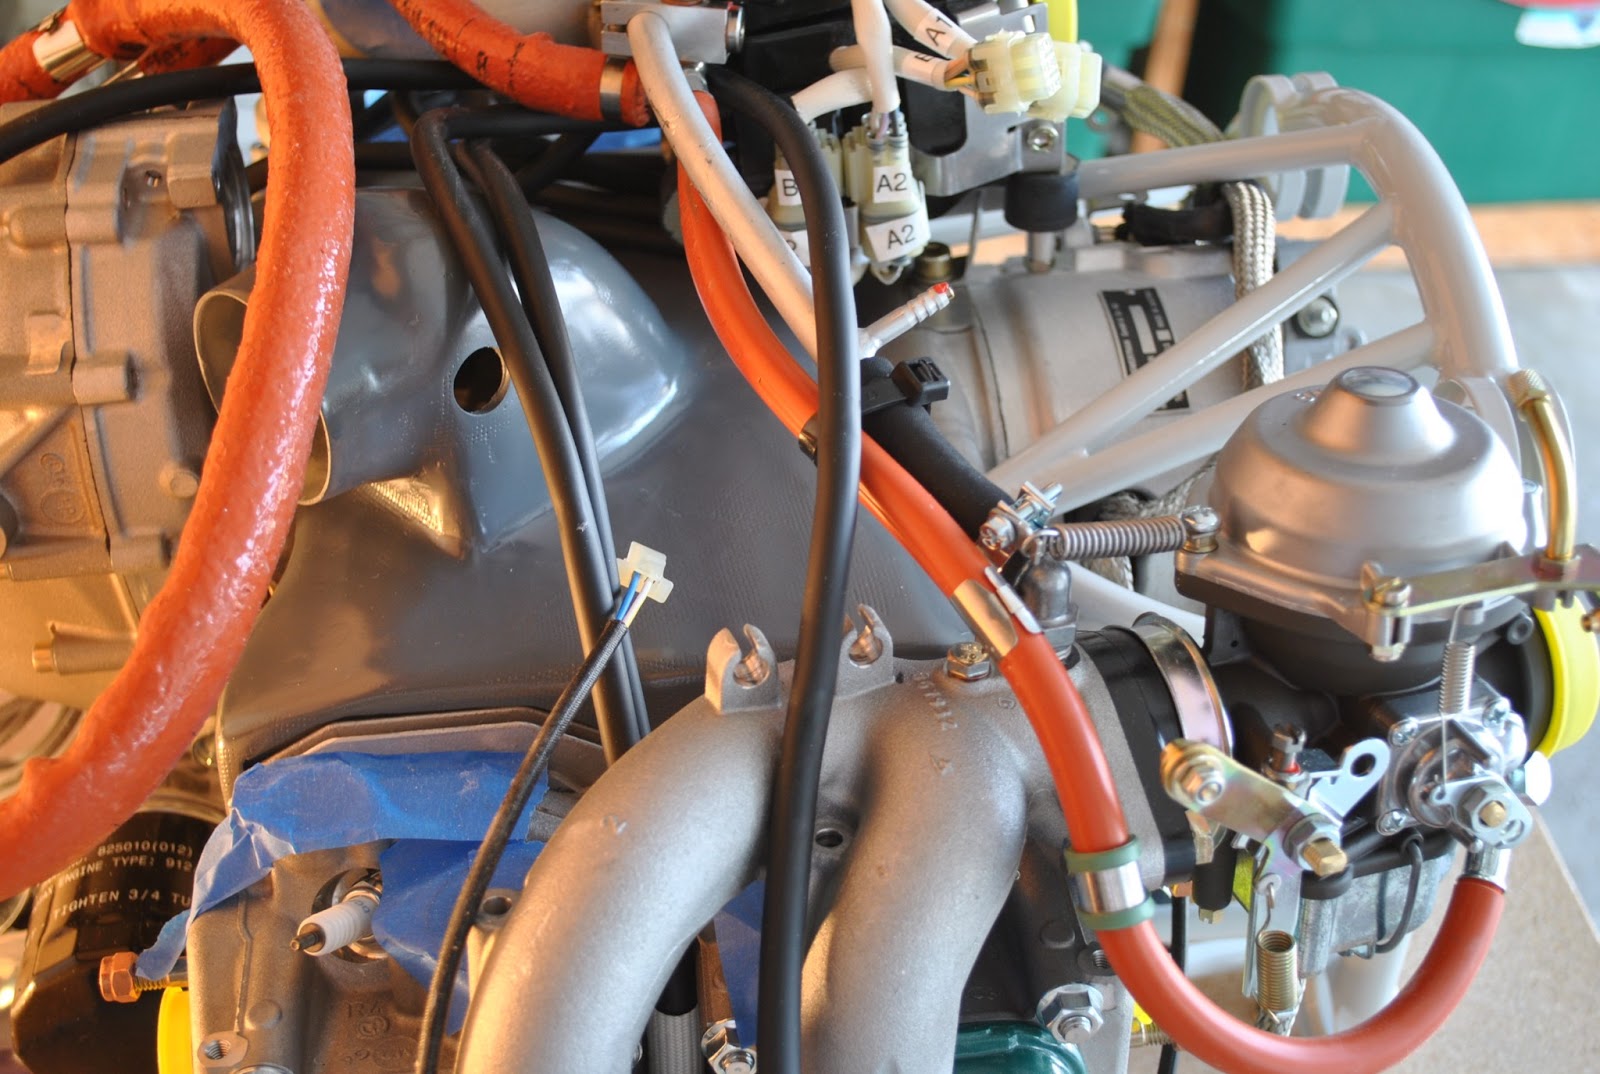
I applied a bead of gray RTV along the
outline of the shroud. I then pushed the
shroud down over the cooling fins on the cylinders and made sure it contacted
the RTV. I used a popsicle stick to make
sure there are no voids along the edge of the cooling shroud. There were a couple of places I had to add
some additional material, but all in all, it worked really well. I have attempted to get some photos of the shroud in place. For my next trick I will begin re-installing
the cooling system over the top of the cooling shroud.