Monday, October 17, 2011

Tank Site Window

 
This evening I put the site window in the side of the tank.  I started by cleaning all of the surfaces that will be receiving Pro-Seal with MEK.  I then mixed up some Pro-Seal.  I spread a thin layer on one side of the window plastic and a thin layer the flanges of the back-up channel.  I drilled the tube of a large syringe and put some Pro-Seal inside.  I used the syringe to apply a small amount of Pro-Seal to the underside of the heads of the screws holding the window in place.  I inserted the first 2-screws and then inserted the window and back-up channel assembly.  What a mess.
 
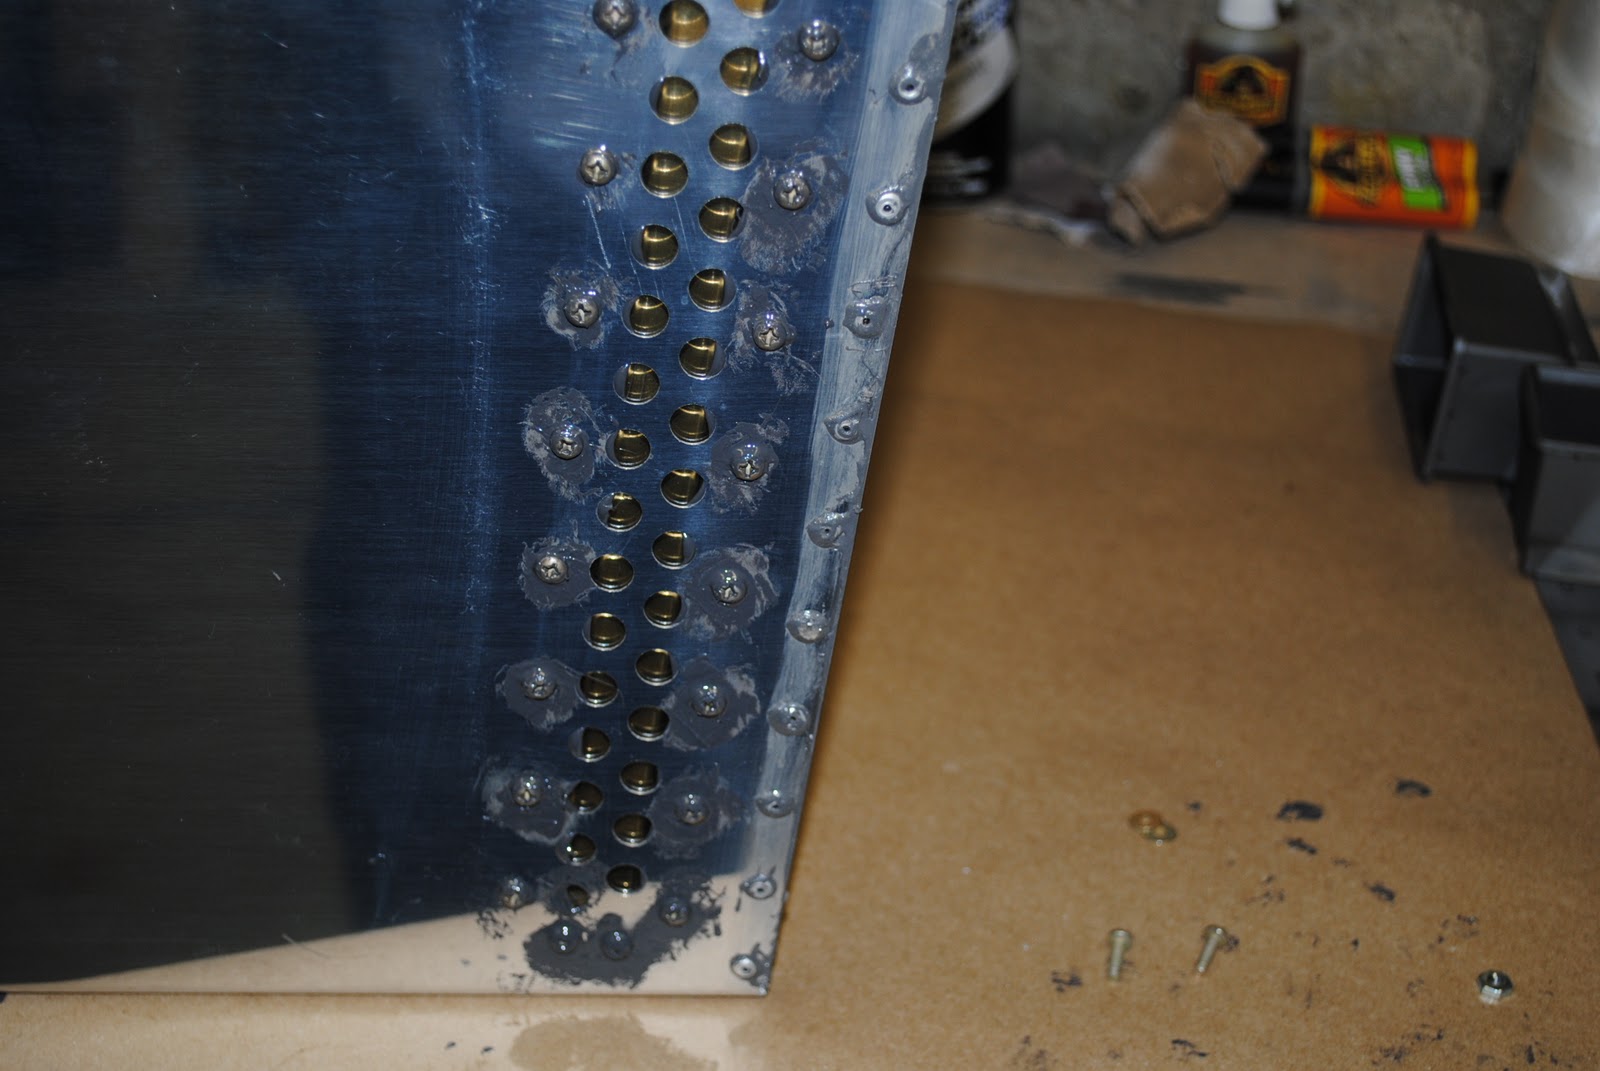
I continued to insert Pro-Seal coated screws into the holes.  I then installed the washers and nuts.  I used a nut driver to tighten the nuts only finger tight.  I ended by making sure all of the screw heads were coated with Pro-Seal.  Because it is getting cold, I installed the site window in the shop.  Now the whole house smells like Pro-Seal.  Arlene is not very happy.

Tuesday, October 11, 2011

Fuel Tank

 
The weather has been pretty bad and I have been out of town so nothing has been happening as of late.  I did set up the work bench in the shop so I can continue to work on the fuel tank.  I cleared off a large space and put down some builders paper on the work bench and placed the tank on it.  I gathered together some of the parts I need to continue the assembly.  I took the plastic covering off the site window plastic and deburred the edges.
 
 
I deburred the flanges used a Scotch Brite on the window back-up plate.  I also put the screws, nuts and washers in some small containers.
The last thing I did was install the fuel strainer in the bottom of the tank.  I used pipe dope to seal the threads.  I can start working on the filler neck.  I will also need to temporarily install the tank so I can install the filler neck between the turtle deck skin and the top of tank.