Tuesday, August 31, 2010

Flaperon Skins

Yesterday the angle I ordered to fabricate a new actuator arm arrived. This morning I fabricated, drilled and primed the new actuator.
I also started to remove the blue film from the nose skins and started to deburr the edges with a Scotch Brite wheel on an angled grinder. As I was removing the blue film from the flaperon rib skins I damaged one of the skins. I have ordered a replacement part from Van's.
After removing the blue film from all of the skins I finished deburring the edges and then clecoed the rib skins in place.

Monday, August 30, 2010

Flaperon Components (contintued)


Today I continued to work on the flaperon components.  I primed the hinge brackets and actuators and clecoed them in place on the spar.  I match drilled the #30 holes in these parts.
I also primed the inboard nose rib brackets and riveted them to the nose ribs.  I then clecoed these nose ribs to the spars.

I removed the clecoes and deburred the holes in the parts and the spar.

Friday, August 27, 2010

Started The Flaperons

I fabricated the hinge brackets and actuators from the materials supplied. I made a mistake on one of the actuators. I cut past the hole into the vertical leg of the angle. Just what I was not supposed to do. I have ordered a new piece of angle from Van's. It should be here next week and I can try to fabricate the part correctly this time.
I match drilled the counterbalance tube, then riveted it to the support ribs. I then clecoed the forward skin over the counterbalance tube and match drilled the #30 holes in the tube and the support ribs. I then removed the clecoes and proceeded to deburr the newly drilled holes and the edges of the forward skin. I also separated the bracket arms and deburred the edges.

Wednesday, August 25, 2010

Trim and Install Left Nav/Strobe Fairing


I trimmed the left nav/strobe light fairing.  I drilled holes in the flange of the fairing and match drilled holes into the bottom wing tip closure.  I mixed some Bondo and spread a thin layaer on the fairing and clecoed it in place.  After the Bondo was set I removed the fairing and sanded the Bondo to conform to the fairing.  I drilled the edge of the fairing and match drilled the wing tip rib.  I used the deburring tool to countersink the 6-holes in the edge of the fairing for the CS4-3 flat head riverts.

Tuesday, August 24, 2010

Left Wing Tip and Wing Walk Doubler

Today I installed and riveted the parts and pieces for the left wing tip and riveted the left wing walk doubler. I had Scott help me turn the wing upside down so I could put on the lower wing components. We then turned the wing over so I could install the upper wing components.
I clecoed the parts in place and then pulled the rivets on the wing tip parts and the wing walk doubler.
We turned the wing over again and I clecoed and riveted the lower wing tip closure.

Friday, August 20, 2010

Finished Right Wing Nav/Strobe Fairing and Riveted Top Skin Left Wing


I mixed some Bondo with some cotton flox and applied it to the flange of the fiberglass nav/stobe light fairing that attaches to the right wing tip rib.  I spread some automobile wax on the wing tip and clecoed the fairing in place.  I allowed the Bondo to set for about 1 hour then removed the fairing from the wing tip.  It came off very easily.  I sanded and drilled out the Bondo from the previously drilled holes in the edge of the fairing and clecoed it in place.  It is ready to be installed with pro-seal.  I will wait until I have both fairings ready to install before I mix any pro-seal.
This evening was another 'Airplane Party'.  I invited the Suttons and Hank and Tina and their kids to come and have some pizza and soda pop and pull some rivets if they felt inclined to do so.  Kerri brought Tim and Taylor and a really good friend, Heather and her two little kids.  Hank and Tina brought Mikeel and Ethon.   All seemed to have a good time.  Earlier in the day I placed the top skins on the left wing and installed the clecoes.  
Everyone that wanted to took a turn pulling rivets.  We were able to complete the riveting of the upper skin and then moved the left wing from the wing rack to the work table so I can install the wing tip and nav/strobe light fairing.  Things are progressing nicely.

Thursday, August 19, 2010

Right Wing Tip and Nav/Strobe light

I riveted the right wing tip close out and checked the alignment of the rear closeout piece to make sure it was parallel with the wing. I pulled all of the rivets on the lower wing tip.

Next I proceeded to prepare the nav/strobe light fairing to mount on the wing tip. I trimmed the fairing to the scribe line. I also removed the cut out on the flat surface of the fairing where the molex connection passes thru into the wing tip cavity.
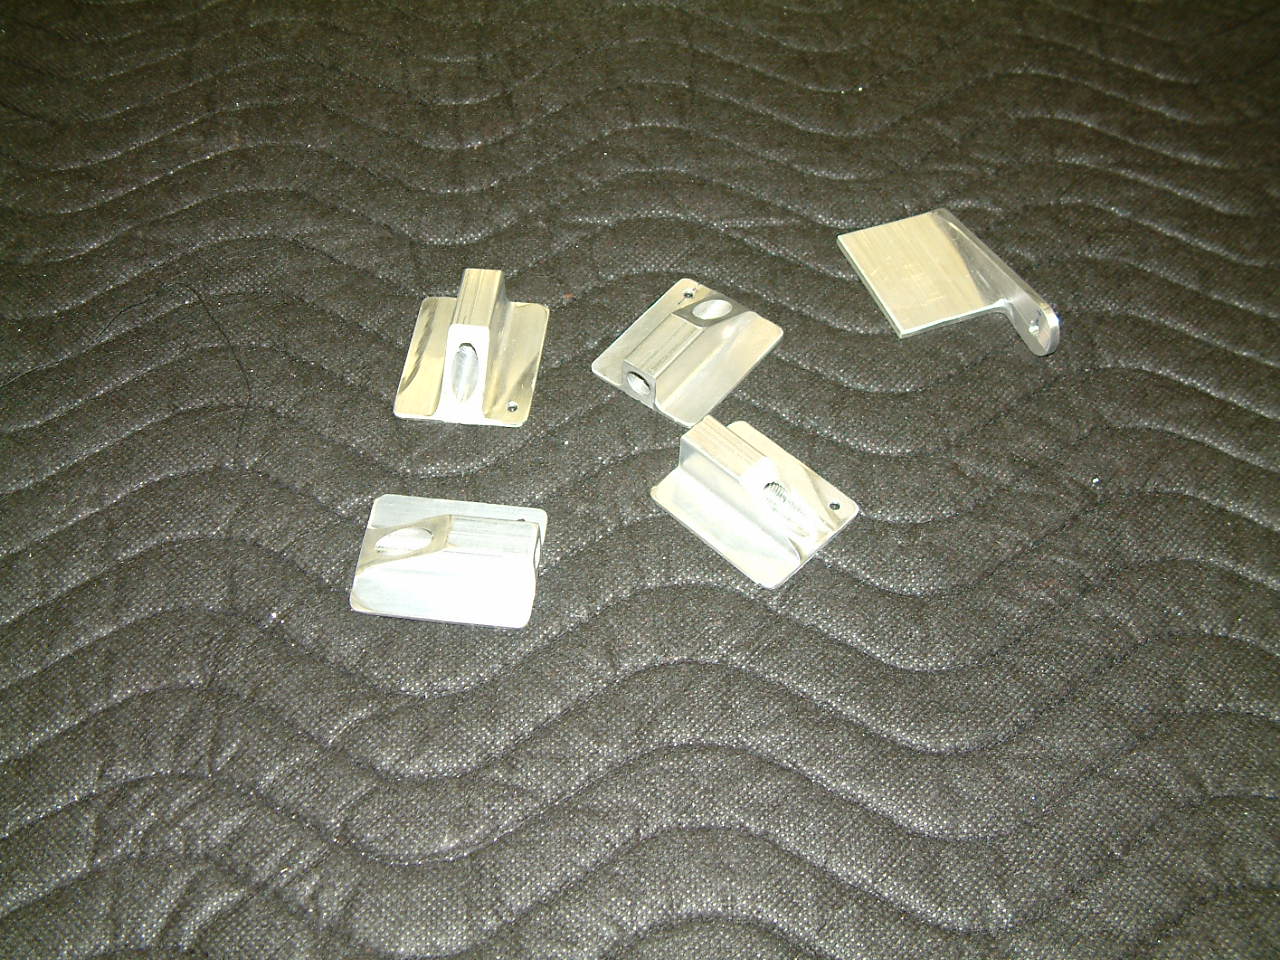
I installed the nav/strobe light bracket to the fairing by clamping the bracket in place over the dimpled spots and then match drilling the #27 holes. I then installed the bracket.
I drilled the dimples in the flanges of the wing tip fairing, then I held it in place on the wing and matched drilled the #30 holes into the wing tip rib and the bottom skin of the wing tip. I installed clecoes as I drilled to keep the fairing aligned.
I fabricated the nav/strobe ground wire and installed in on the wing tip. Next I installed the molex connectors to the wing wiring and the nav/strobe lighting fixture. I tested the light fixture to make certain it was wired correctly. I worked just fine.
I temporarily installed the nav/strobe light to the wing tip fairing. I looks great. I will need to mix some fiberglass resin with flox and fill the recess between the fairing and the actual wingtip.

Tuesday, August 17, 2010

Right Wing Tip

I clecoed the right wing tip fore and aft panels in place to make certain they fit properly. I removed the panels and removed the blue film. I deburred the edges of both panels and then riveted them in place on the wing tip.
I clecoed the fore and aft tip ribs in place. I fluted the forward rib so it followed the curve of the upper wing skin. I then clecoed them and riveted them in place. I then turned the wing over so I can work on the bottom of the wing tip.

I used one of our work benches to lay out the bottom close out skin tab angles.  I used business card to cut the various reference angles and fabricated a bending tool as shown on the drawings.  I then proceeded to bend the tabs to the appropriate angles using the reference cards to make certain the angles were correct.  It all went very well.

I clecoed the bottom closeout skin to the wing top.  All of the holes lined up just right and the skin fit like it was supposed to.  I am now ready to rivet the close out skin in place along with the trailing edge close out piece.

Monday, August 16, 2010

Finished Riveting Upper Skin Right Wing


Today I finished riveting the upper skin on the right wing.  I riveted the wing walk doubler using the flat head rivets at the leading edge as indicated.  All went well.
I turned the wing over and clecoed the trailing edge rib to the rear spar.  I also clecoed a section of the bottom of the wing tip in place.  It is ready to be riveted to the wing.  I will turn the wing back over and begin installing the upper wing tip skins.
 

Friday, August 13, 2010

Rivet Upper Skin Right Wing

Before starting to work on the wing today I installed some 1x1x1/8 aluminum angle on the vise jaws. This is intended to keep the jaws from deforming any parts I may need to clamp in the vise.
Today I riveted top skin from the leading edge to the main spar.
I also fitted the wing walk doubler to the wing. I sued the shop break to break the front edge of the double so it will lay flat against the wing skin below the leading edge.