Tuesday, December 31, 2013

Platforms, Ramps and Fuel Tank

Today I fabricated some 2" high platforms and some ramps.  The platforms 
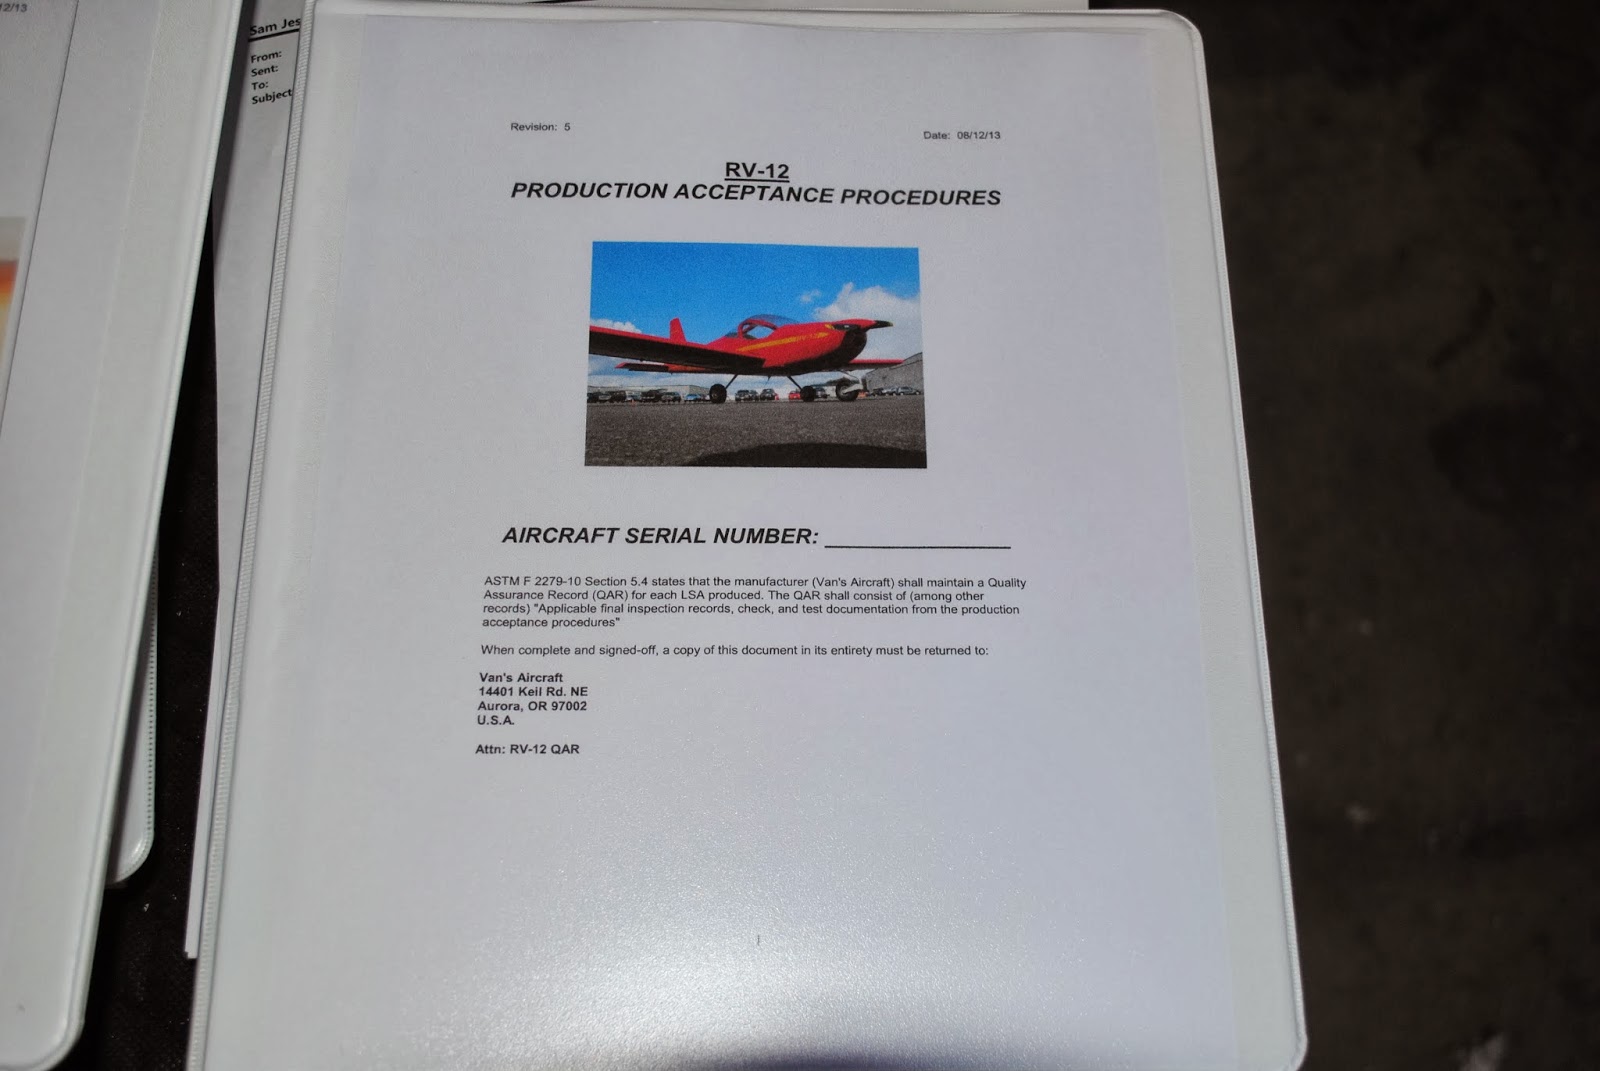
are to go under the main gear during the Production Acceptance Procedures.  Also, the airplane main gear will be on the platforms during the weight and balance calculations and set-up.  The platforms have ramps built into them so they are an integral unit.  I made the platforms large enough for the scales to site on them.  I also made short ramps to be used to roll the nose and main gear onto the scales.
Yesterday I ordered the Moller mechanical fuel gauge for the fuel tank.  It should be delivered next week.  I ordered the gauge, the fasteners to install the gauge and 2-Pro-Seal 1 oz kits.   I have 1-Pro-seal kit but I am sure I will 
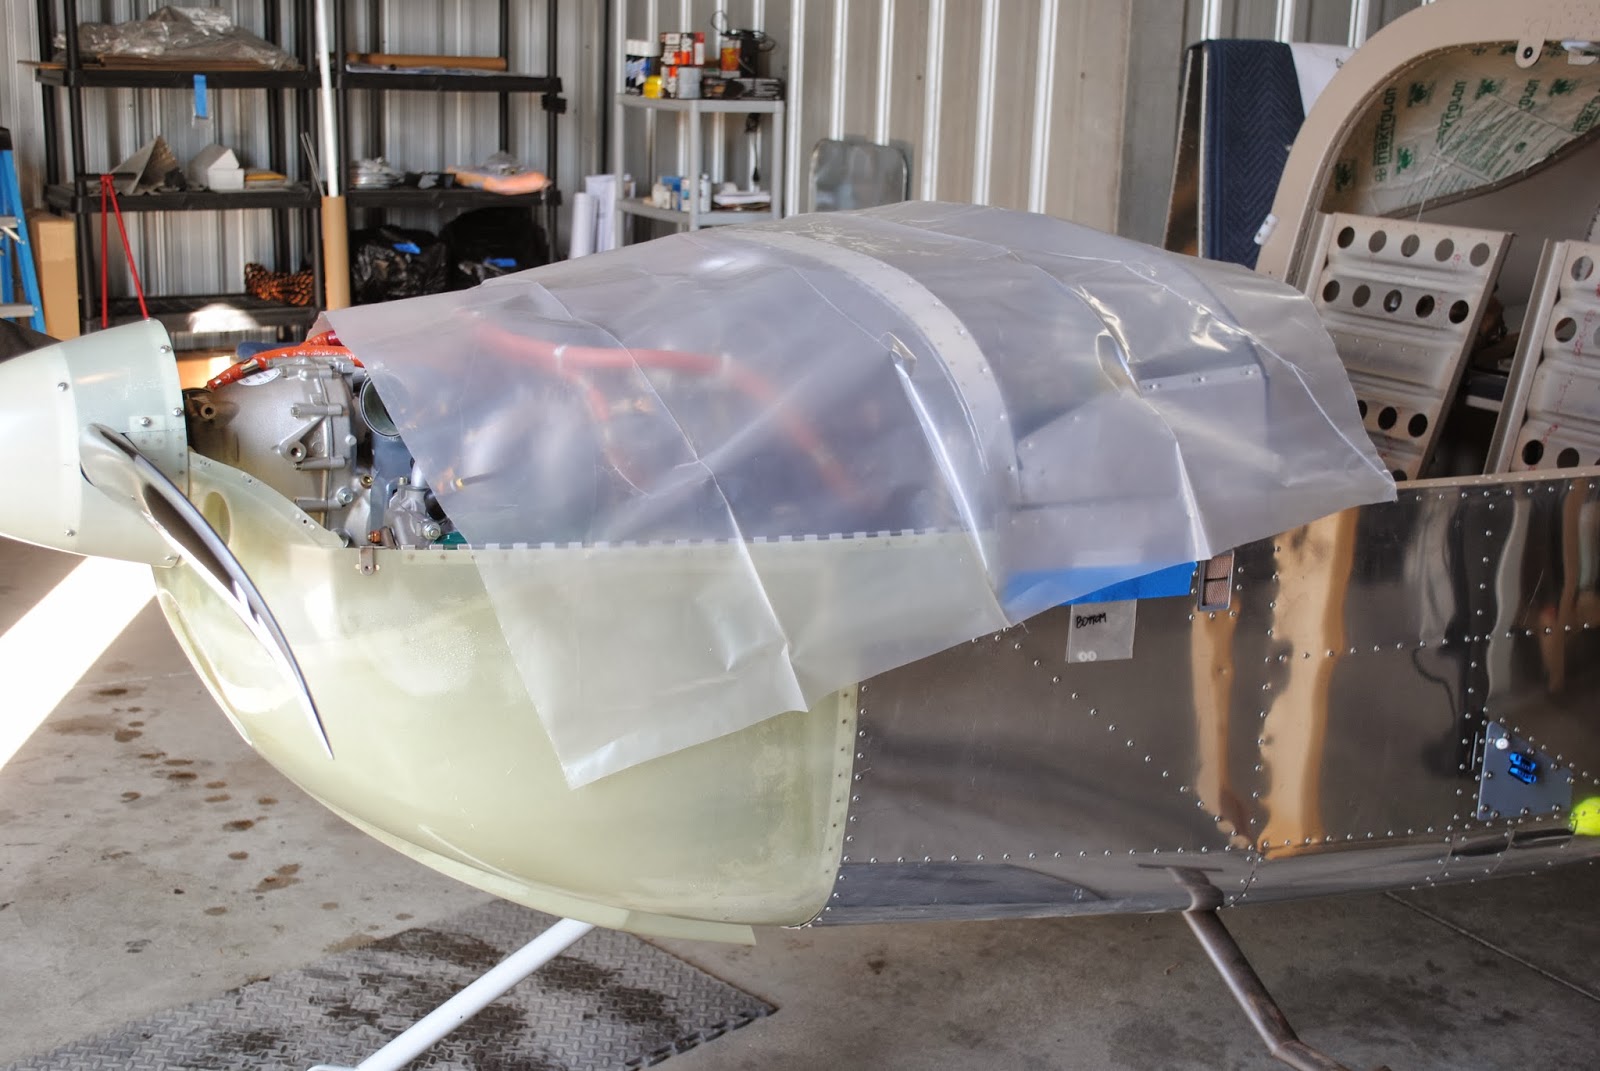
need more to install the fuel, the new vent and seal I n the rear window.  While at the hangar today I cut a piece of plastic and put it over the small table with books and documents on it.  I don't want any water dripping on the documents or loose leaf notebooks.   I also marked the top of the fuel tank with the location of the Moller fuel gauge and the location of the new fuel tank vent fitting. I will drill these holes next week.  First I will need to remove the sender plate on the forward end of the tank.

Thursday, December 26, 2013

Door Sweep and Remove Fuel Tank

Earlier this week I spoke with Ernie Patey.  Ernie told me Van’s is going to send out a Service Bulletin about the new fuel tank vent.  I emailed Van’s and was told a Service Bulleting and a kit would be out next month (January).  I decided not to seal in the rear window until I have been able to make the tank modification.  It is easier to remove and install the tank with the rear window removed.  Accordingly I removed the right turtle deck and removed the clecoes on the right side of the rear window.  I removed the fuel tank.  I have also decided to install the mechanical fuel gauge.  I will order that from Van’s next week.  I’m becoming proficient at removing and reinstalling the fuel tank.
I also decided to do something about the dust and snow that collect in the hangar when the wind blows.  Dennis King, the guy who has the hangar next to mine told me he considered installing a brush type door seal on the bottom of the hangar door to keep the dust, weeds and snow from blowing in under the door.  Dennis has not installed such a device on his hangar  but I thought I would put a sweep on my hangar door.  I contacted Sterling Smith at 3-D Sheet Metal and asked him if he would make some 24 ga galvanized trim for me.  He agreed to do so of course so I had him fabricate 42 lf of ‘Z’ trim.  I screwed the trim to the bottom rail of the hangar door.  I also ordered 6-each 7’ long pieces of aluminum brush type door sweep.  I screwed the sweep to the ‘Z’ trim and now I have a very effect seal on the bottom of the hangar door.  It should go a long way in keeping snow and debris out of the hangar.

Tuesday, December 17, 2013

Rework the Rear Window and Turtle Deck

Today I discovered that there were small puddles of ice all over the hangar floor.  Because it was a little warmer today and the sun was shining there was some condensation in the hangar.  When it is soo cold at night, and as cold as it has been during the day, the moisture in the air freezes to the bottom side of the roof sheets.  When the air warms up a little and the sun shines on the metal roof panels, the frozen moisture on the bottom of the panels melts, runs to an edge of the roof corrugation and falls to the floor as rain drops.  Because the floor is still so cold the water freezes into a little ice puddle.  I found drops on the instrument shelf, in the engine area, on the work bench and on the drawings.  I cut some plastic and put it over the forward end of the airplane.  I also put some plastic over the drawings.
I removed the rear window.  I removed the paper protecting the inside surface of the window and then reinstalled the window on the fuselage.  I clecoed it in place.  I also removed the paper from the exterior surface of the window.  I reinstalled the left turtle deck.  With the paper gone it is not easy to see the lexan window but it is there.  I need to weather to continue to moderate so I can mix some Pro-Seal and install the window with fasteners.  It will be the 1st day of winter in 4 more days.  I think it will remain cold for a long time yet.

Monday, December 16, 2013

Tension Stabilator Cables

Today I tensioned the stabilator cables.  I installed the seat pan to hold the forward bulk head in place.  I then removed the left turtle deck so I had access to the stabilator cables in the tail cone.  
I made some tools to be able to tighten the barrel bolts on the cables.  It was a tight fit, but I was able to tighten the cables through the utility access holes in the bottom of the fuselage.  So you are not confused, it was not easy putting my big paws through the holes and working.  I had a small LED flashlight I turned on and put inside so it would illuminate the work area.  It is pretty tight working in there.  I dropped the tools a few times.  I made them out of some left-over hinge pin stock.  One time I had to resort to a magnet tied to a string to pick up a dropped tool on the floor of the fuselage.  It was up against a rib and I could not feel it with my fingers.
After considerable effort including getting up and down off of the floor creeper, retrieving tools, getting additional tools from the tool chest and work bench I was finally able to get the tension on the tensionometer to read 45 lbs.  I picked up the tools and put them away.  It is really cold in that tin can of a hangar.  I am glad I don't have to be there all day long.

Friday, December 13, 2013

Documents and Rear Window

Van's has published some revisions to 3-of their published documents.  The PAP (Production Acceptance Procedures), the FTS (Flight Training Supplement) and the MM (Maintenance Manual).  I printed all 3-documents and took them to the hanger.  They have replaced the previous versions of the documents.
I also clecoed the rear window in place.  I will need to apply some heat and hopefully I will be able to install the window with some Pro-Seal as directed.

Friday, December 6, 2013

Fuel Tank and Turtle Deck

Today I reinstalled the fuel tank.  I bolted it back in place and attached the ground and sending wires to the forward end of the tank. 
I also reinstalled the ELT antenna. 
I then clecoed the turtle deck in place and connected the fuel filler tube to the fuel tank  I also installed the fuel cap.  It is really cold in the hangar now so I am going to have to wait for the temperatures to moderate a bit before I can install the rear window with Pro-Seal. 

Thursday, December 5, 2013

New Paint Scheme

I have not been to the hangar since the week before Thanksgiving.  Arlene and I flew to Erie, PA. the week of Thanksgiving to spend the holidays with our kids.  It was a fun time.  Since our return I have not been able to get to the airport.  I have worked on a new paint scheme.  It is based on the paint scheme of my father’s Pipe Comanche 180.  I think with a few refinements this is the one I will use.  I will be meeting with a painter in the next week or so to get started.

Friday, November 22, 2013

SkyView / SL-40 Com Radio and Self Fueling

Yesterday I received several items I have ordered in the last week.  I received 2 each 5-gallon metal gas cans, a filter funnel and a grounding cable with a clamp on each end.  I will need these as to fuel the airplane.  I will be working with the Salt Lake Department of Airports to become certified.  Until I am certified and show that I have the proper equipment I cannot do any fueling.
I also received the part (wire) to connect the SkyView to the SL-40 Com Radio.  By installing this wire I will be able to put frequencies looked up in the SkyView airport data base directly into the SL-40 Com Radio.  That means upon looking up a frequency I can push a button and it will be tuned into the SL-40 standby.  Then by pushing the switch button the new frequency will be ready to use.  I put the end of the wire in the D-Sub connector on the AV5000A control module.  
I ran it along the wire bundle over to the SL-40 and put wire ties along the way.  I used a mirror to put the pin in the connector on the SL-40 radio tray.  It all went really slick.
It was a tight fit for big fingers but I was finally able to remove the screw holding the original ground wire and slip the new ground wire ring inplace and reinstall the screw.  It is really cold today so I didn't stay long at the hangar.

Thursday, November 21, 2013

Fuel Pump Switch

My plan is to install an on-off switch to in the fuel pump circuit so I can turn the electric fuel pump off when I am updating the SkyView and need the electrical system activated.  Or at other times it might be nice to be able to turn off the pump without pulling the fuse.  Yesterday I emailed OTTTO Manufacturing to ask which switch I should order.  Their sales rep for this area called and said OTTO does not sell individual switches.  He also told me he was coming to Salt Lake City on the 21st.  He said he had a meeting in Spanish Fork.  Of course you go through Pleasant Grove, where my office is located, on your way to Spanish Fork.  He also told me if he happens to have a switch in his sample kit he would drop one off for me.  What a deal.  He called a little later to tell me he has a switch and will drop it off.  I now have the switch.  I took it to the hangar and using some test leads hooked it up to a 12V battery and a test light.  There are 4-terminals on the back of the switch.


After trying several different wiring configurations I finally found how to hook it up so in the on position the test light glows and the green indicator light on the switch glows.  When switched off both light go out.

Wednesday, November 20, 2013

Brake Fluid

Today I filled the brake lines with fluid.  I purchased the fluid several months ago.  Yesterday I purchased some ¼" plastic tubing from Home Depot.  I cut of a 2' piece of tubing and inserted it over the end of the spout on my oil pump can.  I filled the can with fluid, opened the bleeder valve on the brake and attached the tube.  I pumped fluid into the right brake system until it filled the reservoir ½ full.  

I removed the tubing and closed the bleeder.  I attached the tubing to the right brake caliper bleeder valve and pumped fluid into the right brake lines until the reservoir was nearly full.  I closed the bleeder and removed the tubing.  I checked the brakes.  There seems to be good pressure on both pedals on both sides.  It appears to be a success.  The lines are all pink.