Friday, January 28, 2011

Cleaned, Dusted, Vacuumed, Moved


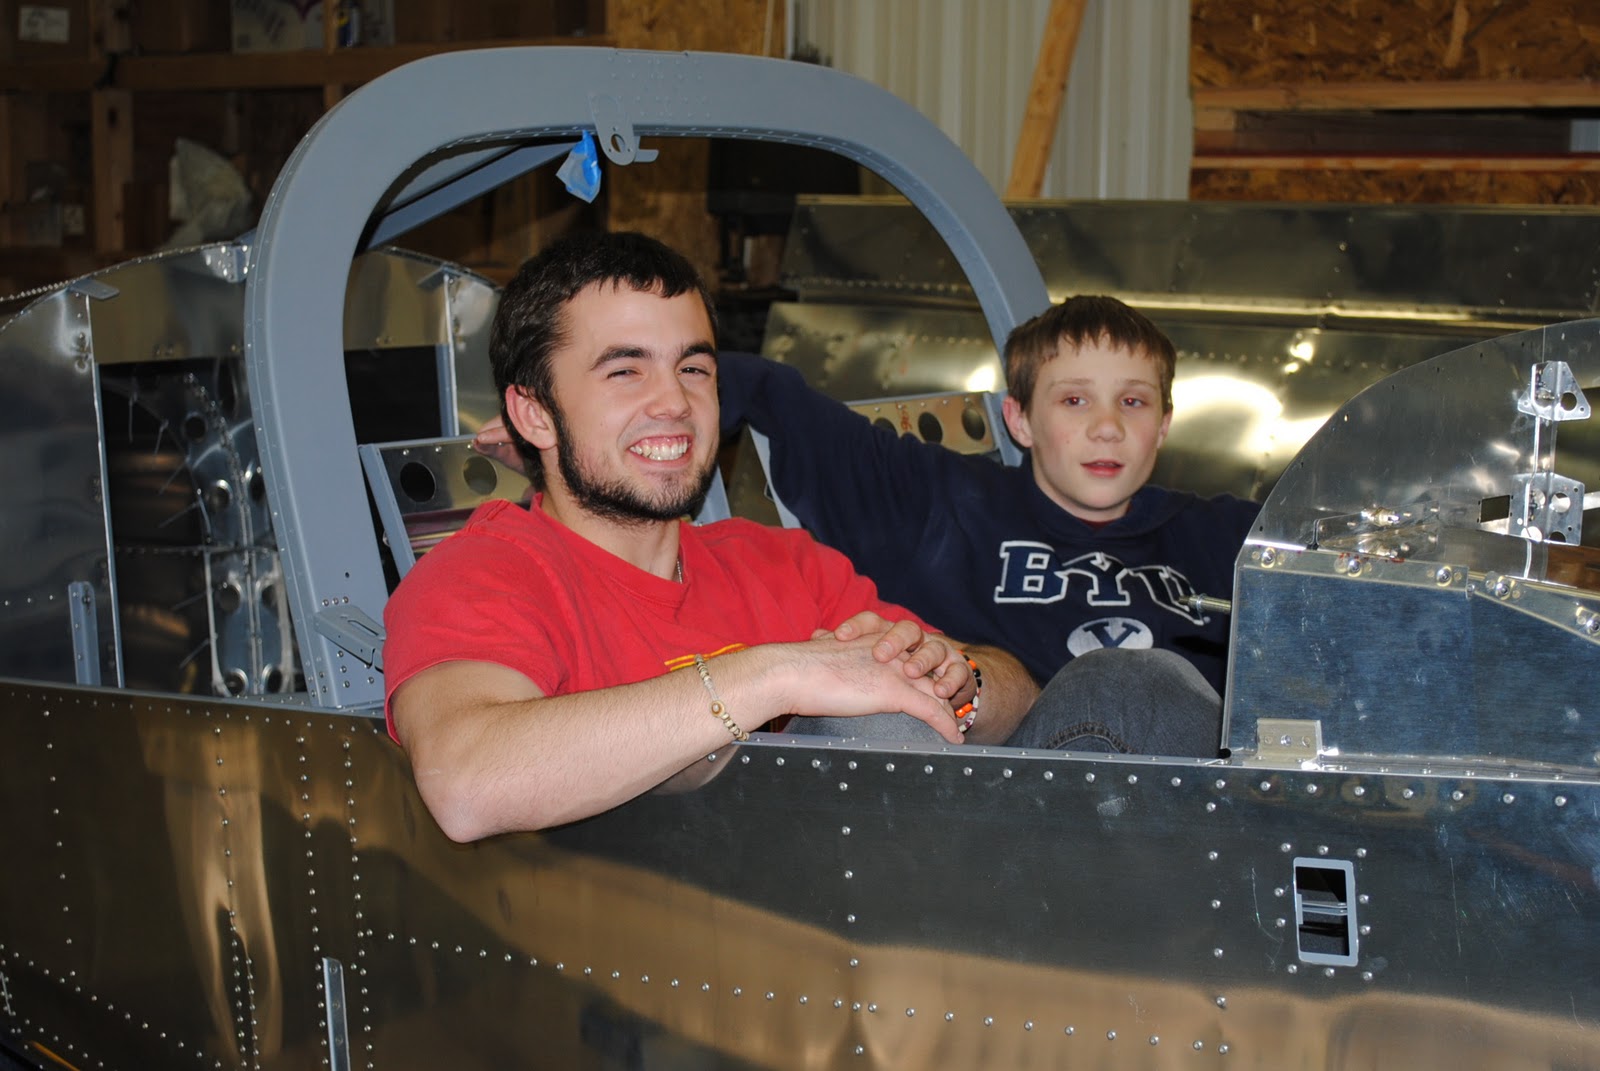
This evening I had Arlene, Kerri, Shelly, Tim, Cameron, Kaleb and Taylor help get thing ready for the RV Group Open House.  We will be hosting the group open house on February 12th, from 2-4:00 pm.  In preparation we vacuumed out the inside of the fuselage.  There was a lot of aluminum shavings inside.  We dusted and wiped down the dusty surfaces inside and outside of the fuselage.  We also dusted off the vertical stab and the wings.  We moved the fuselage onto the short saw horses.  I let the kids sit inside which they thought was a lot of fun.


We also temporarily clecoed in the rear window and turtle deck skins.  I temporarily attached the vertical stabilizer and rudder.  It was a very productive evening.

Thursday, January 27, 2011

Pro-Sealed Upper Firewall


This evening I mixed some more pro-seal and sealed the upper firewall at the upper forward skin attachment and the finished sealing the firewall rivets.

Wednesday, January 26, 2011

Pro-Seal Firewall and Canopy Ribs


Last night before going home I mixed some pros-seal and filled the joint between the canopy ribs and the instrument shelf and firewall.  I also put s dab of pro-seal on the heads of the rivets on the upper firewall.  I put pro-seal on the lower rivets some time earlier.  The pro-seal in the joint looks pretty good because of the masking tape.  I pulled the tape off this morning.   I will mix some more pro-seal and seal the upper firewall at the upper forward fuselage skin attachment.

Tuesday, January 25, 2011

Prep Canopy Ribs and Firewall For Sealant


I began to prep the canopy ribs for sealant.  I removed the upper forward fuselage skin.  I taped the notches in the upper firewall so I can apply sealant from inside of the instrument shelf area.  I also applied tape to the canopy ribs so I can apply sealant to the ribs and help contain the mess.  I purchased some additional syringes from Cal Ranch to apply the sealant.  I also purchased some small paper (hot drink) cups to mix the sealant in.  When I have a couple of hours free I will mix and apply a batch.

Monday, January 24, 2011

Installed Chromed Camlock on Map Box Door

 
Yesterday Brian Baker returned the camlock to me.  He had his guys at work (Salt Lake Chrome) chrome plate the part.  He said it is not a very good job, but to me it  looks like a million bucks.  I inserted the camlock through the hole in the map box door.  Using a small socket and a pair of channel lock pliers I pressed the locking washer onto the camlock holding it in place.  I think it looks pretty good.  Now I am waiting for the next kit to arrive.  I will have the grandsons help this Friday evening to clean out and vacuum the fuselage.  I need to dust off the saw dust from the exterior of the wings, vertical stab and rudder and the fuselage.  I also need to make a minor repair to the left wing root.

Friday, January 21, 2011

Assemble Instrument Panel


This morning I riveted the map box door to the map box.  I have given the camlock to Brian Baker who is going to have it chromed.  The part that is installed into the map box door will be chromed.  Because of the issue with the Garmin 496 and very likely the Garmin transponder there is no reason for me to continue to work on the instrument panel.  The next and last section of the fuselage build is to rivet the center section of the instrument panel to the instrument shelf and instrument stack support angles.  It makes no sense to me to continue to work on the center section of the panel if it will need to be redesigned and replaced.  I have clecoed all 3-sections of the instrument panel in place.  The right section is painted of course, but the other 2-sections are unfinished.
 
I will now need to wait for the next kit before I can continue with the build.  In the mean time I will begin prepping the interior for paint.  I have ordered the interior finish kit which includes carpet, sidewall covers and a rear bulkhead cover.  I will only paint those areas in the cockpit that will not be covered by the interior finish package.

Tuesday, January 18, 2011

Prep Right Instrument Panel For Finish

 I sanded the rivets holding the map box to the instrument panel.   
 
 
I filled the depressions with Bondo.  I then sanded the Bondo and applied a coat of self etching primer.
 
I sprayed a coat of flat black paint on the map box door and right instrument panel in preparation for spraying the black 'Hammered' finish.
I learned yesterday that it is officially 'unofficial' that the instrument package is going to be changed.  Garmin is no longer manufacturing the 496 which is the GPS unit installed in the RV-12.  Vans has indicated they are going to redesign the instrument package around the Dynon 'SkyView' which seems to make everyone pretty happy.  The SkyView is an integrated system that includes GPS, traffic with the Mode-S transponder installed and the auto pilot.  If the package is installed as advertised it looks like the Gamin GPS and Transponder will be eliminated.  The SkyView comes with a 7" or 10" screen.  I don't think the 10" screen will fit, but I may be wrong.  Anyway this means the left and center instrument panels will need to be redesigned to accommodate the new system.  Since my next step was going to be paint and install (with rivets) the center instrument panel I have decided not to do so.  I will wait until the announcement is official and the SkyView has been installed in the factory airplane.  I don't what to have to drill out the center panel if it is going to be redesigned.

Friday, January 14, 2011

Repaint Map Box Interior

Early this morning I scuffed up the interior of the map box with a Scotch Brite pad.  Also the inside of the door and the hinge halves.  I re-sprayed them with the Rustoleum "Hammered" black finish.  They look pretty good at this point.  
I also used a file to adjust the camlock fixture so it will fit better.  When I attempted to make the camlock work with the map box clecoed to the instrument panel it took an extreme effort to lock the map box door.  Now that I have filed the fixed part of the lock it should work just fine.  If not I can always purchase another camlock and work on it until it fits properly.
 
 
This afternoon I riveted the map box to the instrument panel.  It all went together very well.  I used flush blind rivets where it was not possible to use the rivet squeezer  All of the rivets set very nicely.  I will use some Bondo to fill the holes in the blind rivets before I paint the right instrument panel.  Next week I will begin to work on the center section of the instrument panel and make an effort to paint them.