

Today I removed the canopy frame from the fuselage. I moved the work table onto the driveway and tipped the canopy into the upright position.


I removed the bolts from the gas struts and pivot point. Because I had a washer on the left side of the canopy pivot attachment, that side cleared the upper fuselage skin without any problem. The right side seems to catch on the upper skin when the canopy is being raised. I decided to put a washer on the right side also. To hold them in place I decided to adhere the washers to the fuselage instrument rib. I sanded the area around the attachment holes and the back of the washers. I mixed up a small amount of JB Weld and using the pivot bushings as a guide I adhered the washers in place. I think this will be a good solution. The washers are held in place by the JB Weld. It will be a lot easier to install the canopy frame with the washers in place so I don't have to use a special tool to hold them while inserting the pivot bolts.


After attaching the washers I turned my attention to the canopy frame. I put the frame on the work tables and removed the gas struts. That will make it a lot easier to prep the frame for primer and finish painting.

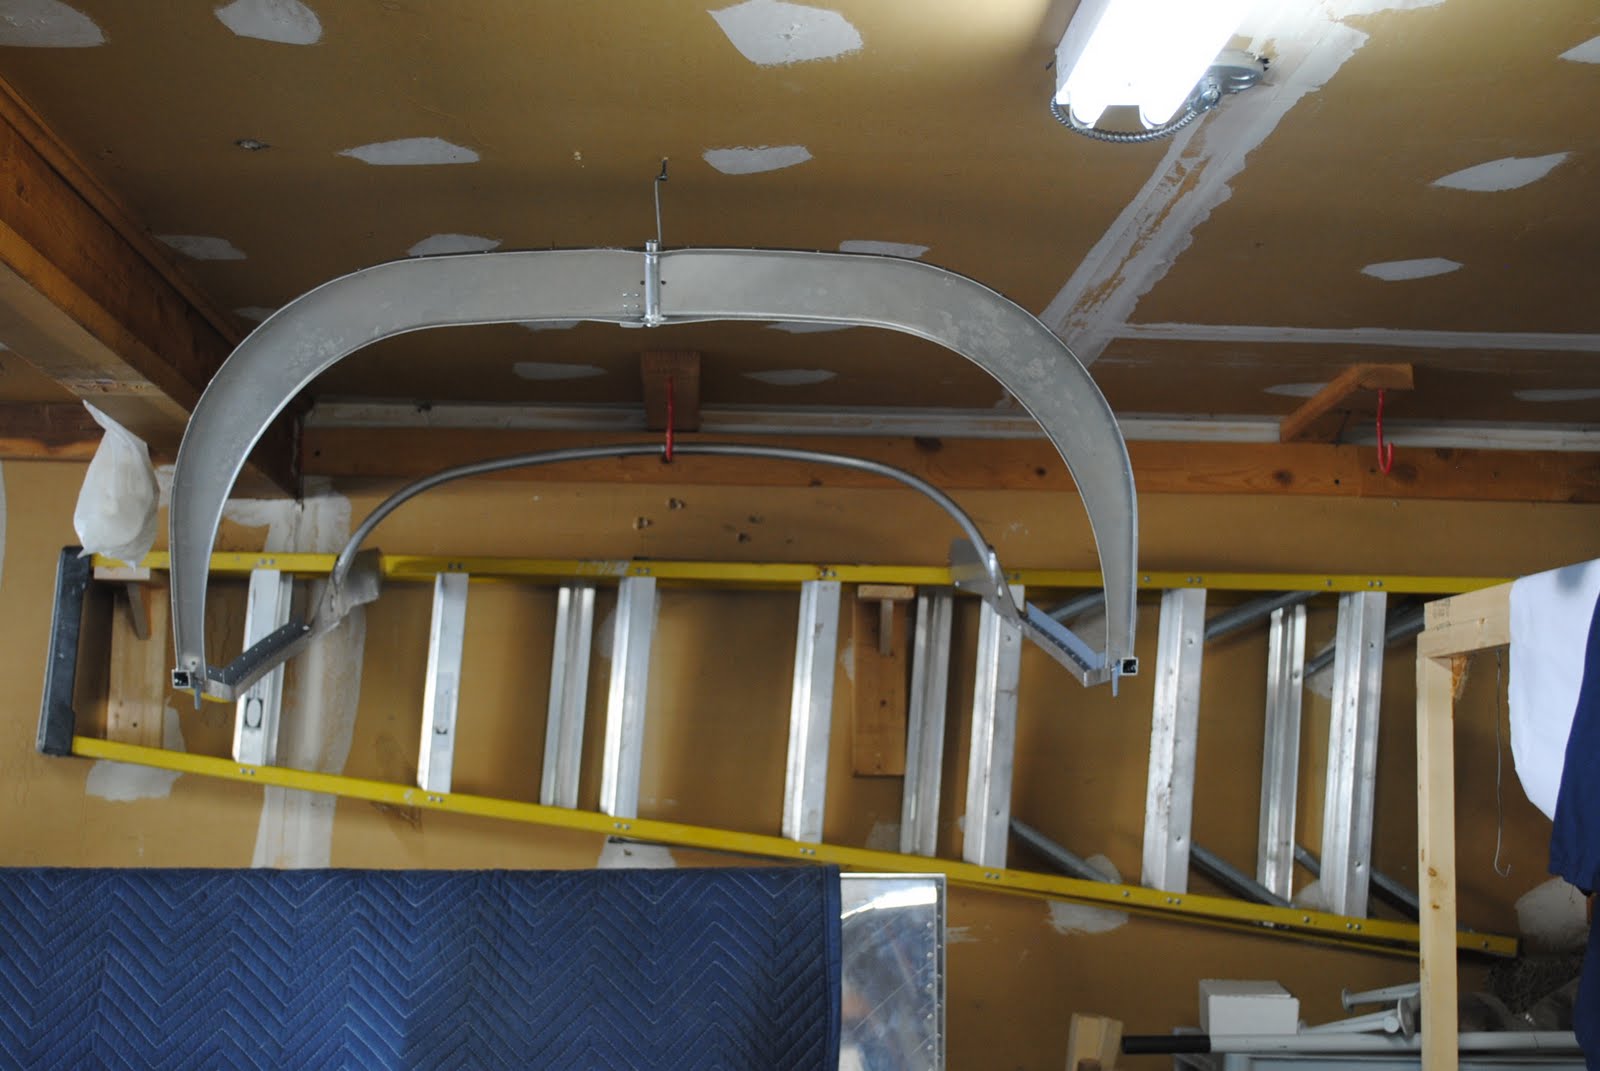
I decided to find a place to store the frame so I can put the tables away. To support the forward end I used a hook in the ceiling previously used to store a bicycle . To support the aft end I screwed a grabber into the ceiling and attached a piece of #9 wire with a hook at the bottom. By hooking the latch attachment tube, I can hang the canopy frame up and out of the way. I will need to find a better way to hang it after the Plexiglas bubble has been permanently attached.
