
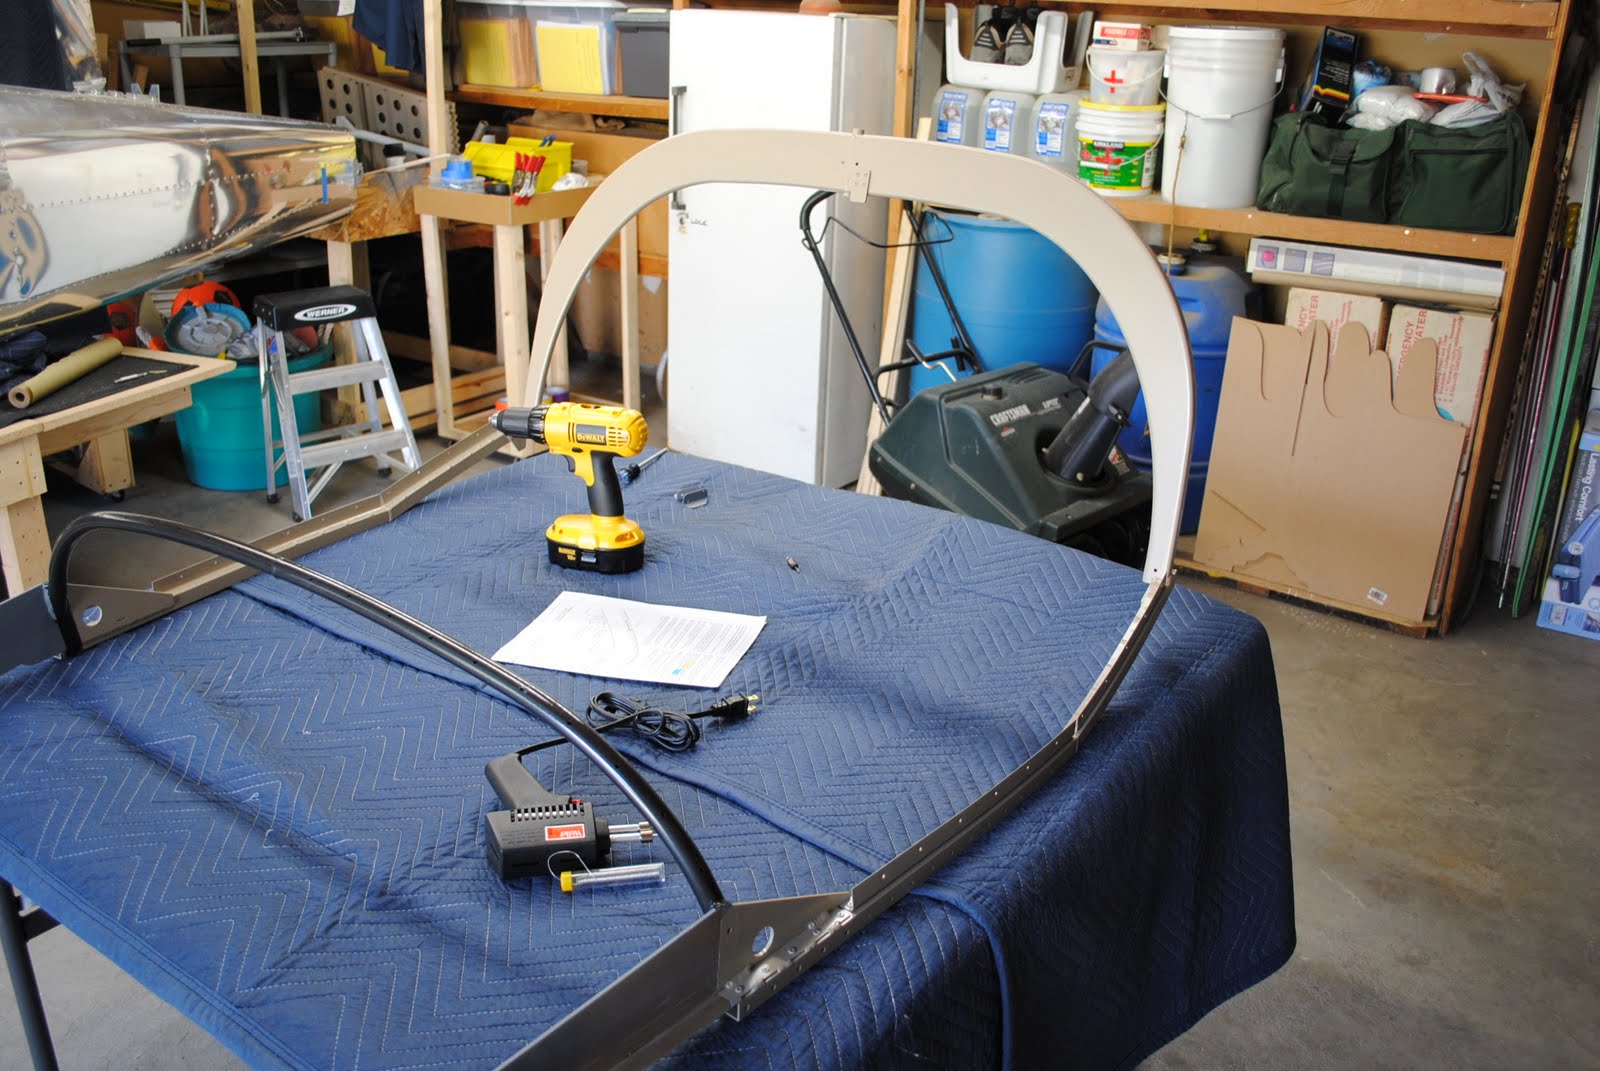

This evening I was able to do several things. I started by stripping the masking paper and tape from the fuselage and canopy frame. I set up the work tables and put the canopy frame on the table. I also decided to solder the cockpit light to the power supply wires. I put a small piece of heat shrink on the wires and then soldered them together. I should be able to tuck the wires up behind the light and use some RTV sealant to hold them in place.

I also installed the latch block to the bottom of the rear roll bar. I used an 8-32 tap to cut threads into the holes in the bottom of the roll bar and then attached the block with 8-32 flat head screws. I countersunk the screw holes before installing the block.


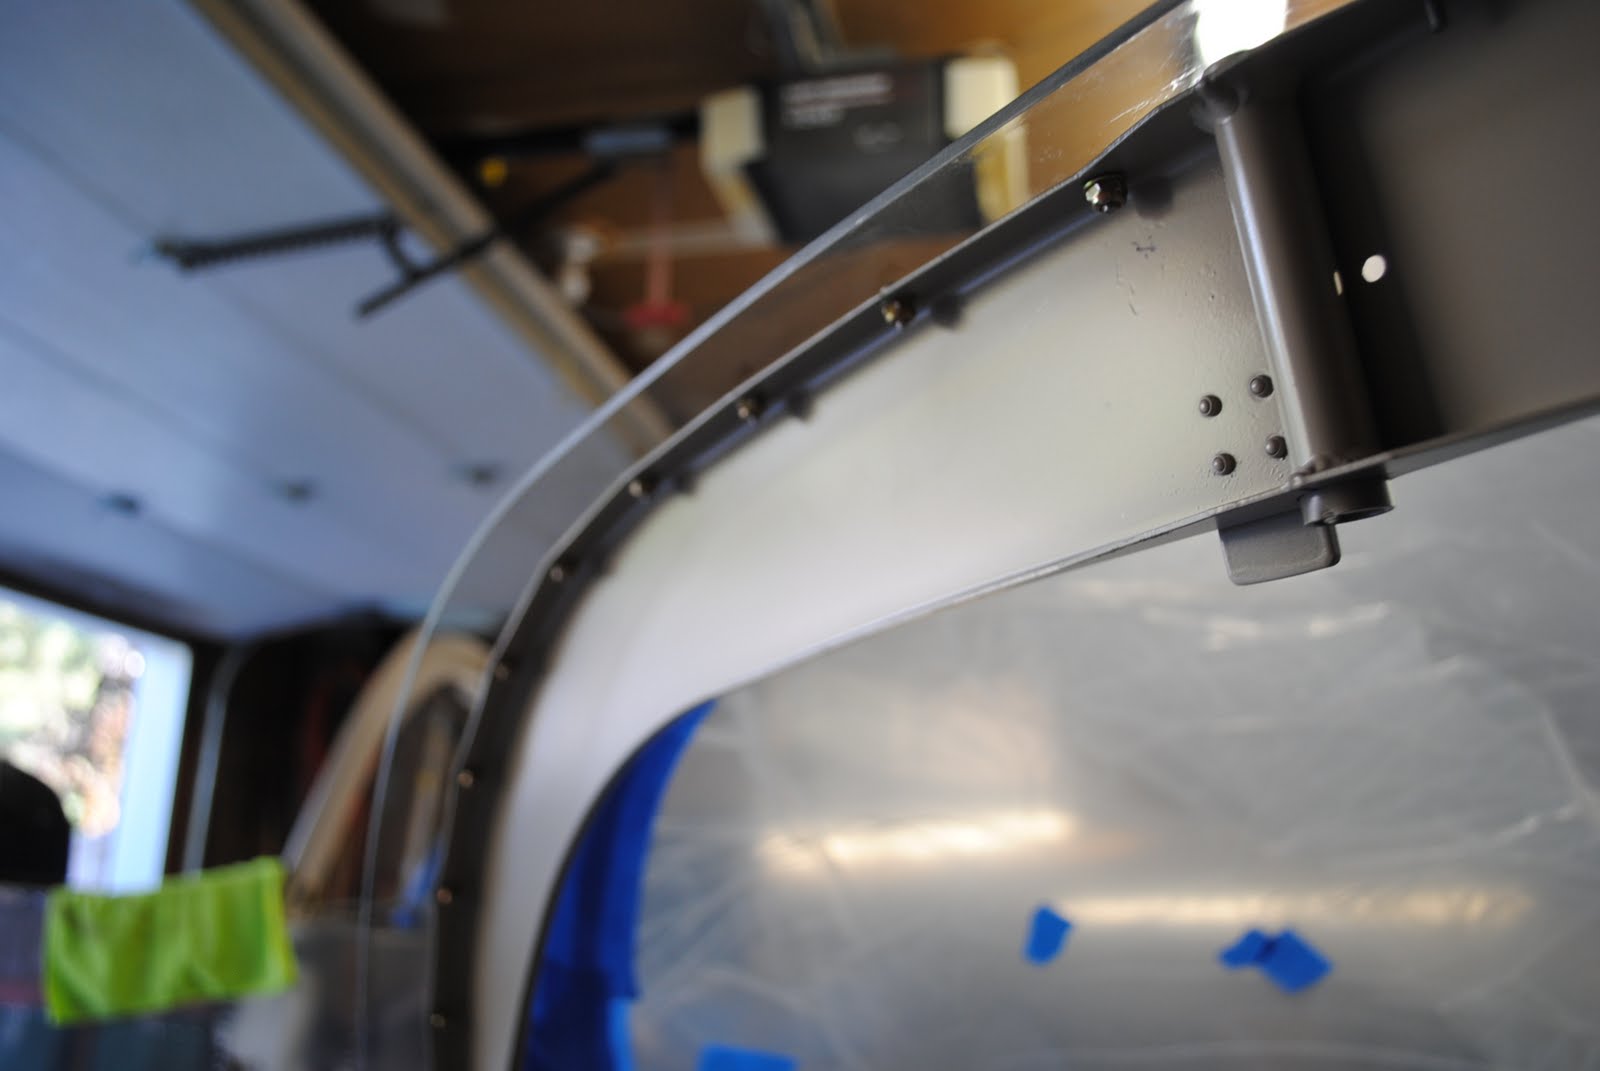
Next I put the Plexiglas bubble on the canopy frame. I installed clecoes in the front bow and rear roll bar. Using the correct screws, washers and nuts I attached the canopy bubble to the rear roll bar.


Next I clecoed and then riveted the side skirts to the canopy frame. After riveting the skirts and lift handles I used the screws, washers and nuts to attach the canopy bubble.

The next step was to rivet the canopy bubble to the front bow. I used the hand rivet tool so I would not overstress or over-pull the rivets through the Plexiglas.


I also installed the latch handle. I had to file the top of the tube to get the handle to fit properly. I put a light coat of grease on the latch handle tube and put some silicone 'aquarium sealant' around the hole in the top of the Plexiglas bubble at the latch handle tube. Hopefully the latch will be water tight.


After working on the canopy I decided to start installing the Auto Pilot servos. I set up the steel saw horses and put moving pads on them. I then turned the fuselage on its side on the saw horses.


With the fuselage on its side I can more easily reach the areas where the servos are installed. First I removed the nut and washer from the fastener installed in the seat rib where the pitch servo will beinstalled. I set the servo in place and proceeded to install the screw and bolts that hold it in place. After bolting the servo in place I installed the pitch pushrod. One end attaches to the servo arm and the other end attaches to a bracket on the control column. I connected the spade connectors from the fuselage to the corresponding connectors from the servo. I also installed the noise filter that came with the servo kit. There is a note in the drawings which says to leave some of the wires disconnected if installing the Dynon DEK 180. I am going to contact Vans to see if that note also applies if you are installing the Dynon Dkyview.


After rolling the fuselage back upright I had my neighbor, Dave Gagon help me put the canopy on the fuselage. I inserted the pivot bolts and tried to lift the canopy. To my surprise, it will not open. Earlier this evening I noticed some blue lines I had drawn on the front of the canopy bubble. Apparently I had marked the front of the bubble so I could remove some of the Plexiglas so it would clear the instrument panel. I used MEK to wipe the blue lines off of the Plexiglas. I now understand that I should have removed about 1/8" from the front of the canopy bubble. I will need to take the canopy off of the fuselage and make that adjustment.
