
This afternoon I started to assemble the fuel tank components. I started by setting up the work tables in the garage. I gathered the parts previously prepped for assembly and placed them on the table. I also gathered the supplies and equipment necessary to mix and spread the Pro-Seal fuel tank sealant. I set up the digital scale, MEK, paper towels, putty knife, tongue depressors, popsicle sticks, nitrate gloves, etc. I used the scale to measure out the Pro-Seal in a 10:1 ratio. The stuff is not extremely smelly, but it does have a bit of an odor. I mixed about 3 oz of material. I have used Pro-Seal before so I know how to work around it. The key is to keep things as clean as possible. During the afternoon assembly session I used 5 pairs of gloves. The main reason for disposing of and changing gloves is because they somehow get a hole or tear in them and then fall apart pretty quickly after that. I have found by using paper towels and MEK to clean-up any smears or smudges of Pro-Seal it really makes a huge difference in how clean the work progresses.


I spread Pro-Seal on the fuel flange and the edges of the forward tank bulkhead and clecoed them in place. I then used the hand rivet puller to set the rivets on the bottom of the tank.


Next I riveted the left side. I turned the tank upside down to see how things looked in the interior.
I observed a sealant bead at all of the seam and all of the rivets. I can only assume the pieces are being sealed properly.


I installed the forward mounting bracket and started to work on the baffles. I became a little frustrated with the rivets used to attach the forward mounting bracket. There are 19 AK-42 rivets attaching the forward bracket. As I pulled them, 11 of the rivets broke off about ½" above the head. After the Pro-Seal has cured for several days I will use my Dremel tool with a cut off wheel to cut them off at the heads of the rivets. I have heard of other builders having a similar experience pulling rivets. I guess these must be part of a bad batch. I'm sure I am not alone in this frustration.


The next step was to install the bulkhead fitting in the bottom of the tank. This is the fitting the return line will attach to under the tank and then a ¼" line will be run up to the underside of the tank top and up the filler tube. That will be done in a future work session.


Next came the baffles. After riveting the baffles in place I place I filled the indicated corners with Pro-Seal. This stuff is really messy.


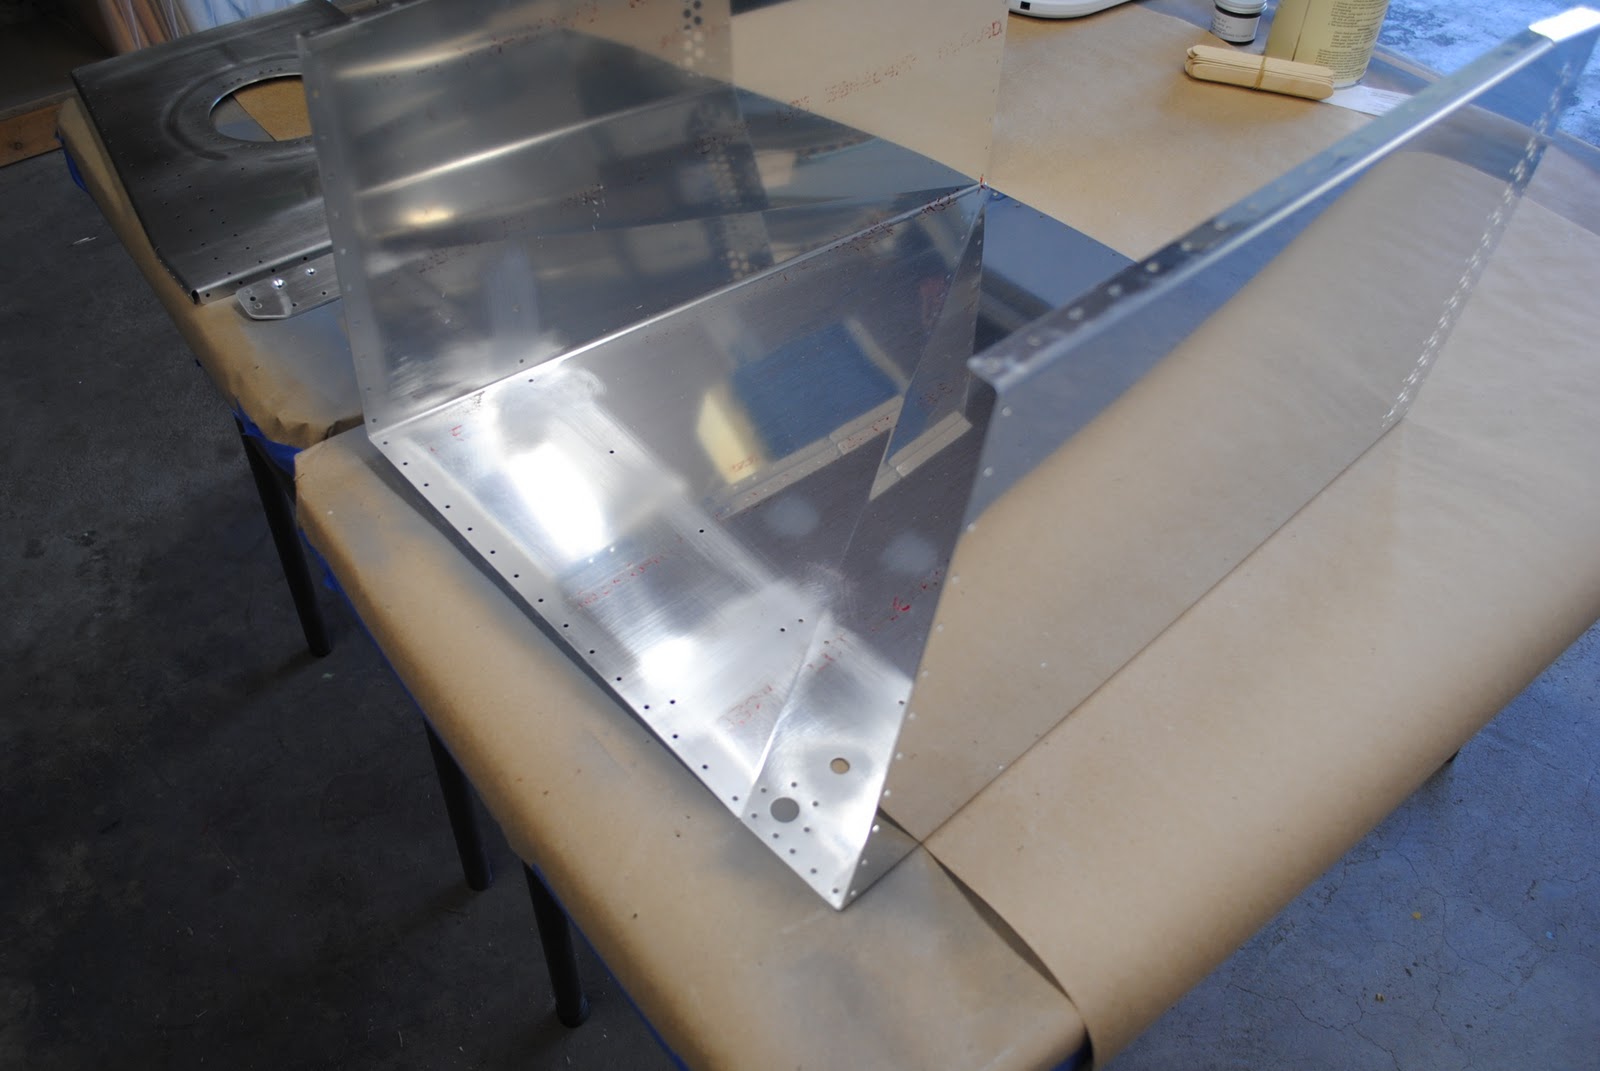
I finished this work session by removing the blue film from the aft tank bulkhead and aft mounting bracket and prepped them for assembly.

I set the partially assembled tank aside to cure for a couple of days. I realized at this point that I have inadvertently left 2-washers out of the assembly of the baffles. They were to be installed inside of the tank at the top of the baffle attached to the forward skin and the left skin. I have decided I will drill an additional hole and install an additional rivet with a washer in each of these baffles during my next tank assembly and sealing session.
