


I continued to install the various components and elements of the wiring system. Before going any further I put some foam on each sides of the openings in the step bulkhead. This is to protect the finish on the control sticks until they are secured by the control linkages yet to be installed. I routed the static line (plastic tubing) and the elevator trim control harness through the various snap bushings and cushioned clamps to the instrument shelf. There is a lot of wiring going through the bushings.


I routed the OAT harness and the twisted wires in the RV-12 Tunnel Harness along the edge of the tailcone and up the tailcone rib. These wires followed the route of the static air tubing installed much earlier. Before wire tying the OAT and Tunnel harnesses to the rib I installed the wires into the D-Sub connector. At that point I began attaching the harnesses to the rib with wire ties. This became a very complicated and difficult task. The rib is far enough back and the opening into the tailcone is small enough that I could really only get one arm at a time inside the tailcone to work. After removing the existing wire ties it was pretty difficult to put the new tie through the hole, wrap it around the wire bundles and static air tube, push the tail of the wire tie through the tie lock and tighten it up all with one hand. It took about an hour to replace a couple of dozen wire ties.

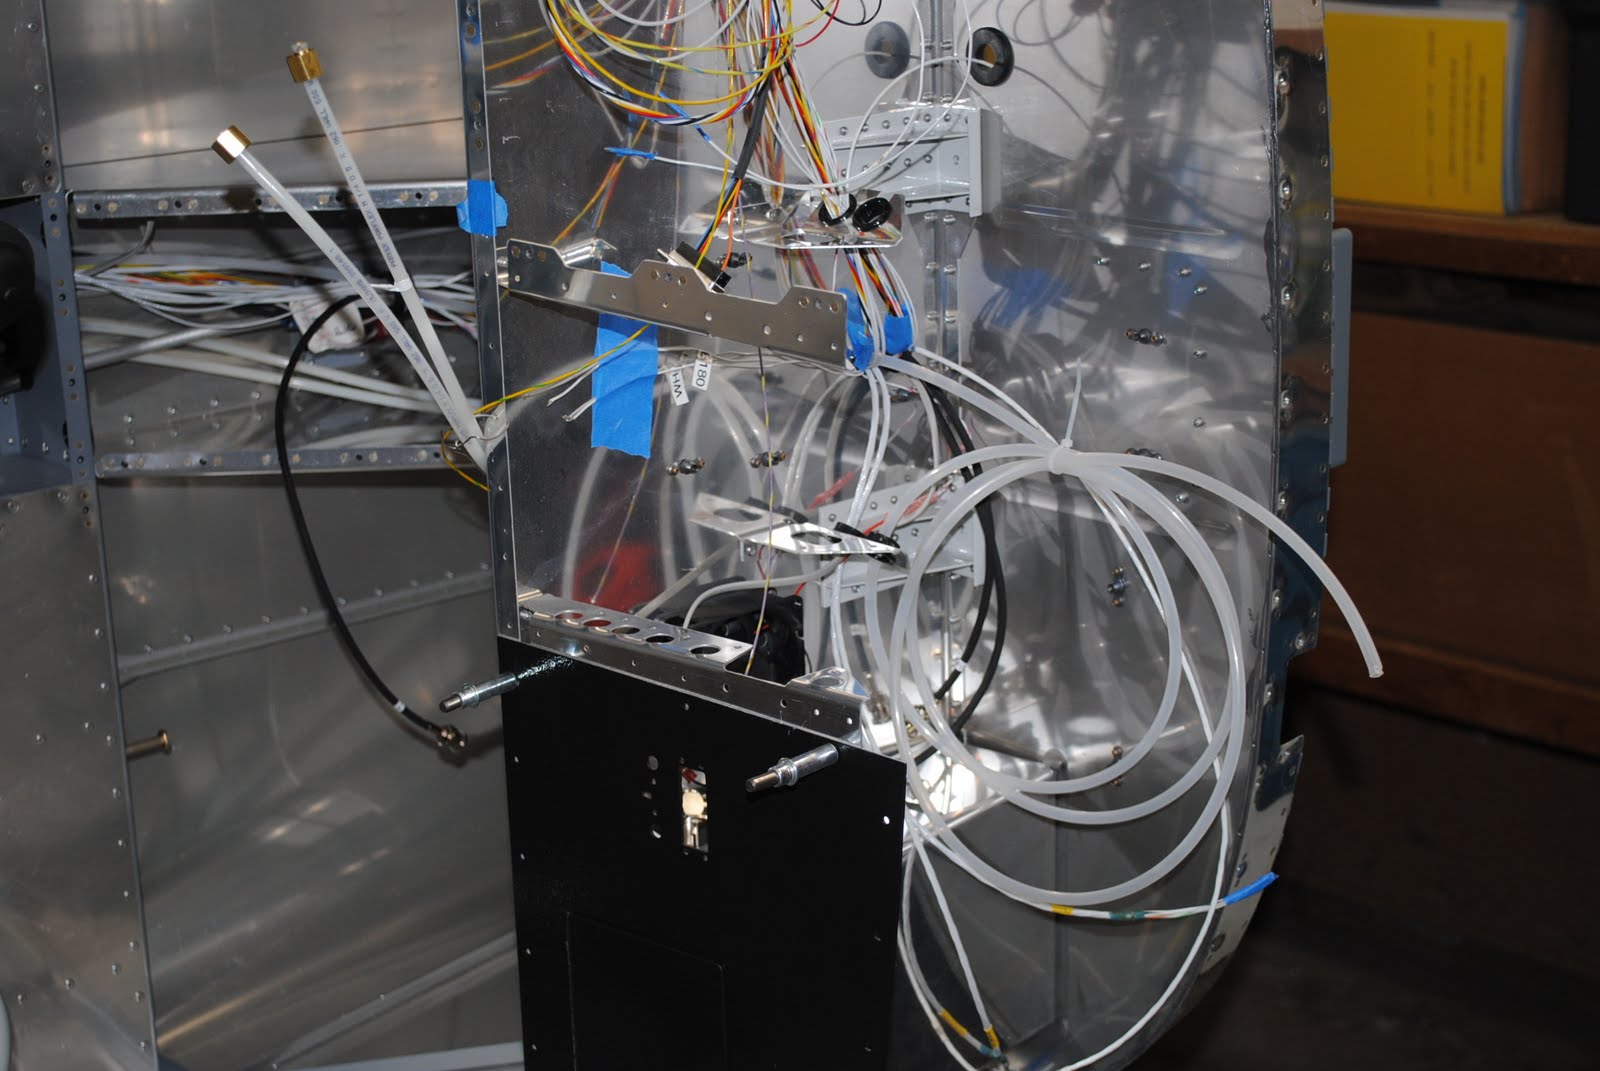

I kept at it until I had it finished. I coiled the static air tube and secured it with a wire tie. I will be cutting it to the proper length and attaching a fitting in the next couple of days. I also primed the ELT attachment bracket and the wire attachment bracket that attaches to the rudder pedal block. I finish painted the ELT bracket with interior paint. I need to install the shell on the D-Sub connector in the tail cone. It is also about time to install the rudder pedals and hook-up the brake lines.
