

Today I installed and sealed the rear
window. I used Dow Corning sealant,
beige in color. I think it worked out
well. The sealant is not effected by
fuel so it should be a good thing. I
started by cleaning the window and then I put it in place on the airplane. I used fasteners to attach the window to the
roll bar and clecoed the turtle deck and the window together.


After clecoing the window in place I put red
electrical tape around the edge of the aluminum. Then I removed the clecoes and put popsicle
sticks in the joint to make room for the sealant.


After the sealant set for a short time I pulled the red tape and the edge of the turtle deck looks pretty good. The rear window is now installed and sealed in place.


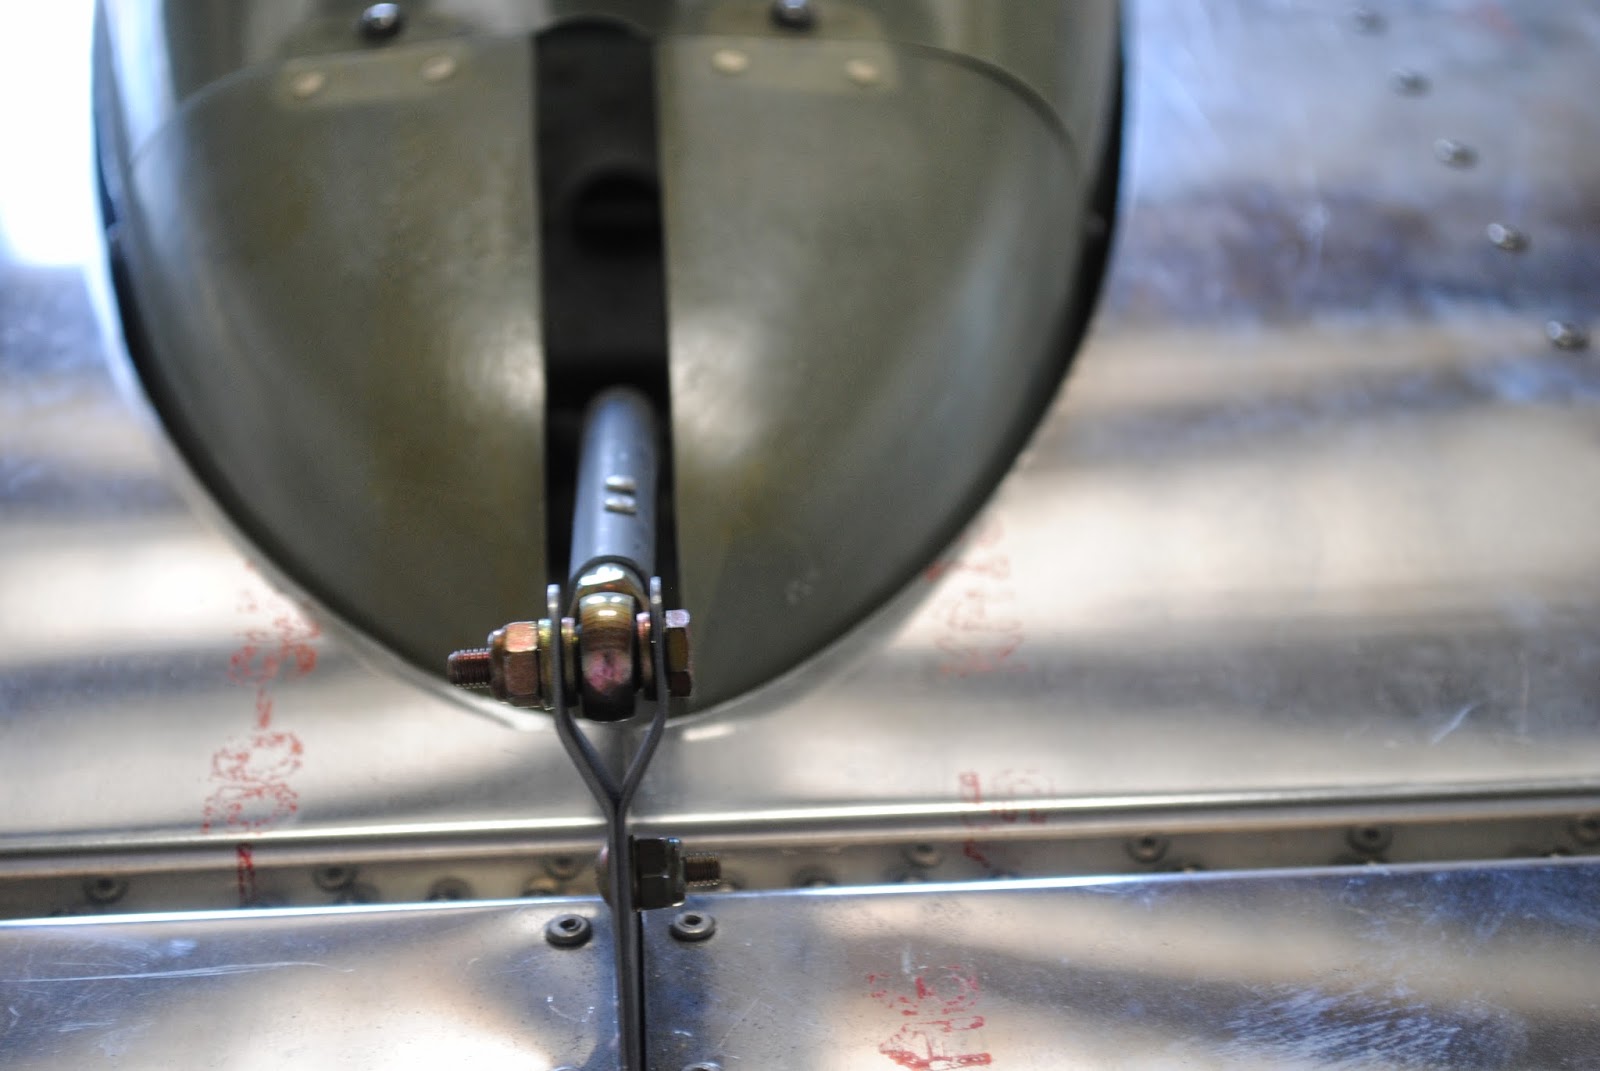
The next step was to install the tail fairing
and make sure the stabilator and the AST arm clear the fairing. After installing the fairing I discovered it
rubs on the right side opening in the stabilator. Both the top and bottom skins rub the
fairing. I marked the stabilator skins
with a marking pen.

That part of the build is now complete.
