Thursday, March 27, 2014
Instrument Panel Placards and Labels
Today I went to Sign*A*Rama and ordered the N
Numbers for the tail. The registration
number (N Number) is N419AJ. The sign
company is going to make 2-sets of the registration number so I can put them on
both sides of the vertical stab. These
will be temporary for the inspection/certification. I will have them make the permanent numbers
in a maroon color after I pick the paint color at the painter's. I also went by the Trophy Case and ordered a
plastic name badge with the registration number engraved to mount on the
instrument panel. This will be a
1"x3" black plastic badge without the back so I can attach it to the
panel above the SkyView display. When I
got to the hangar I began installing the placards and labels on the instrument
panel. I put the black, red and silver
RV-12 placard on the upper portion of the center panel. I think it looks pretty good there. I also installed the other labels on the
throttle, cabin heat knob, auto pilot disconnect switch, choke, etc.
Tuesday, March 25, 2014
Rear Window and Tail Fairing
Today I installed and sealed the rear
window. I used Dow Corning sealant,
beige in color. I think it worked out
well. The sealant is not effected by
fuel so it should be a good thing. I
started by cleaning the window and then I put it in place on the airplane. I used fasteners to attach the window to the
roll bar and clecoed the turtle deck and the window together.
After clecoing the window in place I put red
electrical tape around the edge of the aluminum. Then I removed the clecoes and put popsicle
sticks in the joint to make room for the sealant.
Next I cut the tip of the sealant tube at and
angle and squeezed sealant between the turtle deck and the window. I then installed screws in all of the
holes. I put sealant on the threads of
the screws just below the head and inserted them in the holes. I then put a washer and a nut on each
screw. I started on the right side and
tightened the screws and nuts. The
sealant squeezed between the turtle deck and the window a squeezed out onto the
red tape. I wiped it off and cleaned the
turtle deck with MEK.
After the sealant set for a short time I pulled the red tape and the edge of the turtle deck looks pretty good. The rear window is now installed and sealed in place.
The next step was to install the tail fairing
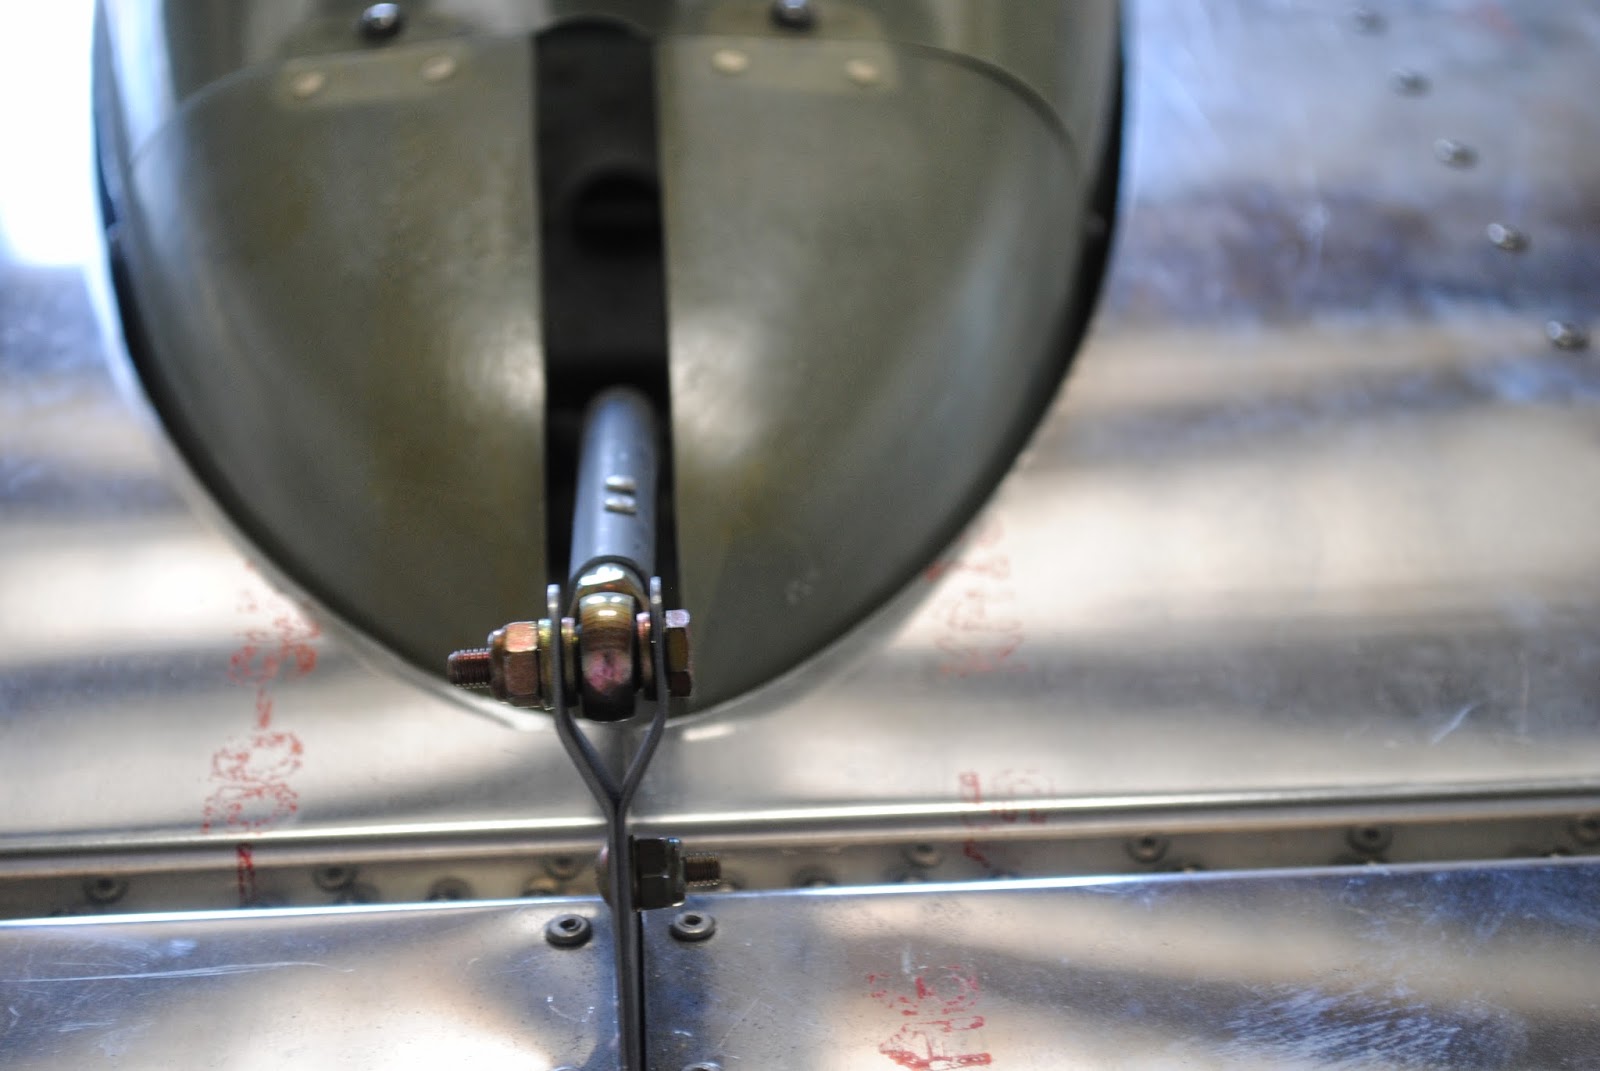
and make sure the stabilator and the AST arm clear the fairing. After installing the fairing I discovered it
rubs on the right side opening in the stabilator. Both the top and bottom skins rub the
fairing. I marked the stabilator skins
with a marking pen.
I also noticed the
AST arm rubs on the left side of the opening in the fairing. I removed the fairing and using a sanding
drum removed the top and bottom stabilator skin to clear the fairing. I also used the Vixon file to trim the
fiberglass fairing to clear the AST arm.
That part of the build is now complete.
Wednesday, March 19, 2014
Canopy Seal
I purchased the canopy seal kit from
Van's. One of the things the kit
includes is extensions for the 1x1 tubular frame at the forward arms. Yesterday I cut 2-short pieces of the tubing
supplied with the kit to the right shape.
I then prepped, primed and painted the pieces.
Today at the hangar I installed the extensions. They are riveted to the frame to extend the
tubular framing. When the airplane is painted I need to touch
up the black on the inside of the forward part of the canopy.
Wednesday, March 12, 2014
Complete Wing Repairs
Today I spent some time at the hanger
finishing the repairs on the wing. I was
able to sand out all of the body filler patches made yesterday. I also made a trip to Lowe's and purchased
some 8/32x3/4" stainless steel flat head screws for the PVC fairing on the
vertical stab. The 5/8" screws are
just a little short so the longer screws work really well. I used some 220 grit sand paper and sanded
all of the filled areas from yesterday.
After doing the sanding I needed to so some additional filing on the
stabilator trailing edge. I mixed some
body filler and applied it to the low spot from yesterday. While it was setting up I drove to Lowe's and
purchased the screws. Upon my return I
sanded the stabilator patch. I then used
some 400 grit paper and resanded all of the patches. They are in pretty good shape for
painting. I used a cloth and cleaned up
all of the sanding dust and wiped off the surfaces.
After taking care of the sanding mess I
reinstalled the flaperon on the right wing.
I need to turn the right wing around on the wing rack and push it back
into the corner of the hangar.
As I was installing the flaperon I had a
visitor drop by. This fellow is an
instructor at the Salt Lake Community College in the Aviation Maintenance
Program. He was very interested in the
airplane and wanted to know all about it.
He said one of his assignments given to his students is an effort where
they have to contact the many kit manufacturers and do some research on the
kits they offer. The students are
supposed to pick a kit and then write a report telling all about it. He said many of the students write up Van's
RV's. This is the first time he has seen
an RV-12. He was very impressed. He
asked if I would be willing to speak to his classes this fall and tell my
experience in selecting and
building my own airplane. I told him I would be happy to. He said he will come and see me again. My next project is to install the rear window
and then the trim tab on the rudder.
Tuesday, March 11, 2014
Wing Repairs
The root end of the flaperon skin was bent and there was a kink in the trailing edge about 1' from the end. The flaperon also seemed to have a bit of a bind when it was moved from side to side. I took some photos of the damage.
I started
to work on the root end of the wing.
I removed the flaperon. As I removed
the bolt at the root end of the wing it was really had to get the bolt to come
out. After removing it I realized why
the flaperon seemed to be binding. It
was. The holes in the bracket and the
bearing were off by almost ½" from lining up. There was also a bit of a crease in the
trailing edge of the flaperon.
I drilled out the rivets in the wing skin
from the end of the wing back three ribs, and from the mid wing spar to the
rear spar. I pulled the skin back and
found the end of the root wing rib had been bent. I purchased some auto body tools at Harbor
Freight and set to work to straighten the bent section of rib. It worked perfectly. I made a little reinforcement piece to rivet
into the corner of the rib and rear spar.
I also straightened out the edge of the rear spar which was slightly
bent. I used the hammer and dolly to flatten
the wing skin. After straitening all of
the bent pieces I clecoed the wing back together. I retrieved the flaperon and put the bolts
through the brackets and bearings. It
all fits now, just like it did when it was new.
Satisfied with the repair I riveted the root end of the wing back together.
I then began working on the wing tip. I drilled out the rivets on the skin area next
to the flaperon. Also the narrow piece
of wing skin on the bottom of the wing next to the tip. I also drilled out the rivets on the concave
bottom skin on the wing tip. I drilled
the rivets from the trailing edge to just
about mid-span on the wing. It became obvious the edge of the rear spar
was deformed which cause some wrinkling and bending in the various pieces of
wing skin at the tip. The pictures tell
the tale.
After removing the rivets and looking inside,
the damage was not as bad as it looked.
I was able to bend the end of the rear spar back into line and then
using the body shop tools I straightened out the various bent, tweaked and
wrinkled pieces of skin. After that I
was able to clecoe the wing tip back together and install new rivets.
After riveting the wing tip back together I
decided to put some body filler over the wrinkles I was unable to remove. I also put some body filler on the top of the
wing again.
The Flaperon was next to be repaired. I straightened the skin at the bottom root of
the flaperon. I then began working on
the kink in the trailing edge. With my
duck bill pliers and the auto body hammer I was able to get the flaperon pretty
straight, but I could not remove the dent.
I filled the dent with some body filler.
That's it for today.
Subscribe to:
Posts (Atom)