It has been 5 days since I did the final assembly of the fuel tank. This evening I started to make preparations for the pressure test. It is important that the tank be tested for leaks, however, the pressure applied to the tank must not exceed 1 psi. That is pretty low, but that is what the instructions say and caution about over pressuring the tank. If the pressure is too high the seams could be compromised and the tank will leak. The test method is to install an air valve on the fuel return line and put a balloon on the fuel supply fitting. After the filler neck is installed along with the fuel cap, the tank is pressured just enough to inflate the balloon. The directions say the balloon will burst before any damage can be done to the tank seams. Arlene is concerned about the tank being fully sealed so it does not leak. I don't think I will tell her how low the pressure test will be. She may be concerned that the pressure is insufficient to really be a rational test. I trust that the engineers at Van's know full well what they are doing. There are over 100 RV-12's flying and I have not heard of any problems with fuel tanks leaking after passing the test. I have heard of some leaks appearing during the test, but never a problem after the test has been done to certify the tank does not leak.


In preparation for the test I cut off a length of rubber hose and using 2-screw clamps I attached the air valve and the hose to the fuel return fitting on the bottom of the tank.


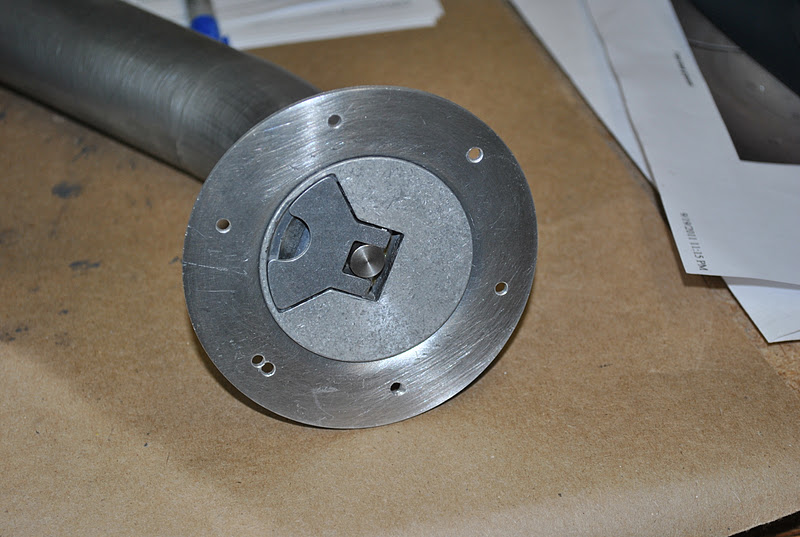
I also put the rubber collar back on the tank filler tube. Using the Dremel tool and a small sanding drum I removed some weld protrusions on the inside of the filler tube where it was welded on to the end flange. The cap now fits nicely into the end of the filler tube. By Monday evening I hope to be able to attach the filler tube to the tank flange, attach a balloon to the fuel supply and pressurize the tank.
