Friday, February 7, 2014

Sealed Sender Plate

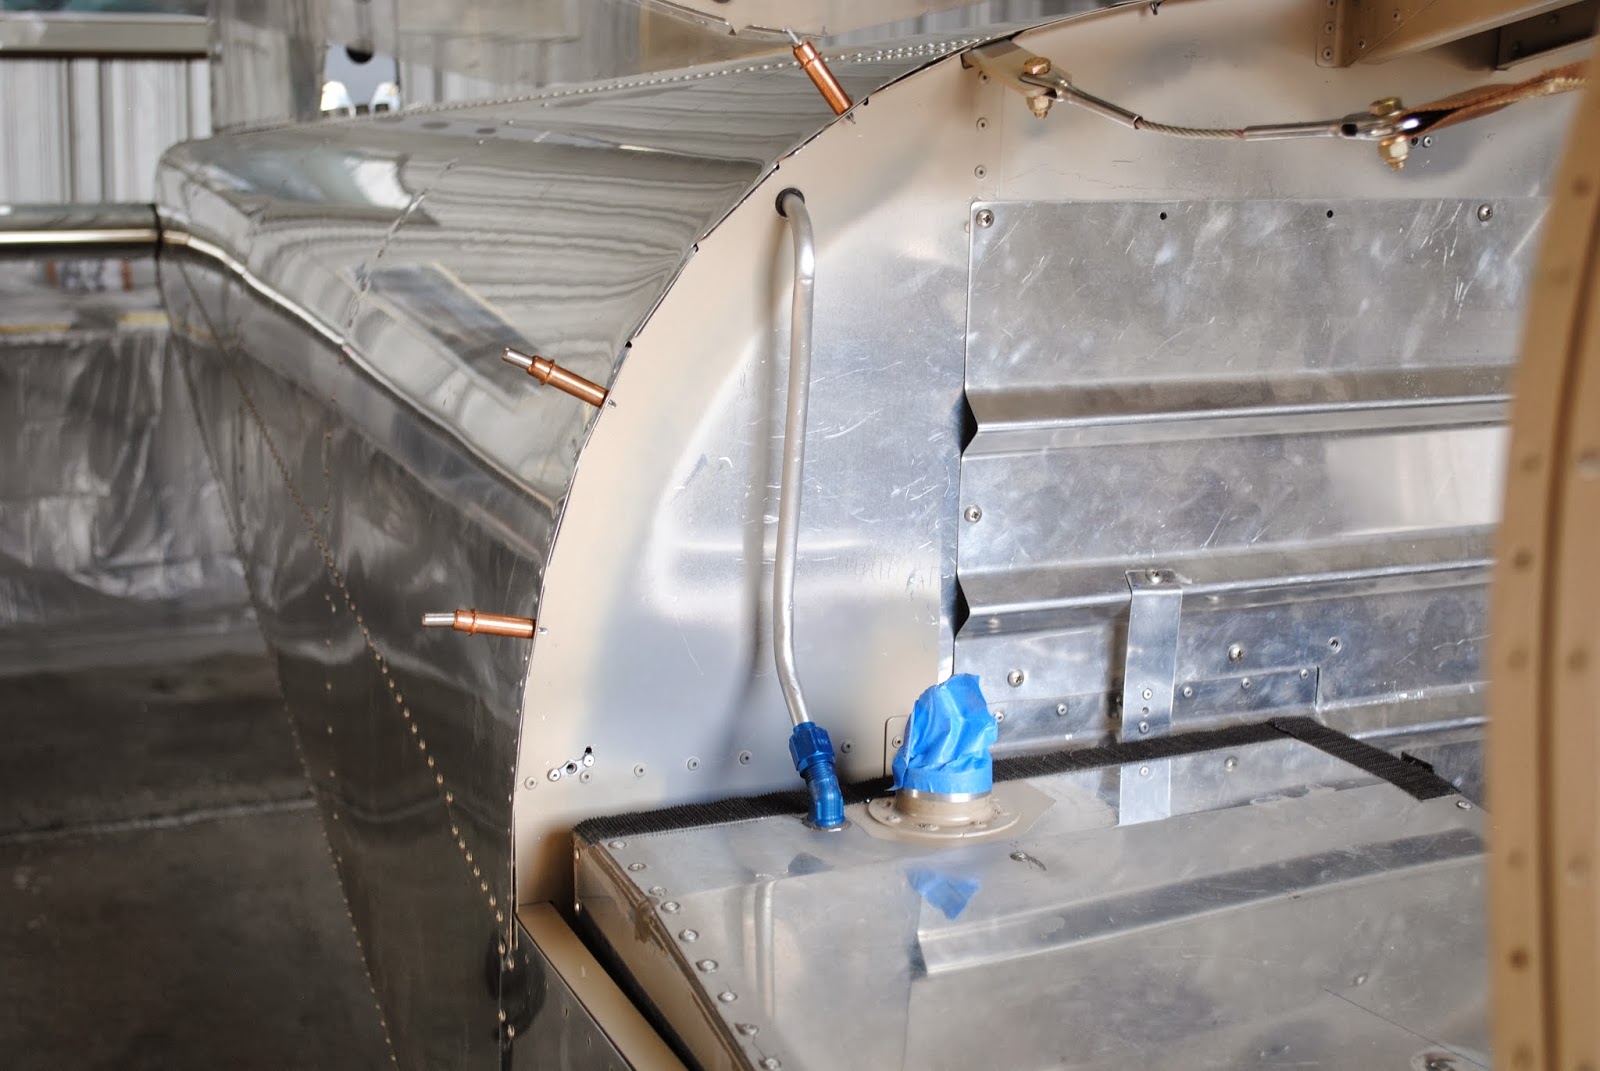
Today I sealed the sender plate to the forward end of the fuel tank.  I prepped the tank by wiping the interior down with MEK.  I also used my small vacuum to make sure all debris was out of the inside.  Then I got together all of the supplies to seal the plate onto the tank.
I mixed a batch of Pro-Seal.  I broke one popsicle stick mixing it up.  The stuff is pretty thick when it is cold and it has been cold the past week.  Yesterday when I left the hangar it was 26o.  Today the temperature was all the way up to 38o.  It is like a heat wave.  Before mixing the Pro-Seal I attached the sender plate to the tank and used a blue Sharpie to marks the location on the front of the tank.  After mixing the Pro-Seal I spread a layer inside of the blue circle.  I stood the tank on end and placed the sender plate on the front.  I used a couple of screws to align it and then put Pro-Seal under the heads of the screws and after they were all started I used a screwdriver to secure the plate in place.
After the plate was installed I put a dab of Pro-Seal over all of the fastener heads exposed on the front, sides and bottom of the tank.  Monday, after the Pro-Seal has cured for a few days I will bring the tank home and do a pressure test.  After it passes a pressure test I will prime and paint the front of the tank before reinstalling it into the airplane.

Thursday, February 6, 2014

Brake Lines and Fuel Tank

I arrived at the hangar and found another air bubble in the right brake system.  I used the same technique as yesterday and I think I have forced it out of the system.  I also began prepping the fuel tank so I can seal the sender plate on the forward side of the tank.  I began cleaning the inside of the tank one more time.  When it is a little warmer (today was only  26o) U will mix up some Pro-Seal and reseal the lower forward corners and seal the sender plate in place.

Wednesday, February 5, 2014

Remove Air Bubbles From The Left Brake Lines

Today it is too cold to work at the hangar.  The thermometer is at 23o F, but here we are.  Today Tim, my grandson and I decided to get the air bubbles out of the left brake lines.  I connected the oil pump with brake fluid to the left bleeder valve.  I also removed brake fluid from the  reservoir.  As I pumped fluid into the system the air bubble (1-½") traveled into the bottom of the co-pilot left master cylinder.  As I continued to pump the bubble did not come out of the line at the top of the cylinder.  I continued to pump fluid.  Finally I stopped and checked the reservoir.  It was full.  I removed more fluid from the reservoir and waited.  The air bubble reappeared in the line at the bottom of the cylinder.  GRRRRR.  I pumped more fluid.  The same thing happened.  I repeated the remove and pumping process and the same thing happened again!  Frustrated (and cold!) I called MATCO, the manufacturers of the brakes.  I talked with the service tech for a few moments and we discussed several things he thought might help.  The first was to pump the brake after the air bubble enters the cylinder.  There were a couple of additional suggestions but I decided to try pumping toe brake first.  I pumped more fluid and the bubble entered the bottom of the cylinder.  Tim pumped the toe brake a few time and bubbles came out of the top line and formed in the line to the reservoir.   We waited a few moments.  Success!!  I pumped in more fluid and the bubbles moved to the reservoir.  Spilled fluid on a paper towel is evidence we worked on the brakes today.

Next we cut a notch in the top of the upholstered baggage bulkhead cover where the new fuel vent line passes through to the tailcone area.  I only cut one side of the vinyl on the forward side of the panel.  By gluing the cutout part of the panel to the vinyl I have made a hinge so the cut out piece can be moved out of the way to remove and install the panel with the vent line in place.  I used a clamp to hold the vinyl in place until it dries.

Friday, January 31, 2014

Remove Air Bubbles From Brake Lines

I didn't take any pictures today, but I should have.  There are a couple of small (1" or less) air bubbles that have developed in the brake lines.  We got down the oil pump can and filled it with brake fluid.  I used a large syringe to a piece of tubing and used this apparatus to draw the brake fluid from the reservoir in the engine compartment.  I attached the tubing from the oil pump to the right brake caliper bleeder valve, opened the valve and began pumping.  I was able to push the bubbles out of the right brake system.  Everything seems to be fine on the right side.  I attached the tubing to the left brake caliper and opened the bleeder valve.  I began pumping and the bubbles began to move and then disappeared.  The bubbles in the left system moved to the co-pilot left master cylinder  and entered the cylinder.  We stopped and waited.  Slowly the bubble began to come back out of the cylinder.  We tried again.  The same thing happened.  Frustrated we decided to call it a day.

Wednesday, January 29, 2014

Baggage Upholstery Panel and New Fuel Vent

Today I reworked the right strap I attached to the baggage bulkhead panel for the installation of the bulkhead upholstery panel.  I removed the small section of the panel that is behind the fuel tank.  The modification is to allow access to the tail cone without removing the fuel tank which must be done to remove the full sized panel.  Because I installed a screw to attach the strap to the stationary part of the panel I would have to remove the tank to remove the screw in the strap which defeats the purpose of the removable section of the access panel.  I connected the panels together and drilled out the rivet attaching the strap to the removable section of the access panel.  I installed a nutplate in the access panel so that screw can be removed and the removable part of the panel can be taken out.  I reinstalled the whole panel and then put the upholstered panel in place.  I was able to attach it with the fasteners provided.
I drilled a hole in the upholstered panel for the new fuel tank vent line.  I also drilled a hole through the bulkhead and installed a snap bushing.  I put the tank back into the airplane and then proceeded to make the tubing section which goes from the tank fitting through the bulkhead.  It took 3-times to make a tube that fits correctly.  The first tube I made according to the drawings and it was too short to reach the fitting on the fuel tank.  I made another tube and after I clamped it into the flaring tool I dropped the tool and badly kinked the tube.  The third attempt was a success.  I have a piece of tubing bent to the correct configuration with a flared fitting on the right end.  The other end passes through the bulkhead.  I will need to slot the upholstered panel so I can slide it into place because once the tubing is installed it cannot be removed from passing through the bulkhead.  Now I need to make the tubing pieces which are installed behind the bulkhead to vent the tank through the bottom of the fuselage.