Monday, August 19, 2013

Lower Cowling Hinges

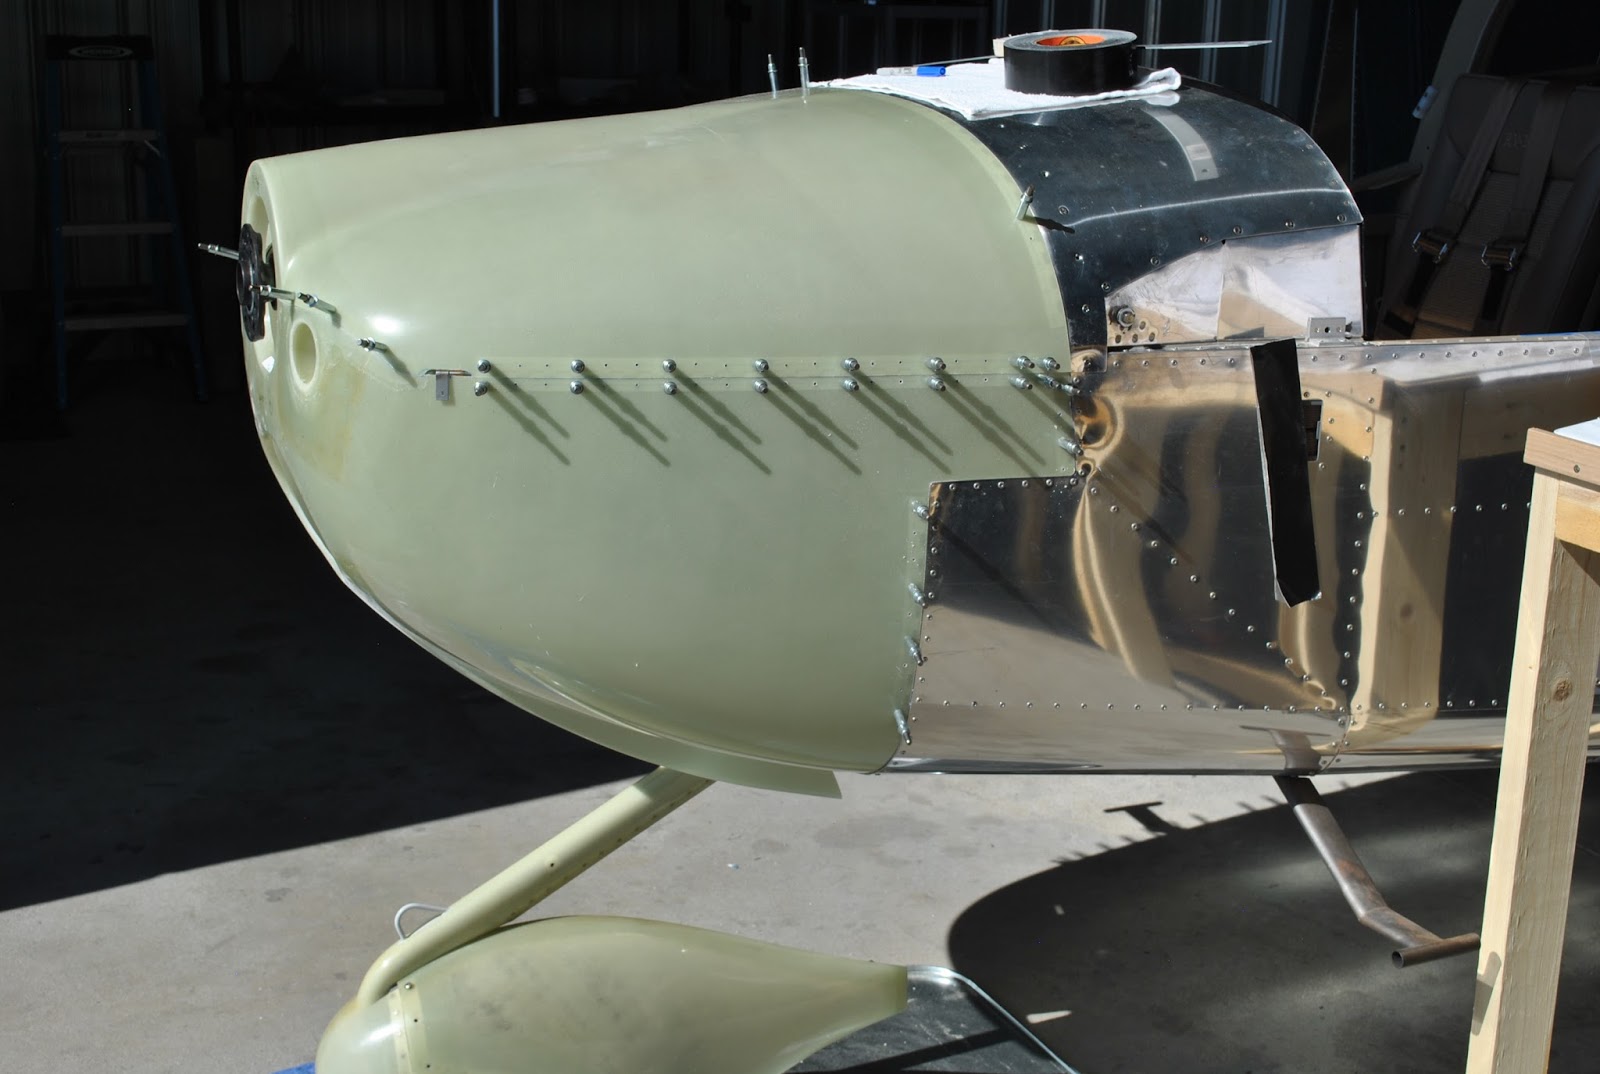
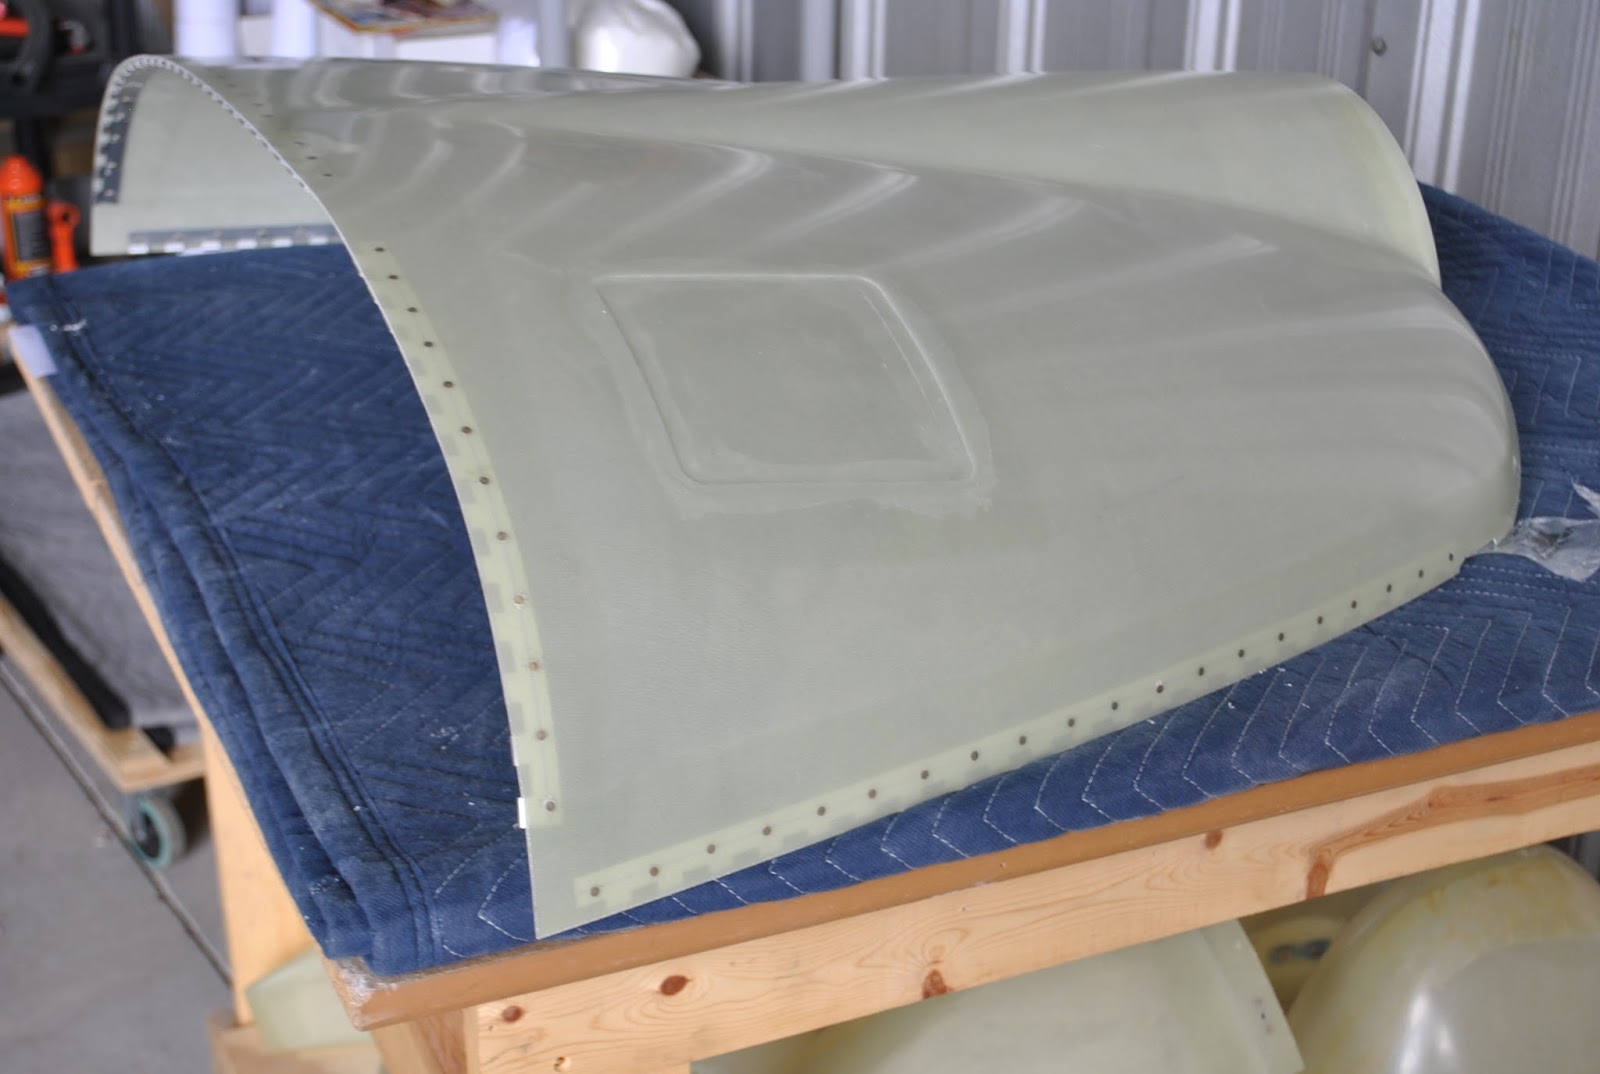
Today I riveted the lower cowl hinges.  I did some additional sanding to make sure the fit was proper.  I continued to use the squeezer to install the flush rivets to the lower cowl.  After all of the hinges were riveted in place I installed the lower cowl to the fuselage with the hinge pins.
I drilled the 8-#19 holes in the front of the cowling.  There are 3-holes drilled at the front on each side of the propeller opening.  There is 1-hole on each side for the attachment of the side hinge pin knuckle.  I used the microstop to countersink the holes and then riveted nutplates in place.

Friday, August 16, 2013

Install Hinges on Upper and Lower Cowlings

Today I worked on the installation of the cowling hinges. I clamped and drilled the lower cowing hinges. 
I set the upper cowling in place and did some additional sanding to get to fit a little better.   I then drilled the upper cowling and hinges.
After some additional sanding I finished the installation of the upper cowling hinges.
I started the installation of the lower cowl hinges.   will complete the installation of the lower cowl hinges on Monday.

Thursday, August 15, 2013

Cowling Hinges

Today I continued to work on the cowling hinges.  I filed a taper on the barrels of the attachment hinges on the upper fuselage.  I also continued to cut and install the side and upper hinges to the existing hinges attached to the fuselage. I cut hinge pins to length and curved them to follow the profile of the upper and lower hinges.  I ground the leading ends of the pins to better slide through the curved hinge barrels.    I installed all of the hinge halves to the existing hinges to make sure the pins would insert without hanging up during the process.  Everything seems to fit together nicely.
After installing all of the hinges I attached the lower cowling to the hinges with clamps.  I then drilled and clecoed holes into the upper side hinges and into the bottom of the lower side hinges.  Things are coming together with the installation of the cowl.  There are still a few spots I will need to work on with the sanding block but for the most part, the lower cowl seems to fit pretty well.

Wednesday, August 14, 2013

Engine Cowling Continues

Today I continued to work on the engine cowling.  I used Gorilla tape to hold the lower cowling in place.  I then laid the upper cowling in place to see if it fit better.  It does not look like I will have to sand off any additional material under the lower cowling tabs.  I did need to make some adjustment to the front of the upper cowling to get it to fit the lip of the lower cowling.  I also sanded a 12” section of the forward portion of the lower cowling, on both sides, to improve the way the top cowling fit.  I then drilled the top hole in the lower cowling hinges at the firewall and installed clecoes.  I then set the upper cowling back in place.  I used some Gorilla tape to hold it in place.  I am happy with the fit.  With this final sanding and fitting effort the lower cowling now clears the nose gear leg.   Tomorrow I will finish cutting and installing the various hinges.  I will then mark the hole patterns on the hinges and begin drilling for the rivets.

Tuesday, August 13, 2013

Fire Wall Stiffener and Engine Cowling

Today I worked on several different projects. I worked on the firewall stiffener.  I clecoed the stiffener angle and the spacer piece to each other.  I then match drilled the #40 holes into the stiffener angle.  I removed the clecos and cut the spacer into sections by removing the unneeded material.  I then used the microstop to prep the spacers to be riveted to the stiffener. I riveted the pieces together. 
I then started to remove the gascolator bowl.  I had to loosen a machine screw the firewall.  After removing 3-of the 4-screws holding the gascolator bowl in place I determined it was not necessary.  I replaced the screws and installed safety wire.  I then drilled out the rivet in the firewall below the gascolator.  I clecoed the end of the stiffener angle to the firewall below the gascolator.  I moved it into place diagonally on the firewall.  I drilled the upper most hole into the firewall.
I then drilled and clecoed the stiffener to the firewall, starting at the center of the stiffener.  I installed a cleco in  every other hole to hold the stiffener in place.  After drilling all of the holes I removed the stiffener and deburred the firewall.  I then clecoed the stiffener back in place on the firewall and installed the rivets.  I then began to consider the installation of the side skin stiffeners on the left and right side of the fuselage.  After removing the sidewall upholstery and considering the potential benefits I decided not to install these stiffeners at this point in the build.  I can always install them at a later date if I determine they would be of benefit
I then started to work on the cowling hinges and hinge pins.  I cut both sets of side hinges .  I then cut the left and right side hinge pins.  I prepared all of the required hinge pins by bending the ends and cutting them to length.  I also ground the ends of the pins and curved them to follow the profile of the respective hinges.
Next I turned my attention to the engine cowling.  I marked the upper cowling for the holes to be drilled on each side of the propeller opening.  I clamped the sections together and drilled the inner most holes on each side of the opening.  I  clecoed the sections together.  I also clamped the rear edges together and checked the fit.
After installing the 4” hinges on each side of the fuselage engine shelf I clamped the lower cowling in place.
The lower cowl seems to fit pretty well.  I am a little concerned about the way it fits at the lower curve of the fuselage.  I am going to experiment with lowering it 1/16th of an inch on each side to see if it follows the curve a little better.  If it does I will sand the 1/16th of an inch from the bottom of the tab on the lower cowling.  I am planning to use some Gorilla tape to hole it in place.  I can then lay the upper cowling in place and see if it fits.  If all goes well I will begin fitting and drilling the hinges.
I clamped one of the side hinges to the lower cowling.  I then laid the upper cowling in place to see how it looks.  It looks pretty good to me.