Wednesday, December 5, 2012

Starter Top Lug and Cooling Shroud

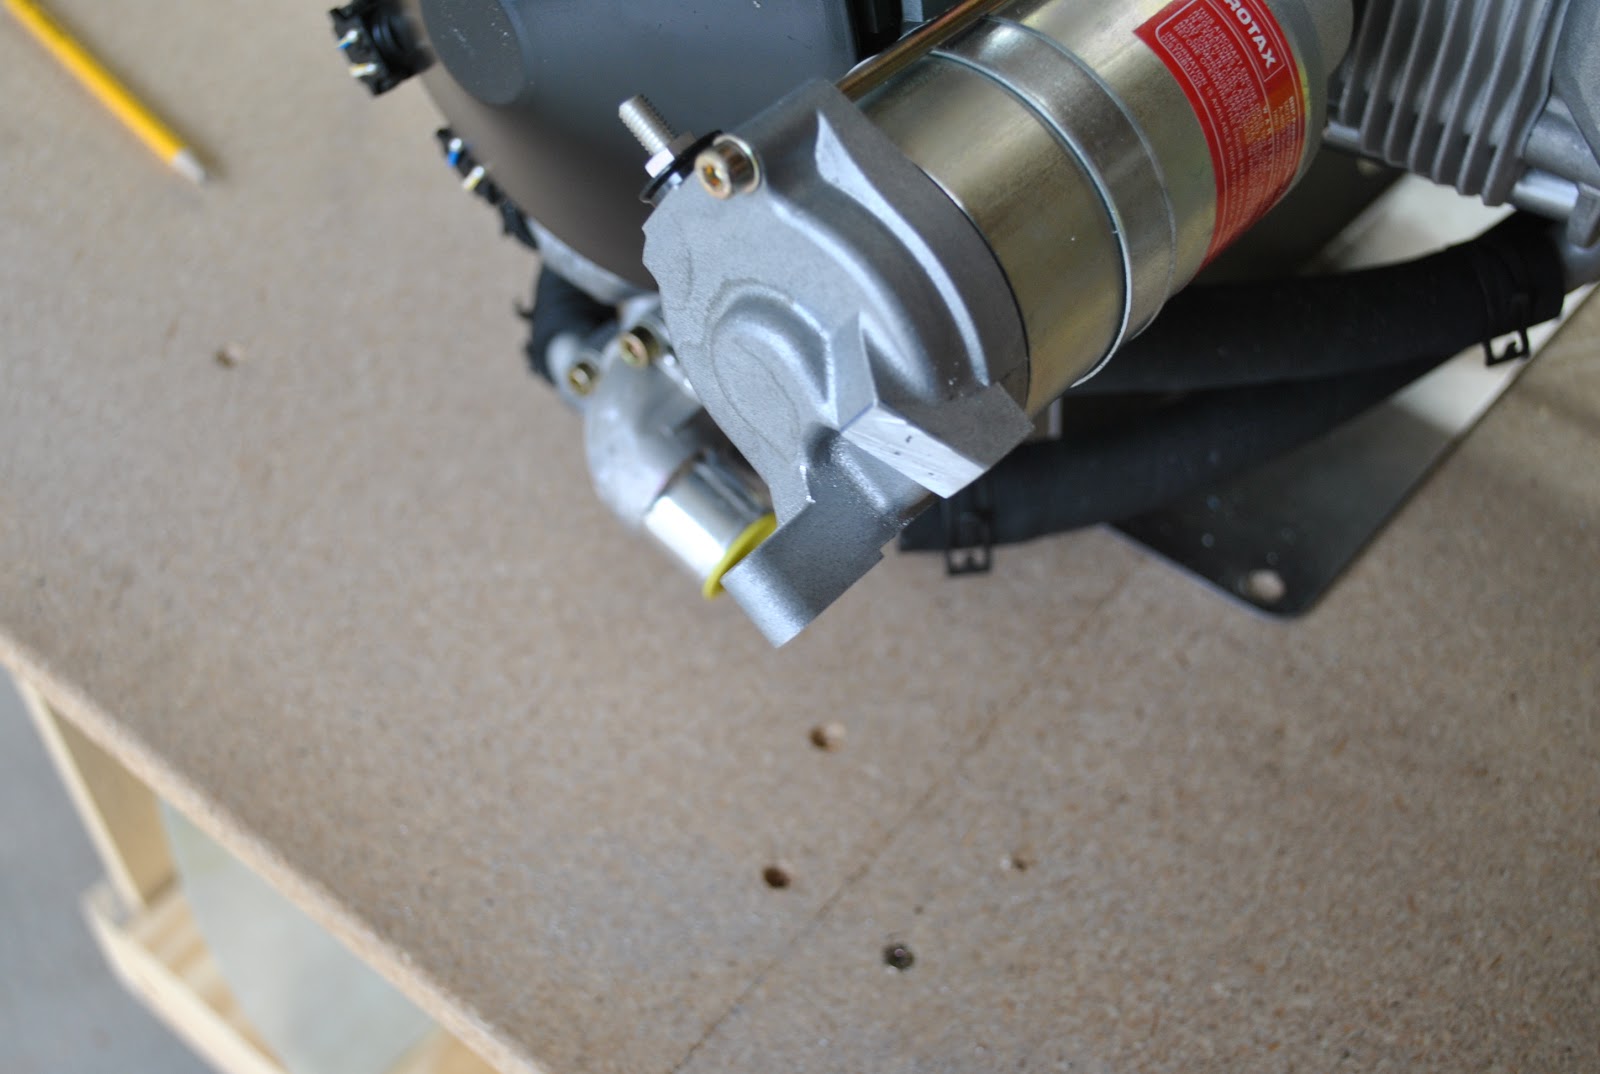
I started today by marking the top lug on the starter.  I used a hack saw to remove the lug and a file to smooth the cut surface and deburr the edges.  I also made a paper patter of the end cut out for the cooling shroud.  I used my bevel square to help me mark the end of the shroud 5/16" down the face.  I marked the end of the shroud accordingly.
After marking the end of the shroud I discovered there are scribe lines inside.  I will trim to the scribe lines and then cut the ends.

Monday, December 3, 2012

Intake Manifolds, Wiring and Fluid Tank and Hose Removal

Today I started taking components off of the top of the engine.  I removed the wiring harness clamps and reattached the harness with a new bolt and spacer.  
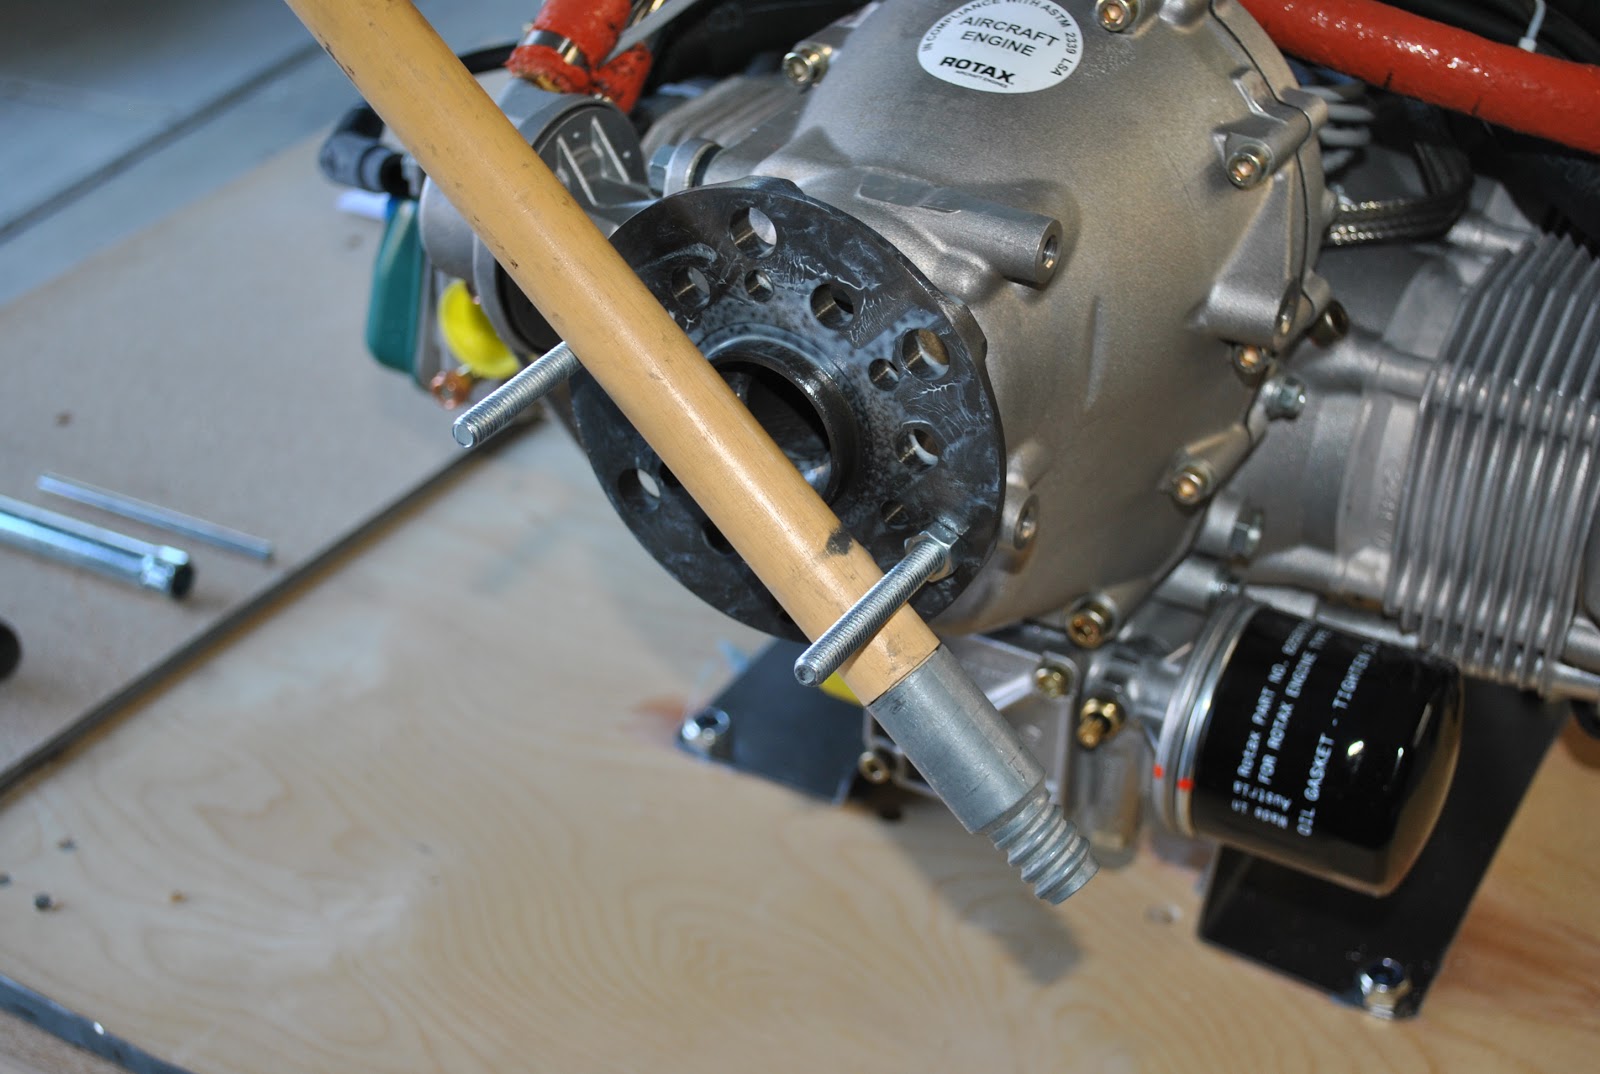
I removed the back cover over the fly wheel and checked the trip coils.  I removed 1-spark plug per cylinder and used a broom handle to turn the engine to check the coil spaces.   I determined they are fine from the factory. I re-installed the back cover. 
I removed the intake manifolds and taped the openings in the cylinders.  I also removed the wiring harness and ignition module.   It didn't come off like the drawings showed, but I was able to remove it.   I flipped the manifolds, hoses and wires up over the gear box.
After lifting manifolds and hoses I was able to remove the fluid tank and hoses.  I also marked and rotated the ignition module mounting bracket as instructed.

Friday, November 23, 2012

Photograph Engine and Start Removing Parts

This morning I removed the plastic from around the engine and took a dozen or more photographs for reference.  These are a few of them.
After photographing the engine from many different angles I removed, rotated and reinstalled the water inlet elbow on the lower front.  I also labeled the ignition harness electrical connections as shown on the drawings.
I need to find the torque values from the ROTAX manual and torque to bolts on the inlet fitting.  I also removed the  screw from the ignition harness clamp and pulled the harness away.  I also removed the connections from the bracket and pulled them apart.

Tuesday, November 20, 2012

Firewall Forward Wiring Continues

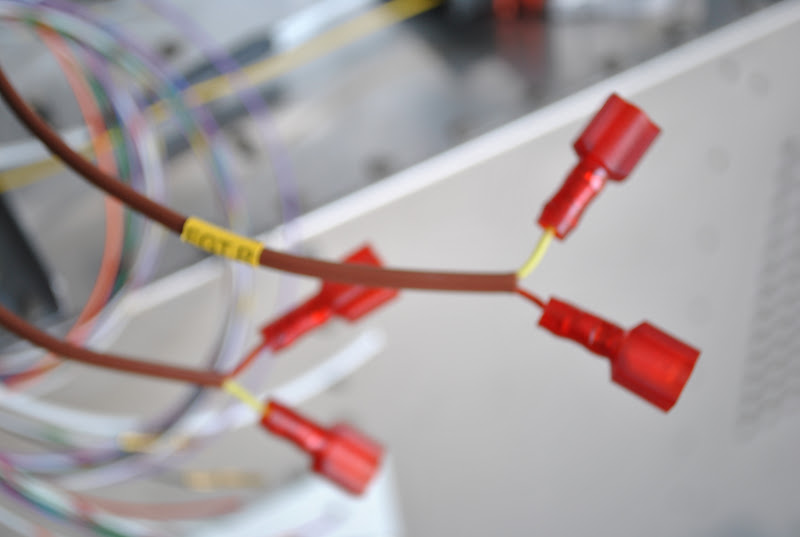
This afternoon I continued to install the firewall forward wiring.  I stripped the ends of the EGT exhaust  gas temp wiring harness freeing the yellow and red wires.  I stripped the wires and crimped on the male electrical c connectors included.  I also cut the connectors off of the ends of the EGT sensors and crimped new female connectors to those wires.
I installed the wires from the wiring harness into the manifold pressure sensor connector and installed the connector into the sensor mounted on the firewall.  The wires are really long so I coiled them and taped them together.  I also installed the power wiring to and between the master relay and the starter relay.  There are still a lot of wires that need to be connected.  I have coiled them and wire tied them to the engine mount.

Thursday, November 15, 2012

Firewall Forward Wiring

It was really cold today.  I opened the garage and moved the forward portion of the fuselage out onto the driveway.  The sun was shining, but the air was cold.  I wore  my shop coat which made the afternoon more tolerable.  I started by removing the canopy and rear window and turtle deck skins.
I also removed the upper fuselage skin and proceeded to work on the wiring.  I installed the WH-00063 Firewall Forward Wiring Harness 25-pin sub D connector to the control module.  I then routed the wires past the cushioned clamp next to the cooling fan and out the firewall grommet.  I could not get the harness into the cushioned clamp so I used a wire tie to connect it to the clamp. I also attached the WH-00062 power wiring harness to the rear of the Power and Switch module and routed the wires thru the fire grommet.  I wire tied the power wires to the bundle of wires going past the Com Supports  I put a clam shell on the EGT 25-pin sub D connector and attached it to the RV-12 EGT Exhaust Gas Temp Wiring Harness and routed the wires thru the wire tie holding the bundle to the cushioned clamp and out the firewall grommet.
It is really tight quarters in the instrument shelf area and I am having trouble routing these new harnesses thru the existing cushioned clamps and snap bushings.  I am holding the harnesses in place by wire tying them to other wires running in the same areas.
I cut a 4" length of PT ¼" ID tube and inserted one end of the ¼" heat resistant tubing for the pitot.  I cut the ¼" pitot tube from the fuselage and inserted the end into the splice tube.  I routed the pitot tube thru the grommet in the firewall.  I coiled it around the GPS antenna shelf.  I also routed the wires from the wiring harnesses
I separated the red, green and black twisted wires from the WH-00063 harness.  I cut them to length, stripped the ends and crimped them to the corresponding colored wires on the fuel pressure sensor.
I inserted the white wires and yellow wire with the spade connectors into the Connector Housing for the Rectifier Regulator.  They snapped into place and a gentle tug assured they were properly seated.  I plugged the connector into the rectifier.  That's all for today.