Monday, August 12, 2013

Continue Trimming Engine Cowlings

Today I continued to trim the fiberglass engine cowlings.  Having previously completed the trimming on the lower cowling I turned my attention to the upper cowling.  I began by sanding the edges of the lower cowling to the scribe lines.  
I used a section of 1x4 with 80 grit sandpaper glued to one side.  I also used a 4” dia. Section of PVC pipe with sandpaper glued around it.  Using these sanding blocks the work went well.  After completing the sanding on the lower section I used the Dremel tool to trim the upper section.  I then sanded the edges and clamped the upper section to the lower section to check the fit.  The sections seem to line up and fit well.  Tomorrow I will take them back to the hangar at the airport.

Thursday, August 8, 2013

Start Trimming Engine Cowling

This afternoon I started to trim the fiberglass engine cowling.  I used a dremel tool to trim the engine upper and lower cowling sections to the scribe lines.  I set up a work space in the garage because I am not sure how much cutting and sanding I am allowed to do in the hangar.  I trimmed the lower cowling first.  I also cut out the section in the bottom of the lower cowling for the nose gear leg. I will need to sand all of the edges to the scribe lines including the cut out for the nose fear leg.

Thursday, August 1, 2013

Glare Shield and Canopy Supports

This afternoon I removed the clamps from the glare shield and installed the pulled rivets in each end.  The glare shield is now installed.  I also final drilled the canopy supports to 3/8” diameter for the new bushings.  I also set up a computer work station in the hangar.  No internet connection, but at least access to a computer to see the plans or make notes.  I also took the cowling home to begin trimming to the scribe lines.

Saturday, July 27, 2013

Install Glare Shield and Rivet Upper Fuselage Skin

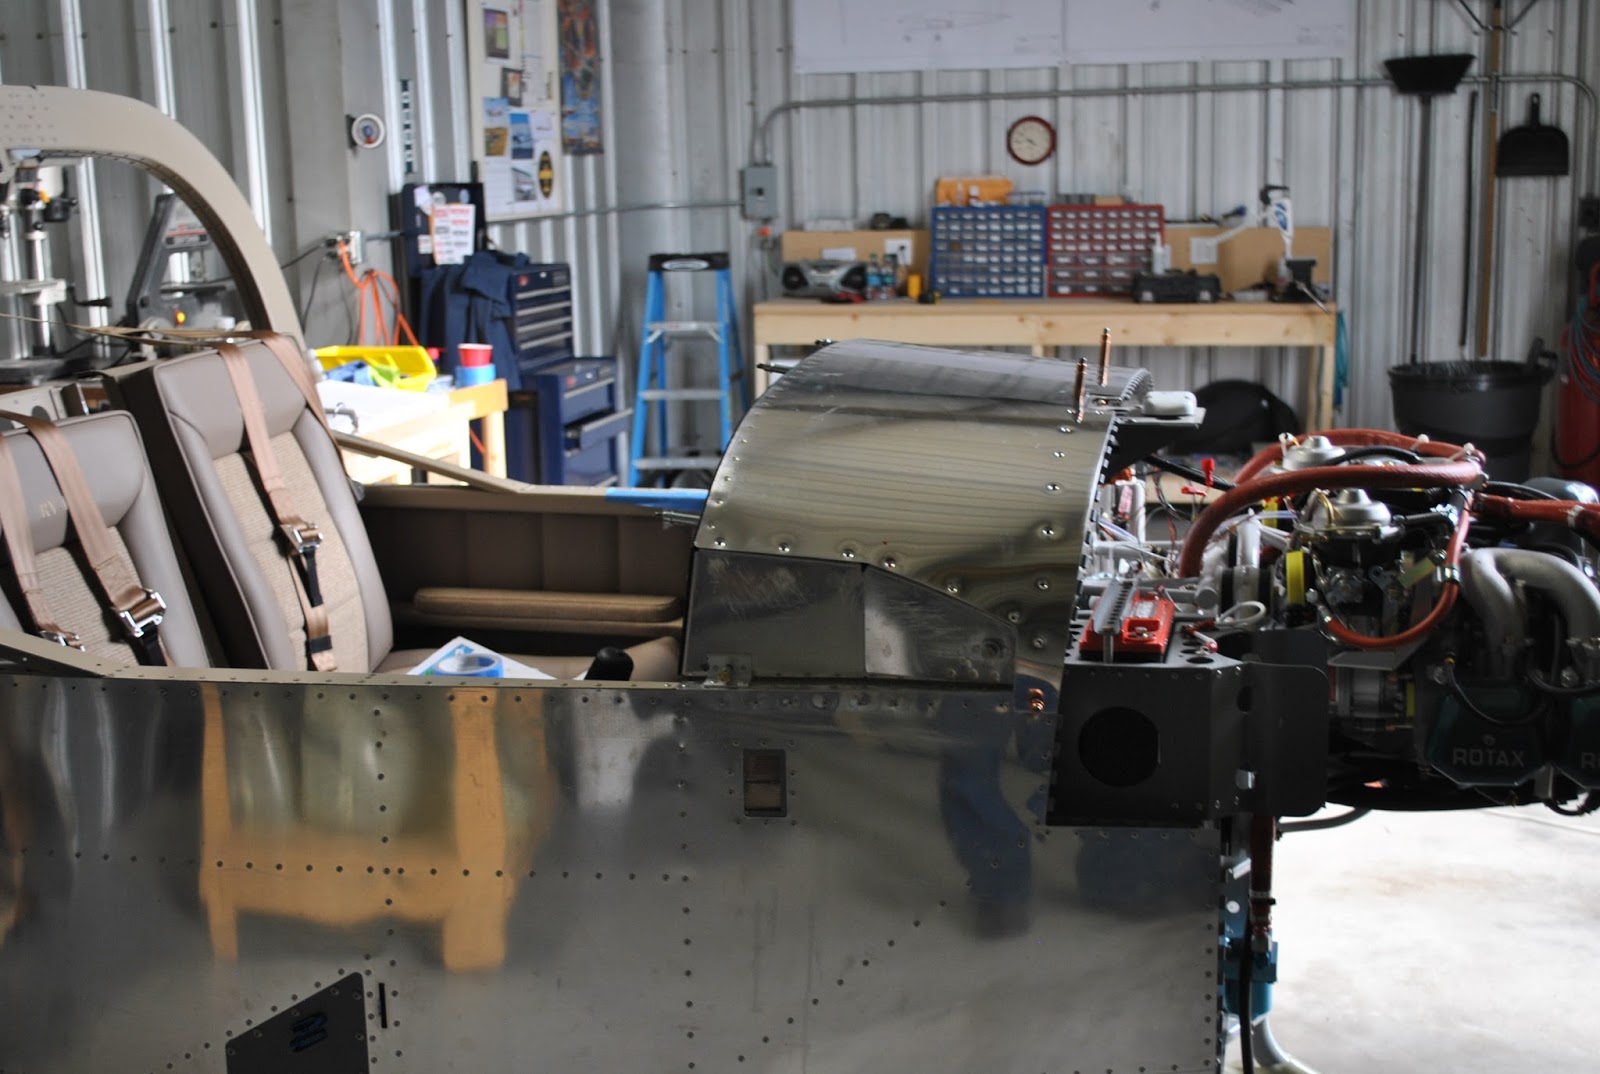
Over the last couple of days I sanded and then painted the glare shield flat black.  I took it back out to the hangar and mixed some Pro-Seal.  I spread a thin layer of Pro-Seal  on the canopy bow and  celcoed the shield in place. I will install the rivets the next time I am at the hangar.  I then clamped my rivet squeezer in the vice and proceeded to install the rivets to attach the angles to the upper fuselage skin.  All went well and when finished I clecoed the skin in place.  

Wednesday, July 24, 2013

Replace Upper Fuselage Cover and Fit Glare Shield

I started to do some work on the airplane again.  During the move the 3-stooges managed to rip the edge of the upper fuselage cover over the instrument shelf.  Somehow in opening the canopy, the canopy arms caught the edge of the cover and in the process of bending it up, the over tore.
I ordered a new piece from Van’s along with a Glare Shield for the RV-12.  I drilled out the rivets holding the instrument panel support angles and removed them.  I dimpled the new cover and clecoed the support angles to the rear edge.  I put it in place on the fuselage and attached it with clecoes.  I need to install the rivets and the replacement will be complete. 
Next I decided to fit the glare shield.  I used some clamps to hold the glare shield in place on the canopy bow.  It fits like it was designed to go there.  I will drill the 2-holes for the rivets.  Because I can’t spray paint at the hangar I am taking the glare shield home and will spray paint it flat black then install it sometime in the future.
I also took a few moments to visit Tom Driscol at his hanger.  Tom is nearing completion of his RV-12.  I am anxious to see it watch as he gets it into the air.