Yesterday
I received a call from ABF Freight Systems saying they had a delivery for
me. They also said it weighs about 400
lbs and I would need some help getting it off of the truck. I told them I would come to their dock and
pick-it up myself. I drove to ABF's dock
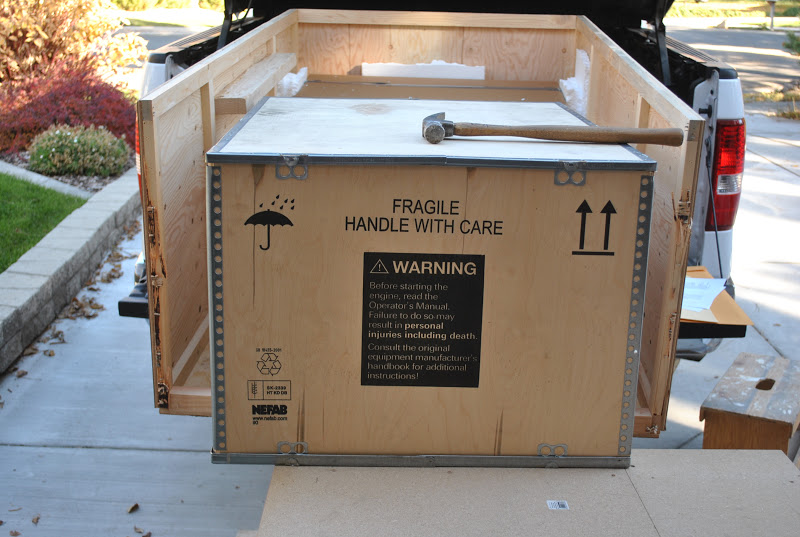
in Salt Lake City in the early afternoon and they put the crate in my pick-up
truck. I drove home and started the unloading process. It was a pleasant afternoon so I was able to
enjoy the weather. That is not going to
be the case for much longer. I slid the
crate to the rear of the truck and removed the lid. What treasures I found inside.


There
was a ton of paper inside. I pulled it
out and found some scat tube, heat reflective film and the fiberglass cooling
shroud for the radiators and for the engine.
I also found the muffler and exhaust pipes in the mass of paper
dunage. I removed the 2x supports and
removed the box containing the prop. I
opened the box. It is a good looking
propeller. Next I removed the end of the
crate. I started pulling out some
additional loosely packed bags and packages.
Gee, this is like Christmas.


I
removed the end of the shipping crate to expose the engine package. I pulled the work table on wheels I prepared
for the engine. I assumed I would be
able to put the engine on this table and roll it around the garage to work on
it until I am ready to install the Rotax on the airplane. I think my assumption is going to work out
very well. I was able to pull the engine
box out of the shipping crate onto the work table without too much difficulty. I was then able to roll it into the
garage. I have placed the various parts
in various locations for now. I will do
some relocating and sorting in the next couple of days.
With
all of the excitement, I opened the engine box to peer at the Rotax. There it is in all of its glory.
I
continued to open boxes and bags and did a complete inventory. To the best of my ability, it appears the
only thing missing is a small part on back-order. I will begin working on the installation
soon.