Tim
and I drove out to the airport. I needed
to remove the wings from the airplane so I would have better access to the rear
cockpit area. I am going to seal in the
lexan rear window. Because of the
location of the wings it is beneficial to have them off for this
procedure. Anyway, we drove out to the
hangar to remove the wings. I decided to
roll the airplane out onto the apron to remove the wings. It is pretty tight quarters in the hangar
with all of the stuff in there so I decided it would be easier to remove and maneuver
the wings outside of the hangar. We
rolled the airplane out onto the apron and rolled the wing rack out also. I put the wing rack next to the wing so we
could remove it the wing from the airplane and then set it on the rack. The wind had been blowing all day and I told
Tim I was a little concerned about removing the wings in the wind. When we arrived the wind was 160 at 12 knots. No gusts were reported. We proceeded to remove the wings. We rolled the airplane out, removed the right
wing and put it on the rack. We then
began to push the wing rack around the front of the airplane and over to the
left side. As we were pushing the wind began
to gust. I later learned the wind gusts
were 24 knots. As we turned the wing
rack back towards the hangar a wind gust came up and blew the right wing
over. It hit the apron trailing edge
first. We quickly picked it up to survey
the damage. The wing tip was tweaked and
there was a winkle in the bottom skin of the tip. We put the wing back on the rack and placed
the rack next to the left wing. It was now
parallel to the wind. We removed the
left wing and put it on the rack. Being
careful to hold both wings in place we moved the rack into the hangar without
further incidence. I was heartsick when
I looked more closely at the damage. There
was a bend in the rear spar at the wing root and a kink in the flaperon near
the root. The flaperon seemed to bind when it was moved. It looked like there was a definite bend in
the end of the rear spar at the end of the wing. RATS!!
Oh well!! Nothing that can't be
fixed!! We moved the airplane back into
the hangar and closed the doors. I
decided not to worry any more about it until tomorrow so Arlene and I went to a
movie last night.
Monday, March 10, 2014
Friday, March 7, 2014
Vertical Stab Fairing and Photos


Today I removed the PVC vertical stab fairing
and inspected the inside. It looks like
the body filler idea has worked. The
space between the 2-fairings is filled with a solid chuck of filler.


I drilled out the holes and installed the
fairing. I looks good.
I will have the fairing painted white along
with the other fairing pieces. They will
be installed after the airplane has been painted and certified.


It has been cloudy and raining all
morning. After working on the fairing
for a while I opened the hangar doors and was happy to see a hole had opened in
the clouds and the sun was shining. I decided
to take advantage of the respite from the rain and I pulled the airplane out on
the apron and took a few photos.

Thursday, March 6, 2014
Vertical Stab Fairing


Yesterday and today I worked on the forward
fairing for the vertical stab. I
installed the forward portion of the vertical stab. I held the PVC fairing in place and marked
the location of the holes. The 2-forward most holes on each side of the vertical stab fairing will be used
to hold the small PVC fairing in place.
I drilled the holes and used the squeezer to countersink the holes for
the flat head screws used in that location.
I installed the small PVC fairing.
The forward most holes squeeze the forward part of the PVC fairing in
and it looks bad.

I removed the 2-forward most screws and began
to consider various solutions to the problem of how to attach the PVC fairing
without deforming it. I considered
attaching some kind of aluminum bracket to the top of the fuselage and then
putting a screw down through the top edge of the fairing to hole it in
place. After working with some scrap aluminum
and attempting to make 2-different brackets I decided that was not a good
solution. The problem with the fairing is it is too wide at the forward screw
attachment points. I considered stacking
some washers between the PVC and the aluminum fairing but that seemed to be a
difficult solution. What I decided to do
is mix some body filler and put a dab inside the PVS fairing at the forward
screw holes to form a spacer inside of the fairing. I installed the forward most screws in the
aluminum fairing and taped some plastic over the fairing.


Next I mixed some body filler. There are a couple of very minor dents in the
aluminum skin. One on the top of the left
wing and one on the top of the right half of the stabilator. I sanded the dents with a Scotch Brite pad
and filled them with body filler.


Next I put some filler on the inside of the
forward screw holes on each side of the PVC fairing and installed it over the
aluminum fairing. The filler material oozed out of the holes so
I am sure there is a good spacer formed on the inside. After the filler has cured for a day I will
remove the fairing and redrill the forward holes and see how it fits on the airplane. By installing the 2-forward most screws on
each side of the fairing it will be securely attached to the airplane.

Tuesday, March 4, 2014
Filler Tube, Tie Down Rings, Vent Cap
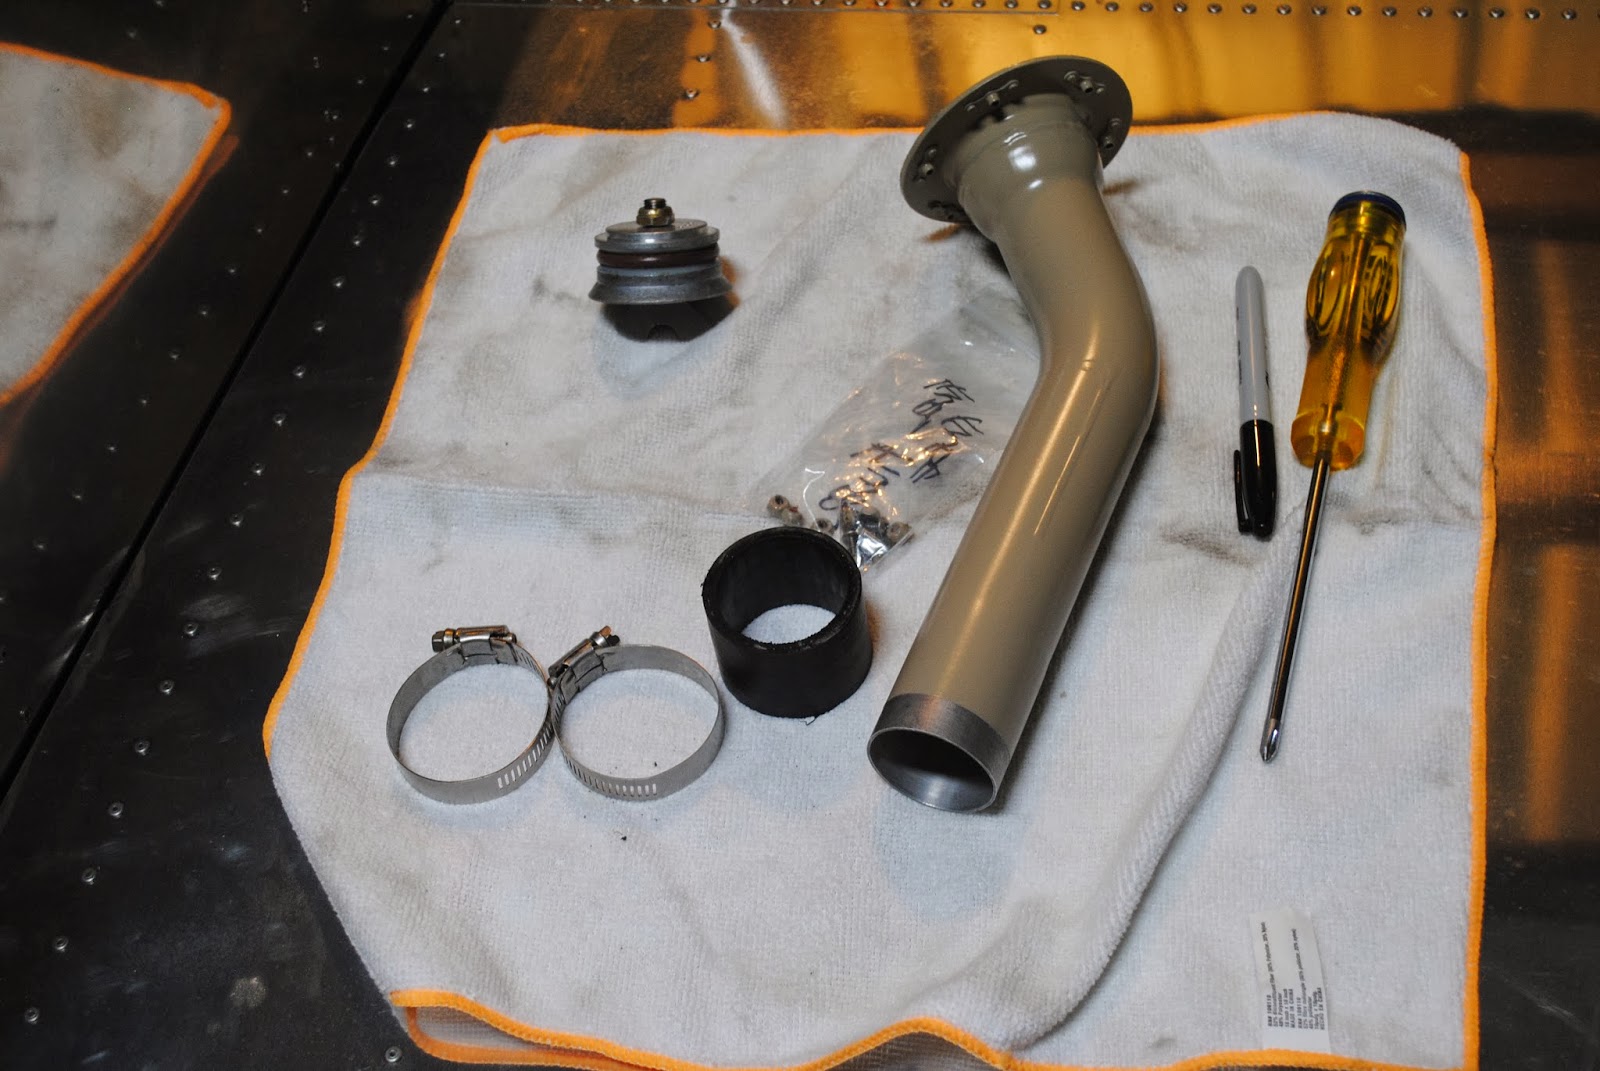
It was cold and rainy all morning. The temperature in the hangar was around 38o,
or in other words, it was cold. I took
the fuel tank filler tube back with me today.
I looks pretty good. I laid it on
the wing and got the necessary tools and supplies to reinstall it to the turtle
deck.

I also shortened the fuel return
line by fractions of an inch.

I mixed up some Pro-Seal and then put some Boelube
on the underside of the turtle deck here the filler tube flange attaches. I attached the tube until some of the
Pro-seal began to squeeze out. I removed
the excess with a paper towel and MEK.


After cleaning up the filler tube and making
sure everything was OK I decided to seal the holes drilled in the fuel tank
cap. After constructing the tank it was
suggested that you drill 3-small holes in the fuel tank cap. The cap consists of an exterior and interior
plate with a rubber ring along the edge between the halves. As the cam handle it depressed it pulls the
top and bottom of the cap together and expands the rubber ring. This action locks the cap in place and seals
the tank. The holes relived the pressure
in the tank when climbing or descending.
With the new tank vent system in place there is no longer any need for
the vent holes in the tank cap. I
disassembled the top and bottom parts of the cap and used some of the Pro-Seal
to fill the holes. After I install and
seal the rear window in place I will make the final attachment of the
filler tube to the tank. After working on the tank
cap and setting it aside for the Pro-Seal to cure I turned my attention to the
tie down rings under the wings. Using my
creeper I got under each wing and installed the tie down rings. They are parallel with the airflow under the
wings and I am planning to have them painted in place.
Monday, March 3, 2014
Meet Dave Wisenger and Remove Tank Filler Tube


One morning last week I woke up early and
while laying there began thinking about the airplane. It seemed to me that I was going to have a
real challenge on my hands trying to remove the fuel tank to install the baggage
area rear bulkhead. Because the fuel
return line extends up through the tank filler tube attachment into the filler
tube it will be virtually impossible to remove the tank without removing the
filler tube. I don't think the tank can
be tipped or turned sideways to get the return line out of the filler tube. I decided to make a modification that is now
in the RV-12 plans. I decided to remove
the filler tube and install nutplates on the flange of the tube so the tube can
be removed and then the tank removed. I
removed the screws and nuts holding the filler tube to the turtle deck.

Using a putty knife I separated the filler
tube flange from the turtle deck. It
came off fairly easily. The majority of
the Pro-Seal gasket came off with the filler tube.

I camped the tube in the bench vise and proceeded to redrill the
holes. I used a microsink to countersink
the holes in the flange and then riveted the nutplates to the bottom of the
flange. I used a Scotch Brite pad to prep the tube
and flange for paint. I took the filler
tube home and primed and painted it. I
hung it up to dry in the garage. I will
take it back to the hangar tomorrow and reinstall it on the turtle deck.
Subscribe to:
Posts (Atom)
