This evening I marked and trimmed the fiberglass
on the the canopy support arms. I was
able to remove and reinstall the canopy several times during the process. I am going to make a small modification to
the upper fuselage cover to accommodate the fiberglass when the canopy is in
the up position. I also installed a rubber O ring on the
canopy latch shaft as has been suggested by others.
More of the
same. I set up the work tables and set
up the canopy. I sanded the filler
material I applied 2-evenings ago.


After sanding I mixed some more material. This time I did not color it black. I applied the filler material to the
locations on each side of the canopy shroud that is sunken. I hope this is the last time I will need to
fill these voids. Soon I will
reinstall the canopy on the fuselage and see what I will need to do to make it
pivot up and down properly. From the
pictures I have seen of finished aircraft I am sure there is going to be some
rounding and shaping of the forward sections of the shroud at the pivot points.
This evening I had Arlene help me put the canopy back
on the fuselage. When lifting the canopy
it hits the upper fuselage skin as it pivots.
I will need to remove the upper corner of each side. It is also quite possible that I will have to
remove some material on the most forward upper edge, so when the canopy it in
the vertical position it does not hit the forward part of the upper fuselage
skin.
This evening I
used my finish sander with 100 grit paper to sand the filler I applied
yesterday. I sanded the whole surface to
prep for additional filler. I also used
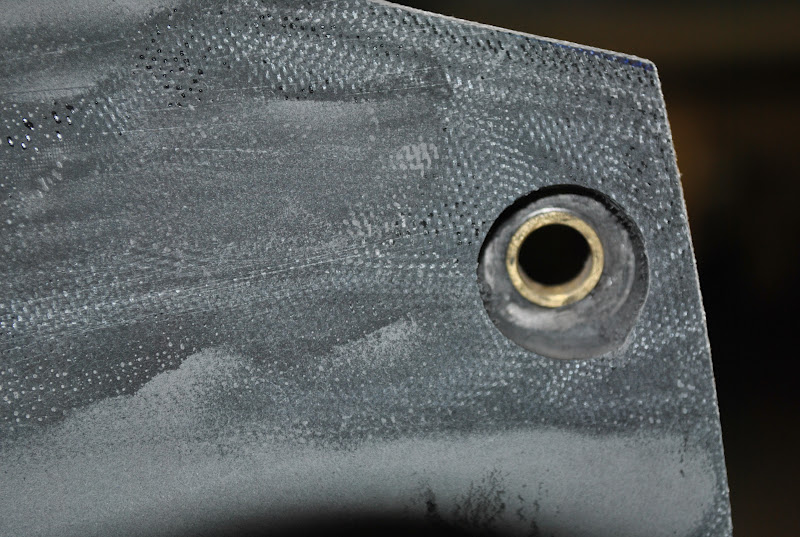
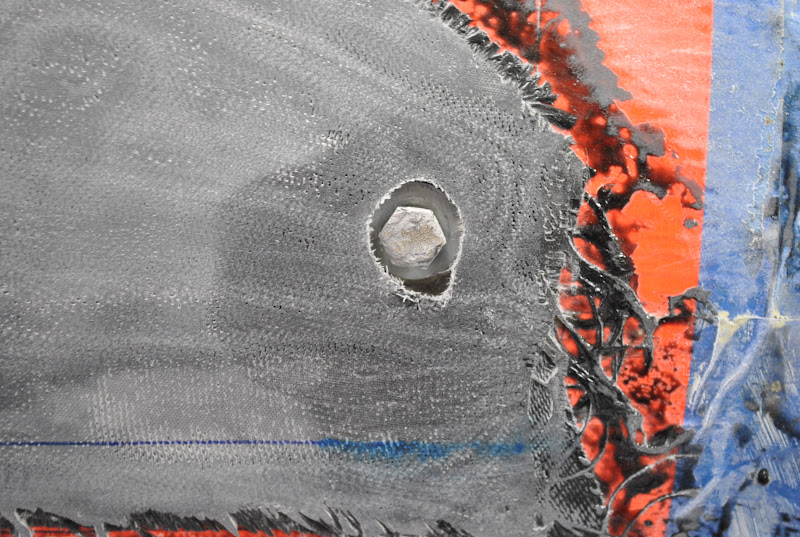
the small sanding drum on my Dremel tool to clean-up the pivot bolt holes.
From the camera angle it looks like the bolt and
washer could not fit, but actually they fit into the hole really well. I will need to do some additional work on the
left side hole. I mixed some more resin
with black colorant and micro-balloons and spread a new layer of material over
the fiberglass. I think I can have the low spots filled with one more application of filler material.
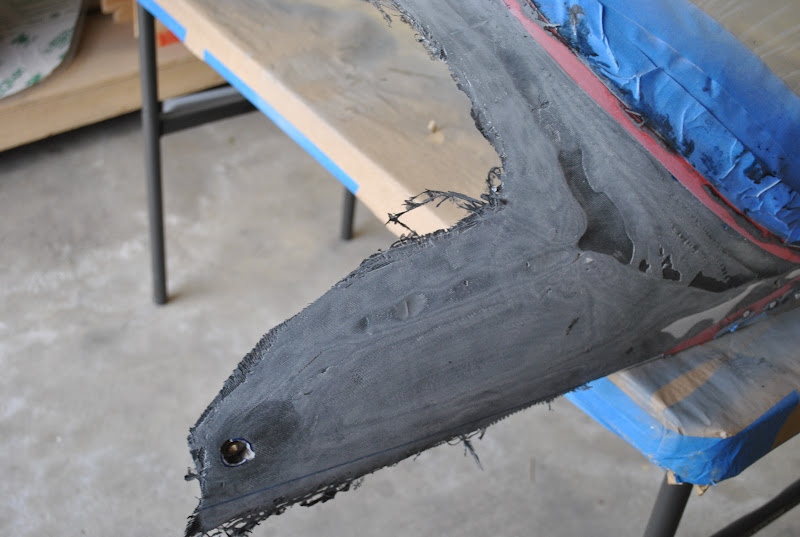
This evening I
used the trim template to mark the fiberglass shroud. I used my Dremel tool with a cut-off wheel to
cut along the mark line. It worked very
well. I then used a sanding block to
sand to the trim line. I put a small
(1/2") diameter sanding drum in the Dremel tool and opened the pivot bolt
holes in the support arms. On initial inspection the right opening is good. I
may have to work on the left bolt hole.
The washer fits into the right opening perfectly. I have not tried the left opening yet, but I
have a feeling it will not be as good a fit.


I mixed a small
batch of epoxy resin and added some black colorant and some
micro-balloons. Using a Bondo squeegee I
started to fill the low spots on the shroud.
This is the first pass. It will
take some additional material to fill the voids and smooth the surface. Right now the filler is a little on the rough
side, but I can sand it out after it cures.
I also worked on the pivot bolt holes.
I filled the voids behind the fiberglass. I used a popsicle stick with the end cut to a
wedge to help fill, shape and clean-up the holes. I think with a little more work they will be
fine.
I started by
sanding the fiberglass lay-up. I was
able to use my finish sander with 60 and 80 grit paper to start the sanding process. It went fairly well. I was able to sand down to the first layer of
electrical tape on the canopy. I will
change to 100 and 150 grit paper at this point.
Using a putty
knife I separated the fiberglass lay-up from the fuselage by running the blade
along the edge of the fiberglass. I marked
and drilled a hole through the fiberglass over each of the bolts holding the
canopy support arms in place. Then using
the Dermal tool with a burr bit I enlarged the holes so I could get a
nut-driver over the bolt heads. I
removed the bolts and the washers. I used
the washers to trace a circle around the bolt heads. I will open the fiberglass to the required
size opening and then fill-in the exposed foam with a mixture of fiberglass
resin and micro-balloons. I also
projected and marked the line of the canopy skirt onto the fiberglass lay-up. This will help me line-up the trim pattern
properly.
Next I had Arlene
come down and help me lift the canopy off of the fuselage. We were able to successfully lift the canopy
and set it on the small work tables.
I was impressed
with the way the interior turned out.
There were almost no runs and drips of resin inside. Of course there will be some clean-up needed
on the interior. There is some blue tape
residue and some sanding dust that will need to be removed. At this point any work on the interior
surface will need to wait until I have filled and trimmed the exterior. All and all I am very pleased with the
results so far.
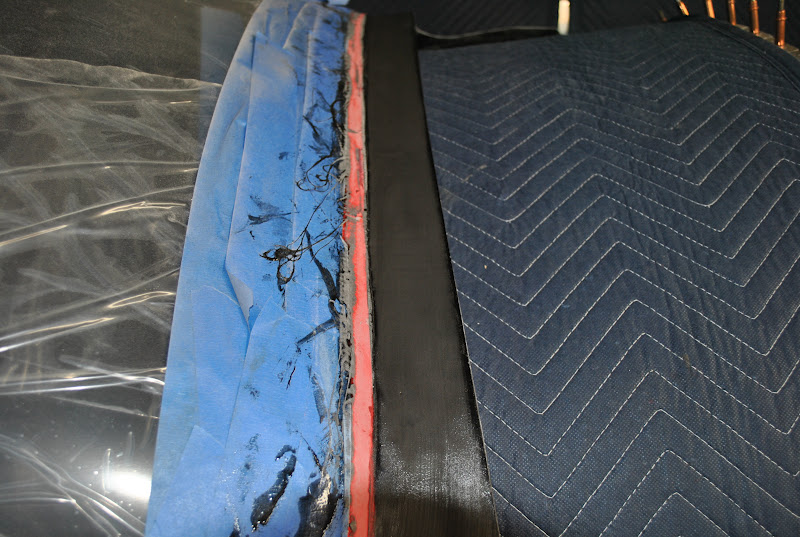
I removed the masking from the fuselage. I put a moving pad over the tailcone and placed
the canopy on the tailcone for safe keeping.