Sand Fiberglass and Remove Canopy
I started by
sanding the fiberglass lay-up. I was
able to use my finish sander with 60 and 80 grit paper to start the sanding process. It went fairly well. I was able to sand down to the first layer of
electrical tape on the canopy. I will
change to 100 and 150 grit paper at this point.
Using a putty
knife I separated the fiberglass lay-up from the fuselage by running the blade
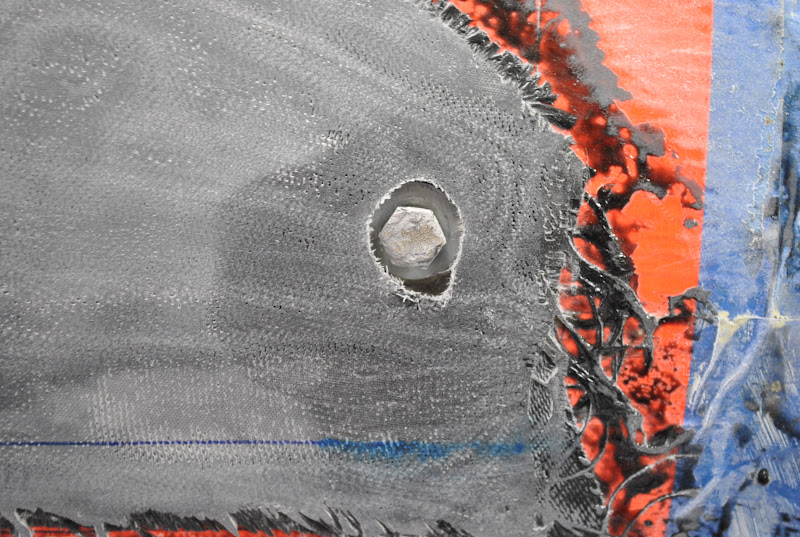
along the edge of the fiberglass. I marked
and drilled a hole through the fiberglass over each of the bolts holding the
canopy support arms in place. Then using
the Dermal tool with a burr bit I enlarged the holes so I could get a
nut-driver over the bolt heads. I
removed the bolts and the washers. I used
the washers to trace a circle around the bolt heads. I will open the fiberglass to the required
size opening and then fill-in the exposed foam with a mixture of fiberglass
resin and micro-balloons. I also
projected and marked the line of the canopy skirt onto the fiberglass lay-up. This will help me line-up the trim pattern
properly.
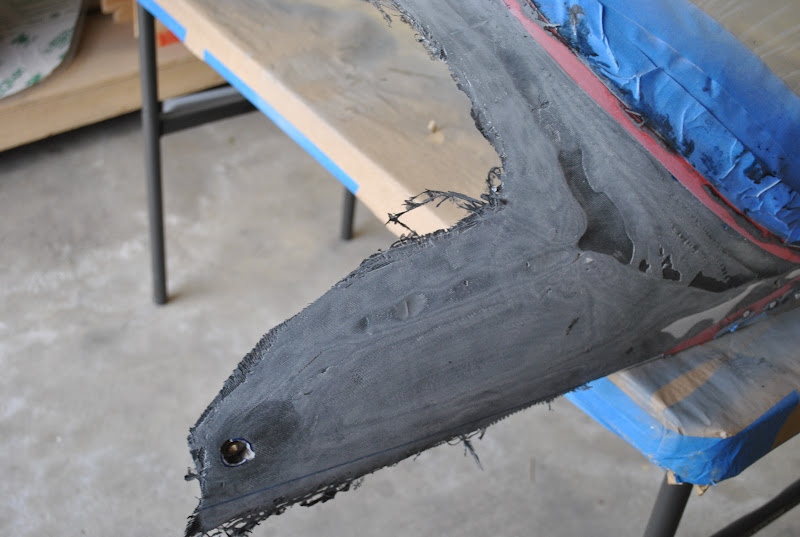
Next I had Arlene
come down and help me lift the canopy off of the fuselage. We were able to successfully lift the canopy
and set it on the small work tables.
I was impressed
with the way the interior turned out.
There were almost no runs and drips of resin inside. Of course there will be some clean-up needed
on the interior. There is some blue tape
residue and some sanding dust that will need to be removed. At this point any work on the interior
surface will need to wait until I have filled and trimmed the exterior. All and all I am very pleased with the
results so far.
I removed the masking from the fuselage. I put a moving pad over the tailcone and placed
the canopy on the tailcone for safe keeping.